
At many events I’ve covered, guests ask the same question shortly after their photo is taken: “Where can I get the photo?”
Traditionally, event photographers deliver images days later through an online gallery, by which time the excitement of the moment has passed. In recent years, many of us have started delivering photos instantly instead, allowing guests to see and share their photos while the event is still happening.
I’ve been offering instant photo sharing at events since 2016, covering conferences, corporate activations, weddings, and large public events. During that time, I’ve experimented with different workflows to deliver photos as quickly and reliably as possible.
In this article, I’ll walk through the main ways you can share photos live during events. Each approach works differently, and understanding the trade-offs can help you choose the workflow that best fits your events.
There are a few different ways photographers share photos instantly during events. The best approach depends on how automated you want the process to be and how quickly you want the photos to reach guests.
Camera-to-Cloud Photo Sharing Platforms
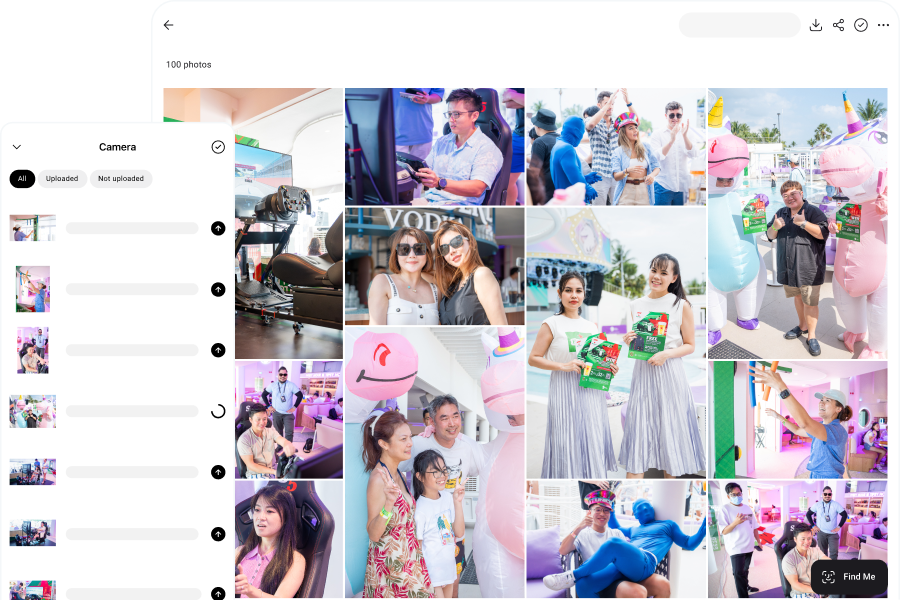
One of the fastest ways is with a camera-to-cloud workflow. As you take photos, they are uploaded to an online gallery so guests can view them within seconds.
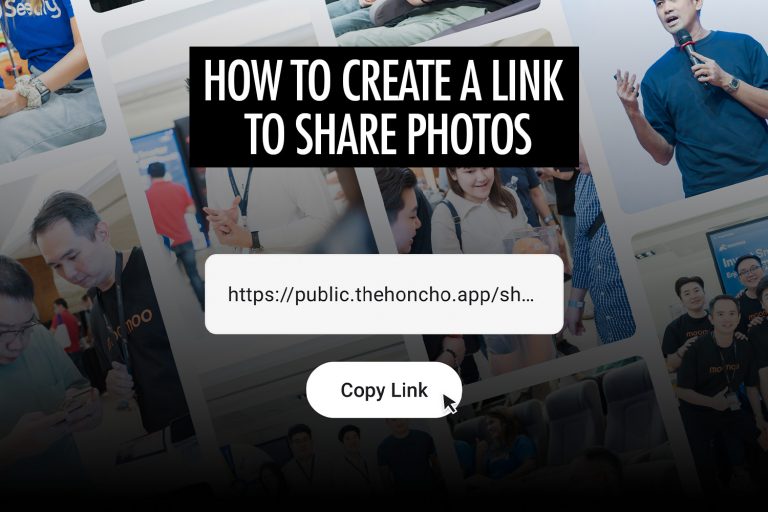
I use Honcho for instant photo sharing at events. Guests can access the gallery through a QR code or shareable link, which makes it easy for them to open it on their phone.
With Honcho’s face recognition feature enabled, guests can upload a selfie to instantly find the photos they appear in. Instead of scrolling through hundreds or even thousands of images, they only see the photos that contain them. At larger events, this makes a huge difference. Without it, most people simply won’t take the time to search manually.
Pros
- Photos appear in the gallery within seconds
- Guests can easily find their photos with face recognition
- Works well for large events with hundreds or thousands of photos
Cons
- Requires a reliable internet connection
Photo Booth Software
With photo booth software, the workflow is simple. After taking a photo, it appears in the software and guests can scan a QR code or enter their email or phone number to receive the image.
However, photo booth software isn’t really designed for event photography. Most programs only run on Windows, which means you need to carry a Windows tablet connected to your camera. Because of the extra weight, many photographers mount the setup on a monopod or tripod, which limits mobility and the angles you can shoot from.
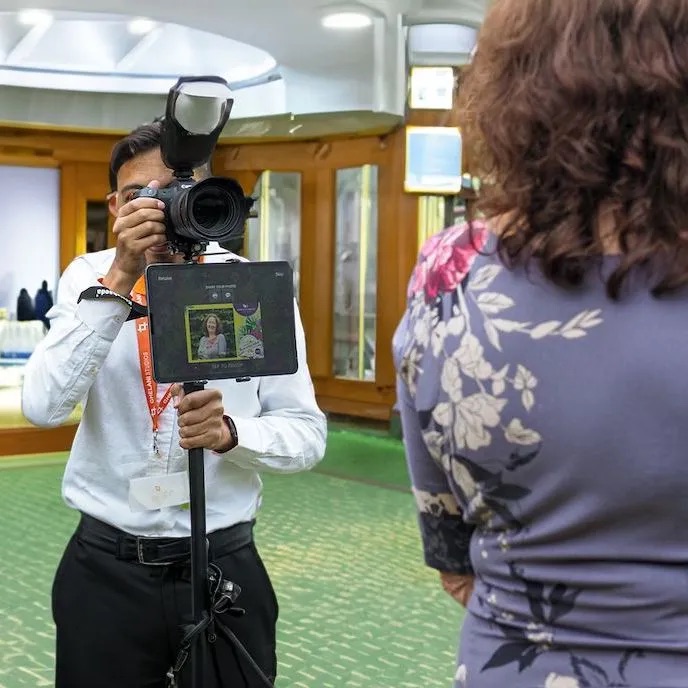
Another limitation is that photos are usually shared one by one. After each shot, the image is previewed and sent individually. That works well for photo booths, but it can slow things down when you’re trying to capture multiple moments during an event.
Pros
- Many established photo booth software options
- Relatively easy to set up
Cons
- Requires an internet connection for sharing
- Photos must be shared one by one
- Usually requires a Windows tablet and the extra hardware limits mobility
Photo Sharing Kiosks
Instead of sharing photos directly with guests on the spot, you can set up a photo sharing kiosk for them to browse and retrieve their images.
To make this work, photographers usually tether their camera wirelessly to a laptop so photos transfer automatically as they’re taken. The laptop runs kiosk software that watches a folder for new photos and imports them into a gallery interface. Guests can then find their photo and send it to themselves by entering their email address or phone number.
There are several kiosk software options available, often developed by the same companies that make photo booth software. Examples include Breeze Kiosk and Darkroom Hot Folder.
One advantage of this setup is that browsing and printing can work locally without an internet connection. However, sending photos by email or SMS still requires internet access. Some kiosk software can save these requests offline and send them later when a connection becomes available.
However, the workflow can be more complicated to set up since it involves multiple pieces of software. The wireless tethering range can also be limiting at larger events.
Pros
- Local browsing and printing can work without an internet connection
Cons
- Requires wireless tethering to a laptop with limited range
- Involves multiple software tools to set up the system
- Guests must walk to the kiosk to get their photos
AirDrop or Messaging Apps
The final option is the most manual approach. It can work when guests come up to you and ask for their photo, but it’s not ideal if you want to proactively share images with many people during an event.
The typical workflow starts by transferring photos from your camera to your phone. Most camera manufacturers provide their own apps for this, such as Canon Camera Connect, SnapBridge, and Imaging Edge Mobile. You can transfer the photos wirelessly, or use a USB cable or card reader connected to your phone.
Once the photos are on your phone, you can send them directly using tools like AirDrop, WhatsApp, or other messaging apps. Some photographers also upload the images to cloud storage services such as Google Drive or Dropbox and share a download link instead.
This method works for one-off requests, but it quickly becomes time-consuming if many guests want their photos.
Pros
- No paid software required
Cons
- Manual process with multiple steps for each photo
- Takes time and attention away from shooting
- Camera transfer apps can sometimes be unreliable
Comparing the Different Instant Photo Sharing Methods
To summarise, here’s how the instant photo sharing methods compare.
| Method | Speed | Scalability | Guest Experience | Best For |
| Camera-to-cloud platforms | Very fast (seconds) | High | Guests access photos instantly through a gallery or face recognition | Conferences, weddings, brand activations, large events |
| Photo booth software | Fast, but one photo at a time | Medium | Guests receive individual photos via QR code or email | Booth-style setups, activations |
| Photo sharing kiosks | Medium | Medium | Guests must walk to a kiosk to retrieve photos | Fixed event areas |
| AirDrop or messaging apps | Slow | Low | Direct sharing with the photographer | One-off requests |
Which instant photo sharing method should you choose?
For larger events where you are moving around and photographing many people, camera-to-cloud is usually the best fit. Photos can upload while you keep shooting, and guests can retrieve their own images without coming back to you.
For structured portrait setups or branded activations, photo booth software makes sense because capture and sharing are already part of the same interaction.
A photo sharing kiosk works best when guests can come to a fixed location to browse, send or print their photos.
If only a few people need their photos during the event, AirDrop or a messaging app is usually the simplest option.