Part of our Workflow guides
Explore more articles on working faster, managing volume, and delivering efficiently in our Workflows section.
One of the most common requests I get from my clients is instant printing at their events or weddings.
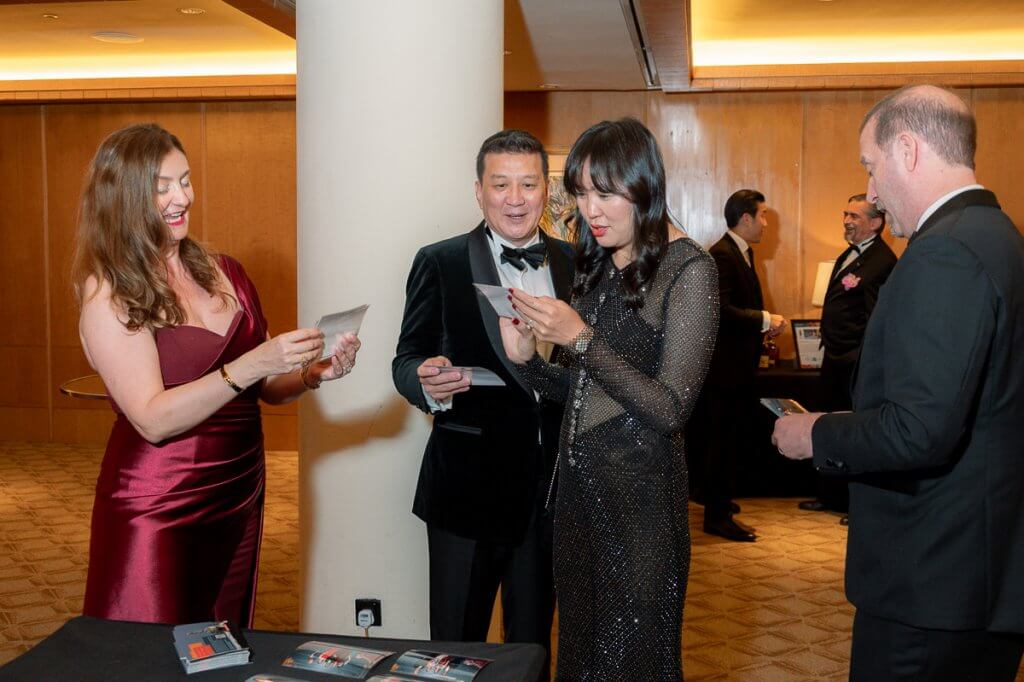
When done on-site, guests receive a physical photo just minutes after it’s taken. Instead of waiting days for an online gallery, they can walk away with a printed keepsake, usually within 3 to 5 minutes.
I’ve been offering instant printing at events and weddings since 2016. Over the years, I’ve produced instant prints at hundreds of corporate events, weddings, and headshot booths, and I’ve dialed in a photography workflow that is fast and reliable.
In this article, I’ll walk through how instant printing works for event photography. I’ll cover the different ways photographers transfer photos during events, the workflow I’ve found to be the most reliable, and the printers I recommend if you want to offer instant prints to your clients.
How Instant Printing Works at Events
At a high level, instant printing follows a simple workflow.
First, I take photos during the event. The images are then transferred from my camera to a laptop at the printing station. From there, the photos can be reviewed, edited if needed, and sent to a printer that’s connected to the same laptop.
In most setups, the laptop and printer stay at a fixed location, which I’ll call the printing station. Because I’m usually moving around the venue while photographing guests, I often have an assistant managing the printing station so I can focus on shooting.
The biggest challenge in this process is transferring photos from the camera to the laptop quickly enough to keep up with the pace of a live event. If the transfer is too slow, the print queue quickly builds up and guests end up waiting longer than expected.
Over the years, I’ve seen photographers handle this in a few different ways. Some approaches are faster but restrict your movement, while others are more reliable but introduce delays. In the next sections, I’ll walk through the most common options.
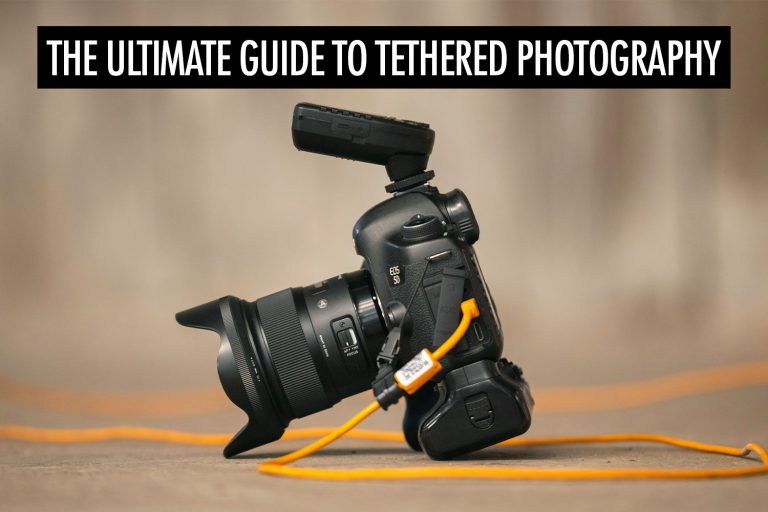
Tethering the Camera to a Laptop With a Cable
One way to handle on-site printing is to tether the camera directly to a laptop using a cable. Many photographers use cables from Tether Tools, which are designed for tethering and come in fairly long lengths. If you’re new to this setup, I’ve written a separate guide that explains tethered photography in detail and how to configure it for event workflows.
The main advantage is speed. When the camera is tethered, the photos usually appear on the laptop within a few seconds after I take them. Software like Adobe Lightroom Classic or Capture One can automatically import the images as they’re captured, so the assistant at the printing station can review the photo and send it to the printer almost immediately.
This setup works well when the photographer stays in one place. For example, I’ve used tethering for headshot booths and branded photo opportunities where guests line up to take their photo in front of a backdrop. In those situations, everything stays in the same spot: the camera, laptop, printer, and assistant.
The problem is that tethering limits your movement. At most events, I’m expected to walk around the venue capturing moments throughout the room. Being attached to a cable makes that impractical. Even with a long tether cable, you’re still confined to a small area around the laptop.
Wireless Tethering
Another option I’ve experimented with is tethering the camera to the laptop wirelessly. In theory, this sounds like the ideal solution. You’re not attached to a cable, so you can move around the venue while the photos transfer automatically to the printing station.
In reality, it’s rarely that straightforward.
Most wireless tethering setups involve connecting both the camera and laptop to the same WiFi network so the photos can transfer automatically. The problem is that event venues are not exactly known for reliable networks. I’ve worked at conferences where hundreds of attendees were connected to the same WiFi, and the network slowed to a crawl. In those situations, photo transfers can take far longer than expected, which creates a backlog at the printing station.
Some cameras can create their own WiFi network, allowing the laptop to connect directly to the camera. I’ve tried this approach as well, but the range becomes the main limitation. Once I start moving around the venue, the connection gets weaker and the transfer speed drops. Even something as simple as a wall between the camera and laptop can slow things down significantly.
I once tried using wireless tethering at a corporate dinner where the printing station had to be placed outside the ballroom. As soon as I stepped into the main hall and started shooting among the tables, the connection became unreliable and the photos stopped transferring consistently.
Devices like CamRanger can extend the range, but they still have practical limits. At large venues or events with multiple rooms, it’s difficult to maintain a stable connection throughout the entire space.
Because of that, many photographers end up falling back on a much simpler method.
Manually Swapping SD Cards
Another method I’ve used in the past is simply swapping SD cards during the event.
The workflow is straightforward. I start the event shooting with one SD card, and after about 10 to 15 minutes I return to the printing station and hand that card to my assistant. While they’re importing the photos into the laptop and starting the print jobs, I continue shooting with a second SD card.
This approach might sound old-fashioned, but it’s very reliable. As long as the SD card works, the process doesn’t depend on WiFi networks, tethering software, or anything else that might fail during an event.
The trade-off is speed. Because photos are transferred in batches, there’s always a delay between taking the photo and delivering the print. Guests might have to wait 15 or even 20 minutes before their prints are ready.
Sometimes the workflow becomes a little chaotic. If I’m moving around a crowded venue, the assistant may have to find me in the room to collect the next SD card. I’ve had situations where they were weaving through a packed ballroom trying to track me down just so they could grab the card and rush back to the printer.
So while SD card swapping is simple and dependable, it doesn’t always deliver the fast turnaround that clients expect today.
A Modern Workflow for Instant Printing
These days I use a different approach with Honcho. Instead of transferring photos to a laptop manually, I connect my camera to my phone with a cable and upload the photos to the cloud while I’m shooting. As soon as I take a photo, it starts uploading in the background through the phone’s internet connection. Because the phone moves with me, I’m free to walk around the venue without worrying about staying within range of a laptop or WiFi network.
For example, at a recent corporate awards night, I was photographing winners on stage. As soon as I took the photo, it started uploading through my phone. By the time they walked over to the printing station a minute later, their photos were printed.
Once the photos are uploaded, my assistant at the printing station simply opens the gallery on a laptop, selects the photo, and sends it to the printer wirelessly. If needed, they can quickly apply a preset or adjust the exposure before printing.
What I like about this setup is that it fits naturally into a real-time photo delivery workflow. Once the photos are uploaded, they can be used in several ways at the same time. They can be printed on-site, shared with guests, or displayed in live slideshows that update throughout the event. At events where we enable face recognition, guests can also upload a selfie and immediately find the photos they appear in. Everything runs from the same system, which makes it possible to deliver both physical prints and digital photos within minutes.
Compared to the older workflows, this removes a lot of friction. I don’t have to worry about cables, unreliable WiFi tethering, or constantly running back to the printing station with SD cards. The photos appear online within seconds, which means the prints can be produced faster and guests spend far less time waiting.
Choosing a Printer for On-Site Printing
When photographers ask me about on-site printing, one of the most common questions is which printer to buy.
If you’re just starting out and only expect to produce a small number of prints, almost any printer will work. You can use the printer you already own or buy an inexpensive inkjet model. Some photographers even use portable printers that they bring with them to events.
In my experience, print quality usually isn’t the biggest concern. Most modern printers produce prints that look perfectly fine, and most guests won’t notice subtle differences in colour accuracy or sharpness.
What matters much more is printing speed.
Why Printing Speed Matters
Inkjet printers typically take around 40 to 60 seconds to produce a single print, depending on the settings. Portable printers are often even slower.
That might be acceptable if you’re printing only a few photos, but it quickly becomes a problem at larger events.
For example, imagine a four-hour event where guests are lining up at a photo opportunity in front of a backdrop. If each person receives a print, it’s very easy for the total to reach 400 or 500 prints over the course of the event.
At one print per minute, an inkjet printer simply can’t keep up. By the time the event ends, you might still have hundreds of prints left in the queue.
At that point you’re stuck with some unpleasant options: staying behind to finish printing long after the guests have left, mailing the prints later, or simply abandoning the idea of on-site printing altogether.
Why Most Event Photographers Use Dye-Sublimation Printers
This is why most event photographers eventually move to dye-sublimation printers.
Dye-sub printers are designed for high-volume printing. The biggest advantage is speed. For example, I use the DNP DS620A, which can produce a 4 × 6 print in about 8 seconds. At that speed, producing several hundred prints during an event becomes completely manageable.
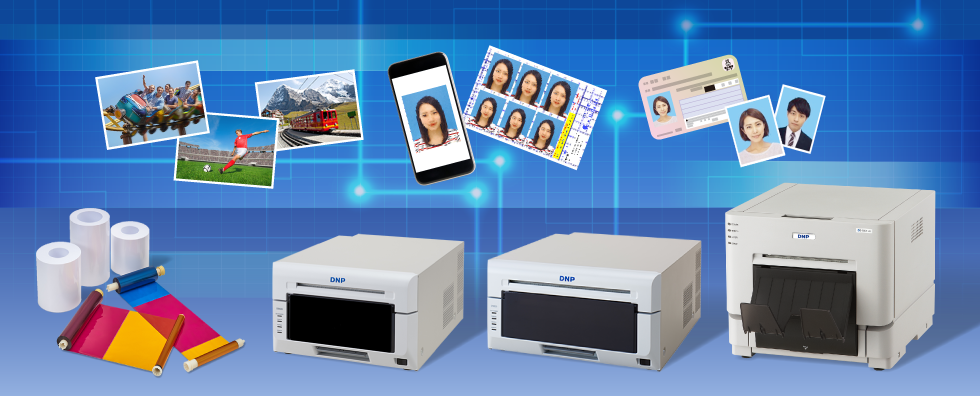
Another advantage is the way the consumables work. Instead of separate ink cartridges and stacks of paper, dye-sub printers use matched rolls of paper and ribbon. Each roll produces a fixed number of prints, which makes it much easier to estimate how much media to bring to an event.
They’re also designed for continuous printing. Once the roll is loaded, the printer can run through hundreds of prints without needing constant attention. At most events I only have to change the media roll once, if at all.
If you’re serious about offering on-site printing as a service, investing in a dye-sublimation printer makes a big difference.
Why Instant Printing Is a Profitable Add-On
Offering instant printing has been one of the most effective ways I’ve found to increase revenue from event photography.
When I quote clients, I usually structure the packages at different price points. The basic package includes event coverage, while the higher-tier packages include instant printing. This allows clients to decide how much of an experience they want to provide for their guests.
In many cases, the package that includes printing can be priced significantly higher. In my own work, instant printing has allowed me to charge roughly 2.5 times the price of a standard event photography package.
What makes it attractive is that the amount of work doesn’t necessarily increase. Whether or not printing is included, I’m still working the same number of hours at the event. The difference is that the service itself becomes more valuable.
Another advantage is that most of the work happens during the event itself. Once the event ends and the last prints are produced, the job is essentially finished. There’s no additional editing or fulfilment work waiting afterward.
Clients are often willing to pay for this because it improves the guest experience. For example, I’ve photographed many corporate award ceremonies where winners receive a prize on stage. Having a printed photo of that moment immediately afterward makes the experience much more memorable.
Should You Charge the Client or the Guests?
One suggestion I often hear is to charge guests directly for their prints instead of charging the client.
In theory this sounds appealing. If guests want a print, they can simply pay for it themselves.
In practice, I’ve found that this rarely works.
Most guests already have a phone in their pocket with a very good camera. Unless there’s a compelling reason to buy the print, people are usually satisfied with the photos they take themselves.
Because of that, selling prints individually at events tends to generate very little revenue.
There are a few exceptions. It can work for sports photography or celebrity photo opportunities where the photo itself has special value. But for most corporate events and weddings, charging the client for the service is far more reliable.
Additional Upsell Opportunities
Another benefit of on-site printing is that it opens up several additional upsell opportunities.
The most common print size is 4R, which is 4 × 6 inches. Occasionally clients request larger prints, with 5R (5 × 7 inches) being the most common upgrade.
Many events also include a branded border or overlay with the company logo and event name. This turns the photo into a commemorative keepsake and reinforces the event branding.
Some clients even request custom photo sleeves that the prints are inserted into before being handed out to guests. These are usually produced by print shops ahead of the event, and photographers can mark up the cost as part of the package.
Small additions like these can increase the perceived value of the service while generating additional revenue.
Conclusion
Instant printing can seem daunting at first, but once you understand the workflow it becomes much easier to manage.
Over the years I’ve experimented with several different approaches, from tethering and wireless transfers to manually swapping SD cards. Each method works, but they all come with trade-offs. Some limit your movement, while others slow down the process enough that guests end up waiting longer than expected.
Today, modern workflows make it possible to upload photos in real time, print them within minutes, and even share them instantly with guests at the same event. Instead of treating printing and photo delivery as separate processes, everything can happen together in one streamlined system.
When done well, on-site printing doesn’t just create a memorable experience for guests. It can also become one of the most valuable add-ons in an event photography business, helping you increase revenue while delivering something tangible that people can take home from the event.