Part of our Workflow guides
Explore more articles on working faster, managing volume, and delivering efficiently in our Workflows section.
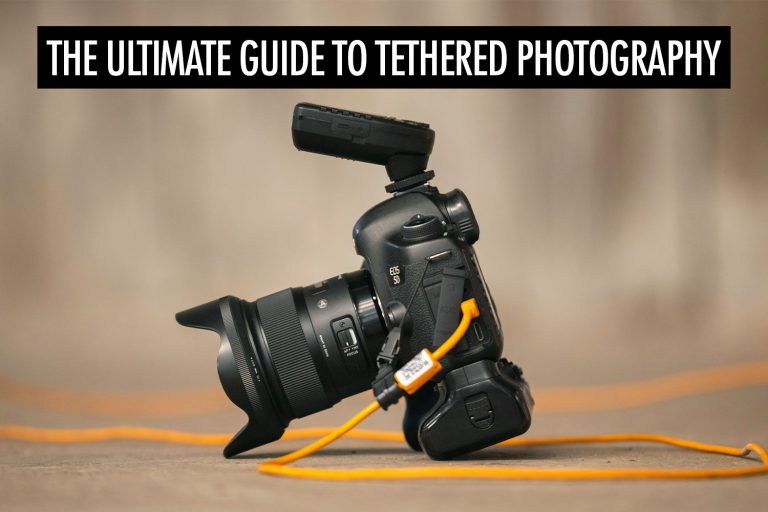
As a photographer, one of the biggest changes you can make is to shoot with a tethered camera.
It’ll make a massive positive impact on your workflow.
What is tethered photography?
It’s when you connect, or tether, your camera to an external device—a laptop, tablet or phone.
As you shoot, your photos are transferred immediately to that device, and it has several benefits—depending on the type of photography you do.
For example, it’s a common practice in studio work, such as portrait photography or product photography. It’s also extremely useful for school photography and senior portraits, to speed up the workflow.
Many professional photographers will tether their camera to their laptop, either with a cable or wirelessly.
For portrait photography, this is incredibly useful for showing your clients the photos right away. Clients can look through the photos and provide immediate feedback, and choose the photos they want edited and delivered.
You can adjust the lighting or switch up the poses right away, to address any of the client’s concerns. This creates buy-in from the client throughout the whole process, and reduces the back-and-forth after the shoot.
With product photography, tethered shooting lets you view the photos on a larger screen. It can reveal details that you might have missed on the camera screen, and helps you ensure that you get the photos right in-camera.
This saves you time in post processing and prevents any wasted shoots.
Despite the potential benefits, tethered photography isn’t common outside of studio work.
That’s because tethering is usually done with a laptop, which has limitations outside of the studio due to the limited range.
It’s a real shame because there are so many potential benefits for tethering—particularly in event and wedding photography.
To unlock those benefits, you’ll want to tether your camera to your phone.
In this article, we walk through how to do that, step by step, with mobile tethering software.
Then, we’ll talk about the benefits of tethering for event and wedding photography.
Tether Camera to Phone
The simplest way to tether your camera to your phone is with Honcho.
It’s so simple that this section is going to be really short.
First, download Honcho for iOS or Android.
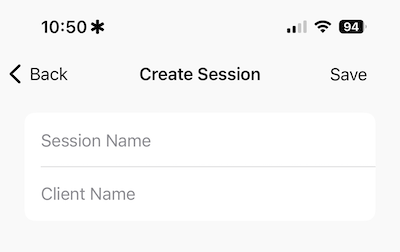
Then, create a session to upload your photos to. Sessions are how you organize your photos in Honcho, and you can create one for any shoot.
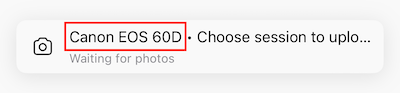
Next, tether your camera to your phone with a cable.
On the camera toolbar, you can see that your camera is connected.
Just like that, you’re all set!
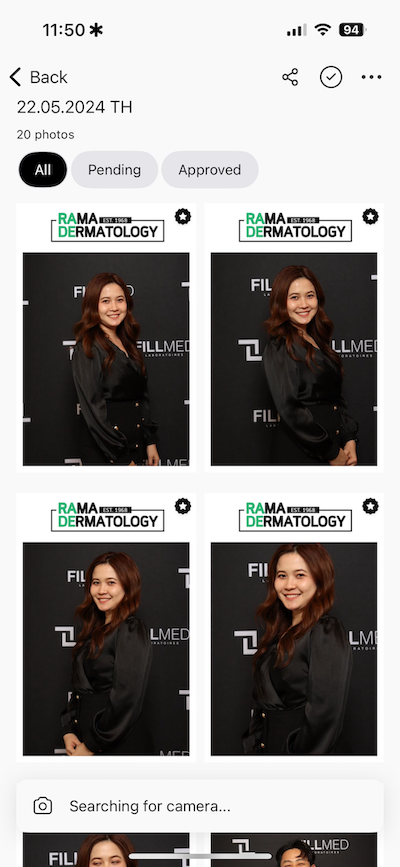
As you shoot, your photos will automatically get transferred to your phone, then uploaded to the cloud—you’ll see them showing up in the session.
Benefits of Tethering for Event and Wedding Photography
By tethering your camera to your phone with Honcho, you’ll see a massive impact not just on your workflow, but on your photography business.
It has helped us to increase our sales by 52%.
That’s because it opens up a whole new world of possibilities for event and wedding photography.
It lets you:
- Instantly share your photos
- Create live slideshows
- Print on-site, wirelessly
These are all features that can help you to stand out from your competition, close more deals and upsell your clients.
Honcho gives you two ways to instantly share your photos:
- AI-powered face recognition
- QR codes
Let’s run through them.
AI-powered face recognition
In the session, tap on the Share icon, and let your guests scan the QR code to the public gallery.
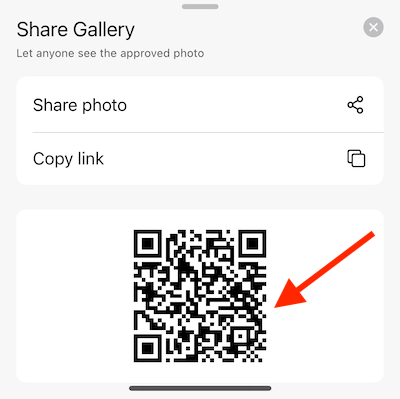
The public gallery is where the guests can view only your approved photos, and it gives you control over the photos that show up.
On the public gallery page, guests can tap on Find Me to take a selfie or upload an existing photo.
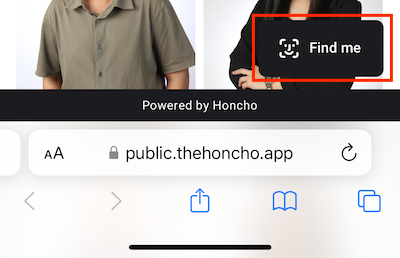
Honcho will then find all of the guest’s photos with face recognition.
QR codes
In the session, select the photos that you want to share, and tap on the Share icon to get the QR code.

Scanning the QR code will open a gallery with just the photos that you selected.
Create Live Slideshows
Live slideshows are an amazing way to add excitement to an event and showcase your photos, in real-time.
In the session, tap on the Share icon and copy the link to the public gallery.
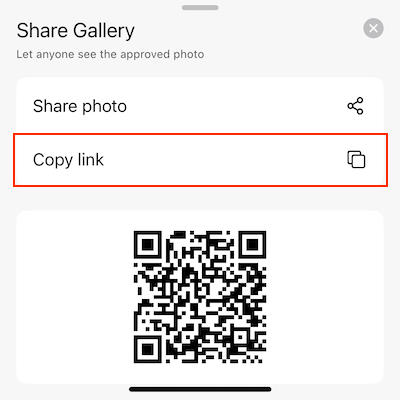
The public gallery is where anyone can view your approved photos, and it’s also where you will start the live slideshow.
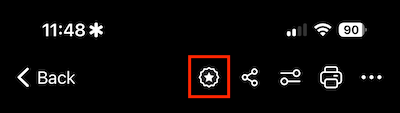
Open the public gallery in any browser. Then, tap on the More icon and select Slideshow.
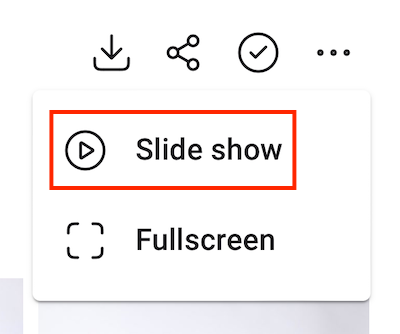
That’s it, your slideshow will start playing!
It will automatically update with any new photos that you upload.
You always have full control over the photos that show up in the slideshow, because only approved photos are shown.
You can approve any photo by tapping on the Approve icon in the photo page.
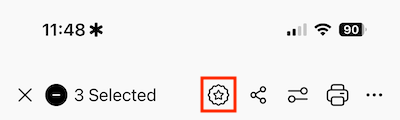
Or approve multiple photos at the same time by tapping on the Select icon, selecting the photos and tapping on the Approve icon.
Finally, you can approve or unapprove your photos by default.
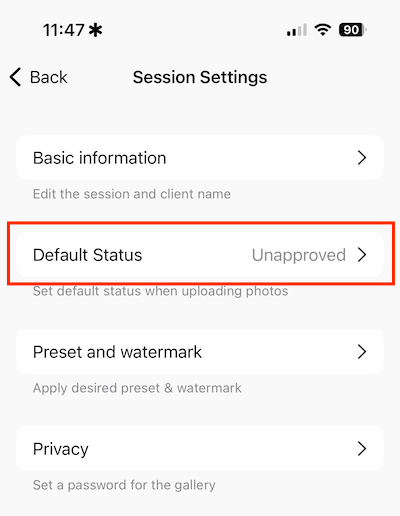
In the session page, tap on the More icon and select Settings.
Then, tap on Default Status and select either Approved or Unapproved. This status will be applied to all new photos.
Print On-Site, Wirelessly
Some clients want to provide prints as physical keepsakes. Honcho helps you print on-site, wirelessly.
To begin, let’s get your printer set up.
First, download and install the CloudPrint app on your laptop—it’s available for free for all Honcho users.
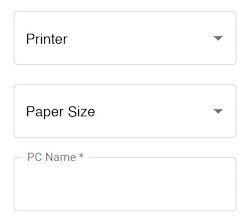
Then, connect your printer to your laptop. In CloudPrint, you can choose your printer and paper size.
Finally, give a name to your printer so that you can easily find it in Honcho.
Click on Connect. Your printer is now online and ready to print wirelessly.
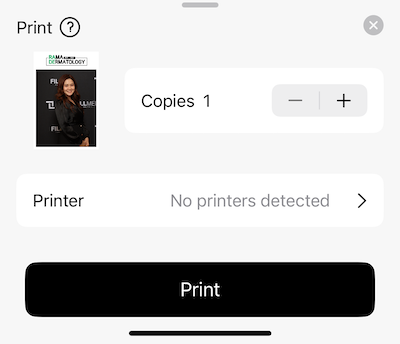
In the Honcho mobile app or website, select the photo to print. Then, tap on the Print icon.
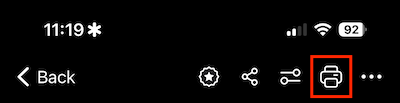
Select the name of your printer and tap on Print. And that’s it, you have successfully printed with Honcho.
Since it works wirelessly, you can print on any device. For example, you can open up Honcho on your phone, and send the prints wirelessly to your printer—which is connected to your laptop.
This means that you have a lot of flexibility in your workflow. For example, you can hire an assistant at the printing station—accessing Honcho from the same laptop that the printer is connected to. Or you can print the photos yourself from the mobile app, as you move around the venue.
Conclusion
By tethering your camera to a phone, you can upload photos from camera to cloud—while you’re shooting.
This opens up many new possibilities, particularly for event and wedding photographers.
You can share your photos instantly, create live slideshows and print on-site—all from a single app.
These are all features that elevate the experience of photography. You’re no longer just documenting an event, you’re creating excitement for the attendees.
This, in turn, will help you to grow your photography business—by upselling your clients and closing more deals.
Get started today by signing up for a free Honcho account.
In addition, you can join our affiliate program and earn up to USD$88.50 for every new customer that you refer to us. That’s a generous commission!