Part of our Workflow guides
Explore more articles on working faster, managing volume, and delivering efficiently in our Workflows section.
I’ve used tethered photography in a wide range of environments, from controlled studio portrait and commercial work to headshot booths, live events, weddings, and high-volume sports and marathon photography. Across these use cases, tethering serves different purposes. In some situations, it supports collaboration and fast adjustments. In others, it enables quick delivery by sharing photos while attention and excitement are still high.
Tethered shooting is a photography workflow that changes how you shoot, how people interact with the images, and how quickly you can deliver results. Used well, it helps you spot problems earlier, make decisions faster, and reduce rework. Used unnecessarily, it adds friction and slows everything down. Tethered photography isn’t something you should use all the time. It pays off only when the workflow demands it.
The goal of this guide is to help you approach tethered photography with a clear understanding of when and why to use it. I’ll start by breaking down the main use cases and what tethering enables in each scenario. Then I’ll walk through the practical ways to set it up, whether you’re tethering to a laptop in a studio or to a phone for mobile and live workflows.
Why and When to Tether
I’ve used tethered shooting in many different scenarios, which I’ll share below. In each case, the reason for tethering is different.
I tether for one of three reasons: collaboration, experience, or delivery.
In studio and commercial work, tethering supports collaboration. In headshot booths, it shapes the experience. In events, weddings, and sports, it lets me share photos while interest is highest.
Studio and Commercial Work
In studio commercial work, tethered shooting helps with alignment and real-time adjustments.
When I’m working with a team, such as a creative director, stylist, or client, reviewing images on a larger screen in real time makes a big difference. Everyone can see what’s happening, agree on direction, and make changes immediately instead of discovering problems later.
Even when I’m working alone, tethering helps surface issues that are easy to miss on a camera’s rear screen. On a larger display, framing and lighting problems become obvious. For example, I can spot unwanted reflections on a product and adjust the light position right away. Catching these issues early lets me fix them on the spot, rather than dealing with them in post or reshooting later.
Studio Portrait Sessions
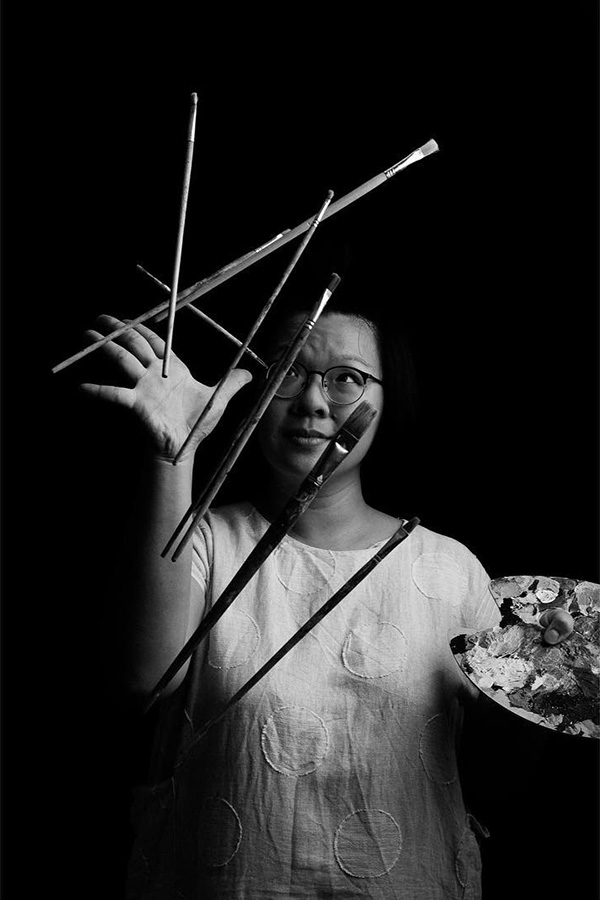
For studio portraits, tethering changes how the subject experiences the shoot.
Showing people their photos during the session helps them relax. It builds trust and makes the process feel collaborative rather than opaque. I can suggest a pose, show the result, adjust with their input, and move forward with confidence.
It also allows the subject to choose their preferred images during the session, with my guidance. That reduces miscommunication and back-and-forth later, because image selection is agreed on before anyone leaves the studio.
Headshot Booths
Headshot booths are on-location portrait setups at conferences, trade shows, corporate events, and weddings. In these settings, tethered shooting lets me run a live slideshow, share photos instantly, and print on-site. They’re core to making the headshot booth feel professional and well run.
Without tethering, delivering that level of experience becomes difficult at the volume a booth typically handles. I go into more detail about my setup in this guide on running a headshot booth.
Events and Weddings
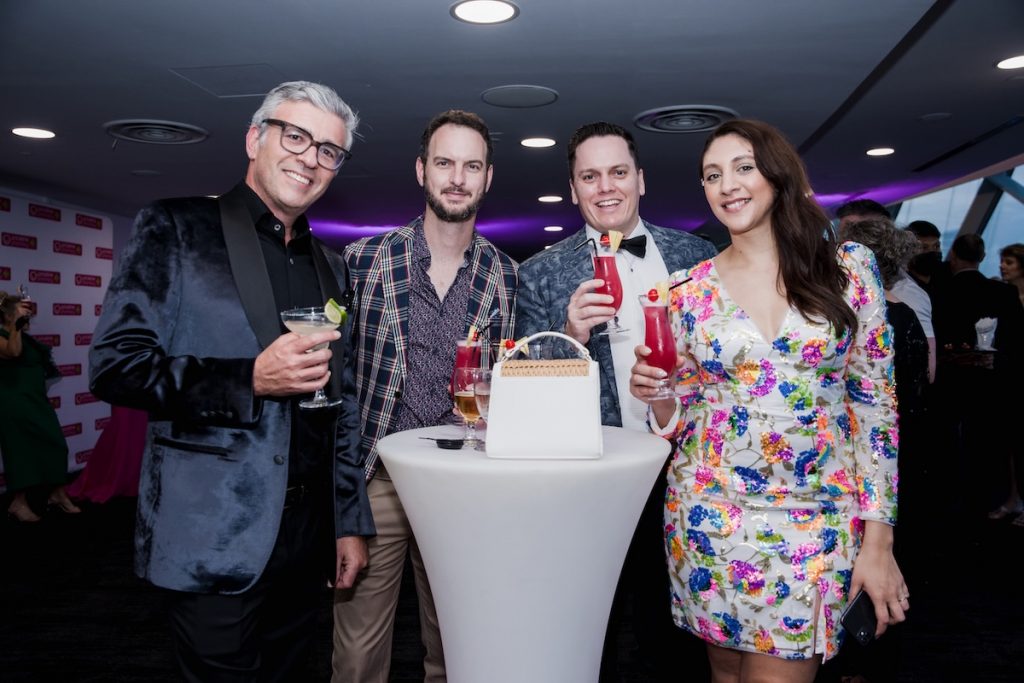
In events and weddings, tethering enables real-time delivery.
Uploading photos from camera to cloud lets me share images with guests while energy and excitement are still high. People receive photos when they care most, rather than days or weeks later.
Instead of handling delivery after the shoot, I can create a shareable gallery link so guests and clients can view and download their photos instantly, even before the day is over.
When I combine this with face recognition, the process becomes effortless. Guests don’t have to scroll through an entire gallery to find their photos, and images reach the right people without me manually sorting or organizing them.
This has shifted my perspective on wedding sneak peeks, something I explore in more detail in a separate article.
Tethering is also useful for social sharing during a shoot. If I’m photographing a wedding, I might post sneak peeks or behind-the-scenes moments to Instagram Stories throughout the day. I can select and share images almost immediately after capture, which makes the content feel current.
Sports and Marathon Photography
In sports and marathon photography, timing directly affects sales, and tethering helps me deliver photos at the right moment.
Participants are most motivated to view and buy photos immediately after a race or match. Tethered workflows make it possible to sell images then, rather than days later when interest has declined. This has a direct impact on conversion and revenue.
How to Tether
Once you know why you’re tethering, choosing how to do it becomes clear. I use tethered photography in two ways: tethering to a laptop and tethering to a phone.
Tethering to a laptop is best suited for studios and controlled environments. It prioritizes reliability, fast file transfers, and collaboration. This is where I want a stable connection, a large screen for review, and direct access to my editing software.
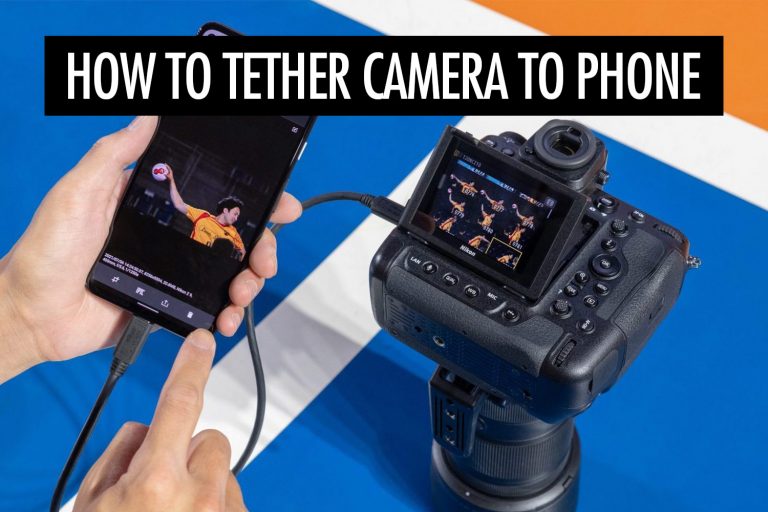
Tethering to a phone works better for on-location and live setups, such as headshot booths, events, and weddings. It prioritizes speed and delivery, making it easier to share photos while the shoot is still happening.
These two approaches solve different problems and lead to different workflows.
| Tethering to a Laptop | Tethering to a Phone | |
| Best suited for | Studio and controlled environments | Headshot booths, events, weddings, sports |
| Primary goal | Team review and collaboration | Live sharing and selling |
| File type | RAW | JPEG |
| Transfer method | Wired or wireless | Camera-to-cloud |
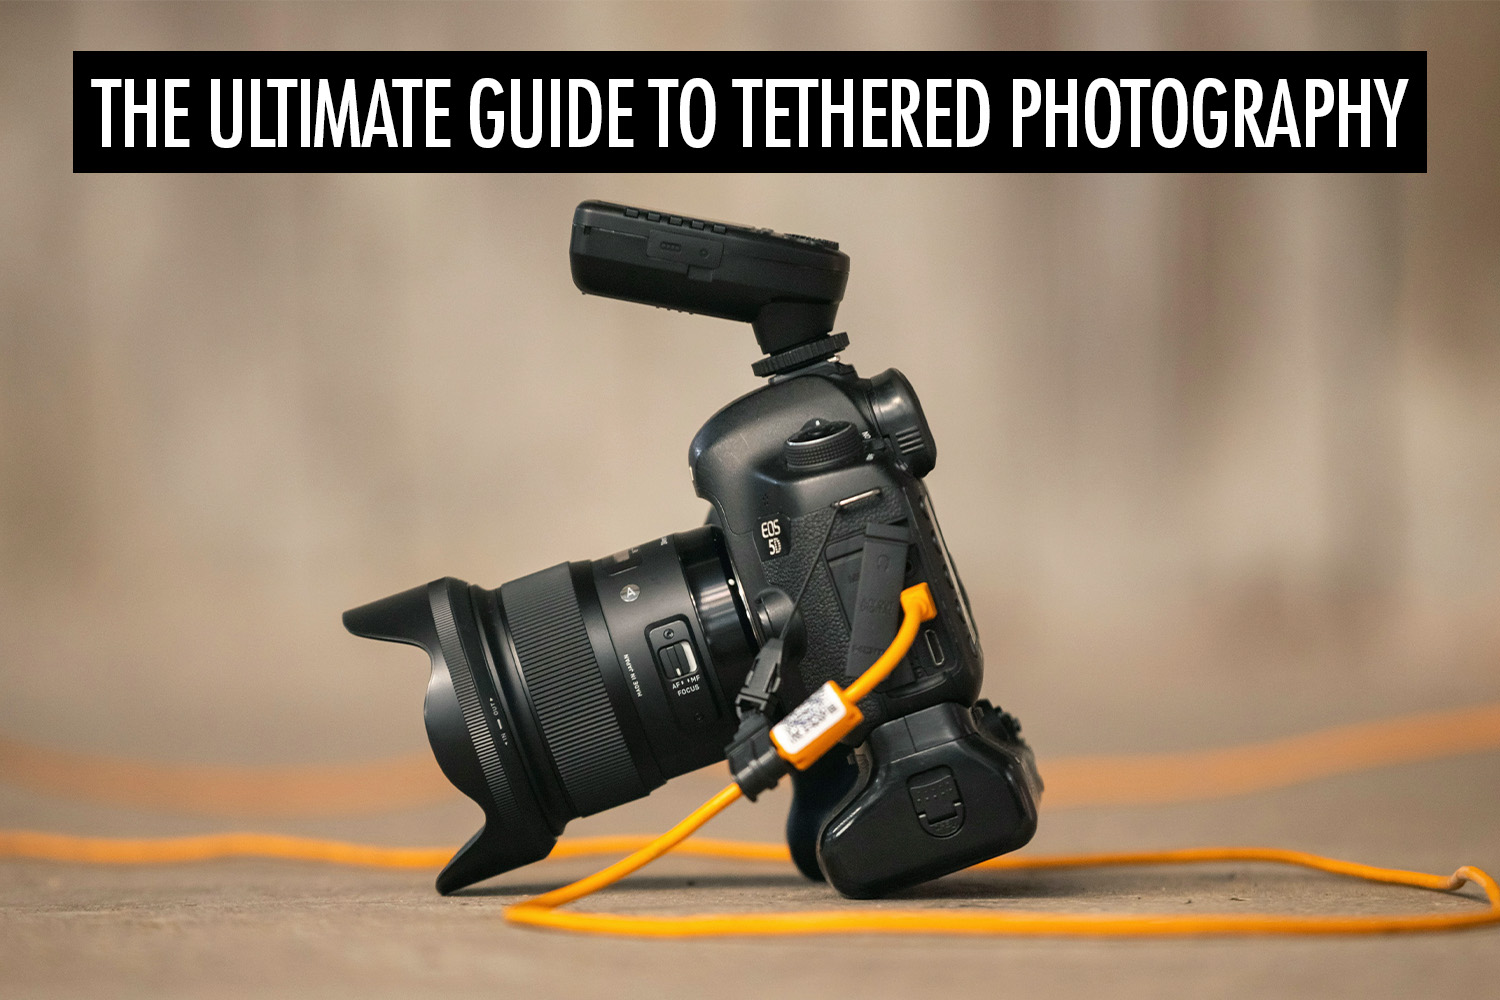
Tethering to a Laptop
When I’m working in the studio, I tether to a laptop. This setup works when reliability and collaboration matter more than mobility.
I use a TetherTools 4.6 m cable, which gives me enough freedom to move around without feeling restricted. You can tether wirelessly or with a cable, but in studio environments I always prefer a cable. I’m shooting RAW files, and a wired connection is faster and more reliable, especially during longer sessions.
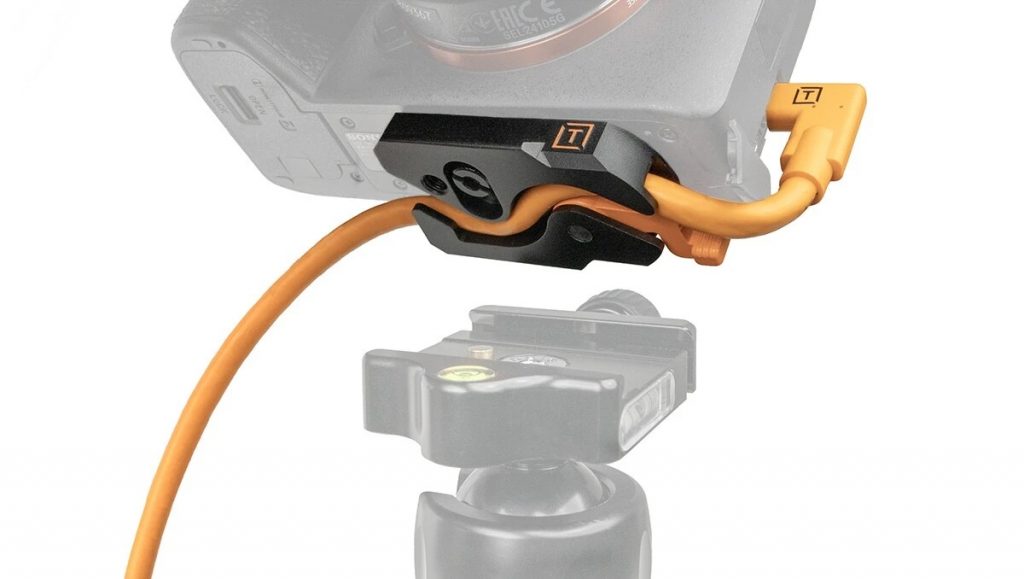
I also use a tether plate to lock the cable in place on the camera. This keeps the connection secure and prevents accidental disconnections. Losing the connection mid-shoot is disruptive, particularly when clients or collaborators are watching the screen.
The laptop sits on a workstation with wheels, so I can move it easily around the studio. That keeps the screen close enough for review without interrupting the flow of the shoot.
I shoot in RAW when tethering to a laptop because it streamlines everything that happens after capture. Files transfer directly into my editing software, where I can rate images as I shoot and begin editing immediately. There’s no separate ingest step and no need to pull cards at the end of the session.
It also creates a live backup while I’m shooting. That’s important for commercial and portrait work, where reshoots are often not an option. I cover how this fits into a complete photo backup strategy, including off-site copies and long-term protection, in my guide to photo backup using the 3-2-1 method.
In terms of camera tethering software, the two tools I use most are Lightroom and Capture One. Lightroom works well for simpler sessions and solo workflows. When shoots get longer or more demanding, I switch to Capture One because transfer speeds are faster and the connection is more stable.
In my experience, Capture One holds up better for tethered shooting. File transfers are faster, connections are more stable, and it performs better under sustained use. It also lets others view images on a separate device, such as an iPad, which is useful when I’m working with a team and need quick sign-off from a creative director or client.
Tethering to a Phone
I tether to a phone for headshot booths, events, weddings, and sports or marathon photography. In these use cases, the priority is speed. I’m trying to share or sell photos while interest is still high.
Because of that, I use a camera-to-cloud workflow.
I transfer JPEG files instead of RAW. JPEGs move much faster, which matters when internet speed is unpredictable. In these situations, the photos are meant to be shared immediately, so there’s no practical reason to transfer RAW files.
I use Honcho for this workflow because it supports camera-to-cloud uploads and sharing with face recognition, which allows guests to find their own photos quickly. Instead of scrolling through a large gallery, they can upload a selfie and see only their images. In the context of selling photos at sports events and marathons, that reduction in friction often makes the difference between a sale and no sale.
Honcho also has a built-in photo editor, which I use for quick touch-ups when needed. Most of the time, I’m focused on getting the photo right in-camera and applying a preset I’ve prepared in advance.
For headshot booths, this setup also supports the experience around the shoot. I’ll usually run a separate viewing station and print photos on-site, while the phone handles uploads in the background.
Conclusion
Tethered photography comes down to choosing the right workflow for the job. In the studio, tethering supports collaboration by making decisions visible and shared. In live events, it shapes the experience by getting photos to people while interest is still high.
What matters is being intentional. When tethering supports the goal of the shoot, it saves time, reduces rework, and improves outcomes for everyone involved.
Once you’re clear on what you’re optimizing for, choosing how to tether becomes straightforward. You stop asking whether you should tether and start deciding which approach makes sense for the situation in front of you.
Frequently Asked Questions
No. Tethering is a tool, not a requirement. It works best when it supports the goal of the shoot, such as collaboration in the studio, improving the subject’s experience, or delivering photos quickly at live events. If it adds friction or slows you down, it’s usually better to skip it.
Tethering to a laptop makes sense when a shoot requires careful review and adjustment during capture, such as commercial or studio portrait work. It allows focus to be checked at 100%, lighting balance to be evaluated, reflections to be caught early, and posing or light placement to be adjusted in real time, often with a client or creative team viewing the images as they come in. Tethering to a phone is better when speed and delivery matter, such as headshot booths, events, weddings, and sports photography. In those cases, JPEG files are sent to the cloud so photos can be shared or sold while people are still present.
In studio environments, a cable is more reliable and faster, especially when transferring RAW files. Wireless tethering can work, but it’s more prone to dropouts.
Not always. When tethering to a laptop in the studio, RAW makes sense because it supports editing and backup. When tethering to a phone for live delivery, JPEG is usually the better choice because it transfers faster and is meant for immediate sharing, not post-processing.
It can if the workflow isn’t designed properly. Unstable connections or unnecessary steps can interrupt momentum. When set up intentionally, tethering often speeds things up by reducing reshoots, fixing issues earlier, and completing delivery during the shoot itself.
Yes, as long as the setup stays simple. Even when working alone, tethering can help you spot framing or lighting issues earlier, show subjects their photos during portrait sessions, or deliver images immediately at events.