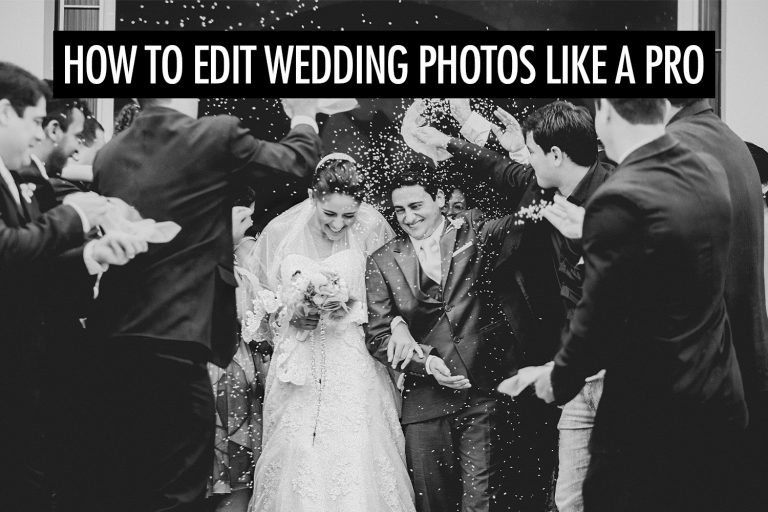
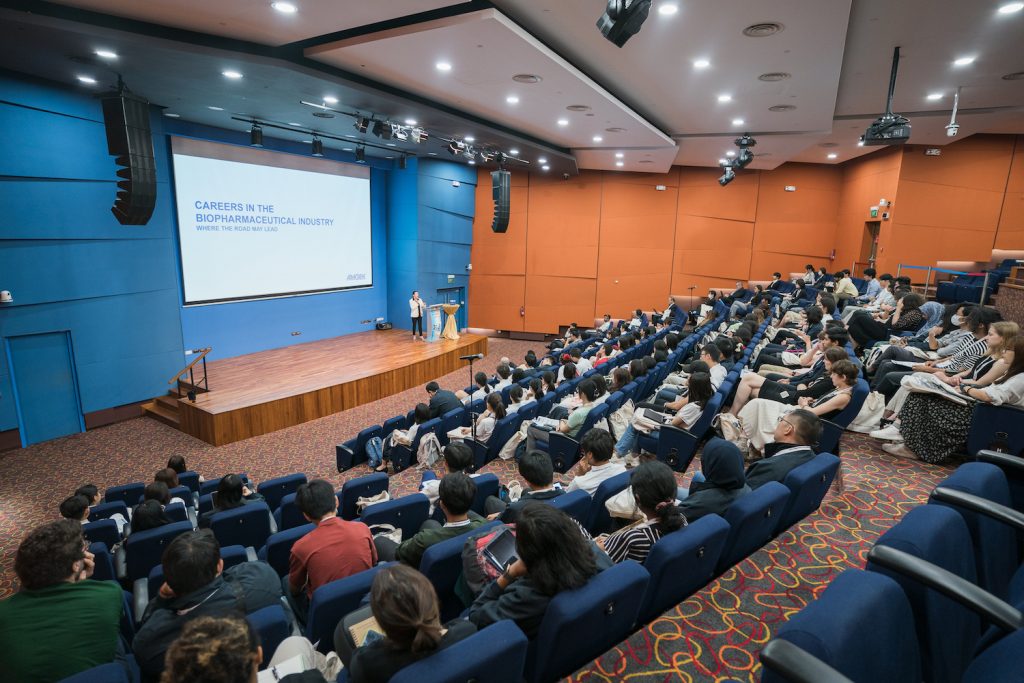
When it comes to editing event photos, you want to find the right balance between speed and quality. Many event clients expect fast turnarounds within a couple of days, and we often get requests to send a selection of edited photos on the event day itself—usually for social media posts or press releases. Hence, having an efficient workflow is key.
As event photographers ourselves, we’ve covered hundreds of events, from concerts and award shows to private parties. As a rule of thumb, we aim to finish editing in half as much time as we spend shooting the event. For example, if we covered an event for 6 hours, we would want to cull and edit it in 3 hours or less.
Of course, this varies from event to event—some events are harder to edit due to tricky lighting conditions. But if we take too long to edit, we’re not making effective use of our time. There are diminishing returns when it comes to editing event photos, and spending more time obsessing over every pixel isn’t going to make your clients happier.
Generally, you don’t need extensive editing or retouching for event photos. It’s also impractical when you’re looking to deliver hundreds or even thousands of photos on a tight deadline.
In addition, there are many aspects that go into running a photography business. It’s not just shooting and editing events—you need to think about marketing your business, closing sales and communicating with your clients, among others.
With so many other things to do, you want to make sure that you’re productive when it comes to editing your event photos. In this article, we’ll walk you through how to edit event photos like a pro.
Organizing Your Photos
Before we talk about editing event photos, let’s have a brief section on organizing your photos. Make sure to have a logical system—your future self will thank you for that. Everyone will have their own preferences on how to organize their photos, and that’s fine as long as you’re able to easily locate your photos when you need them.
We use a simple system that works well enough, that trying to optimize it further doesn’t provide much of a benefit. First, we create a folder for the year—for example, a folder named “2025”. All of the events in that year will go into the folder, which makes it easy for us to locate past events. We just need to recall the year in which we shot the event.
Every event or wedding will have its own folder, and we name the folder with the client name and event date. For example, it could be “Apple_22052025”. If the event takes place over several days, we create separate folders for each day and place them into a single folder for the whole event. For instance, “Apple_22052025 – 26052025” would have folders for day 1, day 2, and so on.
Regardless of how you organize your photos, make sure you stay consistent and stick to your system.
Photo Editing Software
Most photographers use Adobe Lightroom to organize their library, and cull and edit their photos. There are alternatives to Lightroom, such as Capture One and ON1 Photo RAW, that have similar feature sets to Lightroom. There are also more specialized tools that professional photographers use—for example, Photo Mechanic for fast culling of photos and AI photo editors to speed up the editing process.
In this article, we’ll mainly focus on Lightroom Classic, which is the most widely used photo editing software for event photographers, and come with a wide range of plugins to extend the functionality.
Culling Your Event Photos
Culling always comes before editing, for the simple reason that you don’t want to waste time editing photos that won’t make the cut in the end.
We usually cull our event photos in two passes. The first pass is a quick one, where we’re removing clear rejects—maybe they are out-of-focus, poorly framed or the expressions on the faces are unflattering. This usually cuts down 20-30% of the photos, making the second pass more manageable.
The second pass is where we decide which photos will make the cut, and it’s usually a longer process than the first pass because we’re being more deliberate about our decisions. It’s no longer about removing clear rejects—it’s about finding the selection of photos that best capture the emotions of the event and tell a coherent visual story. Much of that is down to individual judgement and it’s where the artistry comes into play—sequencing matters in telling the story in a compelling way.
Different photographers will have different opinions on how many photos to deliver. We think that our job isn’t to deliver as many photos as possible. Quite the opposite, it’s to tell the story as effectively as possible, without any additional fluff. Hence, as a rule of thumb, we tend to deliver between 40 to 60 photos per hour of coverage. That said, it depends on how much is actually going on in the event. If the event is packed with action, we’ll deliver more photos.
A simple question to ask when culling is, “What is the purpose of this photo?” For example, is it an establishing shot, or does it show authentic emotions or interactions between the event guests? If you can’t think of a clear purpose for the photo, then it shouldn’t stay.
We use the star rating system in Lightroom Classic to cull our event photos. It’s up to you to decide what each rating means, as long as you’re consistent with it. For instance, you could use 5 stars for the event highlights (if you need to deliver highlights), 3 stars for photos that will make the cut, and the default 0 stars for rejected photos.

Editing Your Event Photos
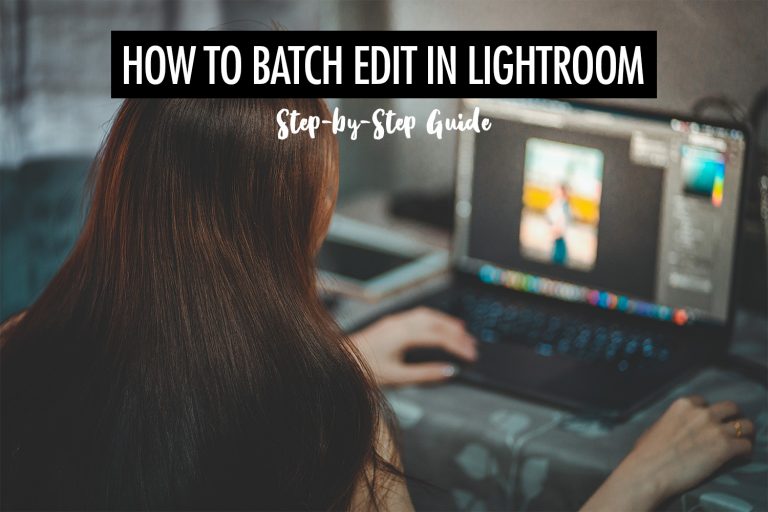
After you’re done with culling, you can finally get to editing the event photos. Since we want to edit in an efficient way, we use a combination of presets and batch editing to speed up the process.
Our first step is to apply a preset, and this can be done when you import the photos into Lightroom Classic. Presets help you maintain a consistent look for your photos, which is important in telling a cohesive visual narrative. You don’t want to be changing editing styles from photo to photo, unless there’s a clear artistic purpose to it—such as having a small selection of black and white photos to emphasize a certain mood.
You can create your own presets, use the built-in presets in Lightroom or purchase presets from the many photographers who offer them. Since our preference is to do light editing for event photos, we have our own presets with adjustments for highlights, shadows, whites and blacks—we don’t do too much in terms of colour adjustments, apart from temperature and tint.
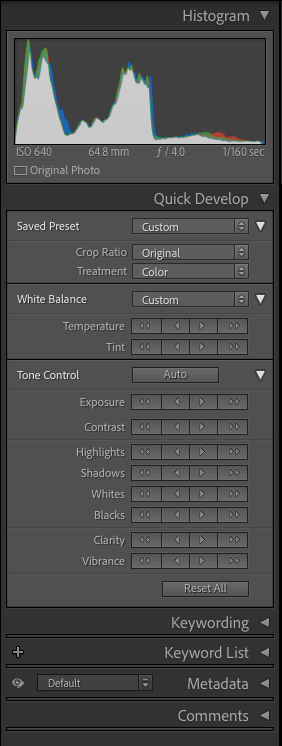
Presets are a good starting point and can get you halfway there. Thereafter, we do a quick round of batch editing with the Quick Develop panel in Library mode. This lets us make adjustments to multiple photos at the same time, while keeping an eye on the consistency across photos.
Then, we do a last round of editing from photo to photo, making our final adjustments.
Let’s walk through the edits that we make for event photos.
Colour Correction
Colour correction usually comes before anything else, because it affects our perception of brightness. If you have two photos at the same exposure, but at different temperatures, the cooler image looks brighter than the warmer image. We’ve experienced this many times in the process of editing event photos—making a photo cooler would make it look brighter than the other photos, which we then have to account for.
Since you don’t want to waste time constantly making re-adjustments, start by editing temperature and tint. Get the white balance of the photos as close as possible to the final edit, then move on to the other adjustments.
When you’re doing colour correction, you want to break up your event into segments, and keep the white balance consistent within the segments. Let’s use a conference as an example—you might have speakers on a stage and an audience sitting in the auditorium. Outside the auditorium, you might have exhibition booths. You want the colour temperature of the speakers on stage to be consistent—the colour temperature of the audience and exhibition booths should also be consistent.
It’s a pet peeve when we see noticeably different white balance across photos, when they should be consistent. That results in a lack of coherence, almost like each photo was edited by a different person. The photos from any particular event should tell the same story, and it should flow seamlessly from one photo to another.
Exposure
After we’re done with colour correction, we usually adjust exposure. As much as we try to shoot consistently during an event, the lighting conditions will vary. Different spots in a venue might have different lighting, or the flash might have been just a little too harsh for a couple of group photos.
How bright you want to adjust exposure depends on your photography style. Some photographers prefer a light and airy look, and would adjust exposure a little higher than what would be considered “accurate”. The most important thing is to keep your style consistent and edit to a similar style as your portfolio, unless your client requests otherwise.
Exposure should look consistent within segments, in the same way that colour correction should be consistent. For example, the photos of speakers on a stage should have similar exposure if the stage lights are the same. It’s quite jarring to go from one photo to the next and see the exposure jump around like a heart monitor. Again, this is important in telling a cohesive story of the event.
Cropping and Straightening
Some photographers prefer to start with cropping and straightening, while we do it interchangeably with colour correction and exposure adjustment.
When it comes to events, many photographers prefer to shoot a little wider to play it safe. It’s always possible to crop a photo if you shoot wider, but not the other way round. Hence, you can often improve the composition of your event photos by cropping them—to remove distractions, get a closer-up shot to emphasize the main subject or position the elements better in the frame.
Event photos often require a little straightening too, because the photographer is often shooting quickly without paying too much attention to keeping the photos perfectly horizontal. When straightening the photos, you can look for a reference that should be horizontal or vertical. For example, look for pillars or doors that you know should be vertical, and adjust accordingly.
Highlights, Shadows, Whites and Blacks
We generally don’t adjust highlights, shadows, whites and blacks from photo to photo. Instead, we set these with a preset, because they give a distinct style to our photos which we want to keep consistent.
That said, we make adjustments for certain photos that need tweaking. For example, we lower the highlights when we shoot group photos with flash. This reduces the specular highlights and evens out the brightness of the faces. We also reduce the highlights when there are bright screens in the background. For example, a speaker might be standing in front of a screen showing her presentation slides. Lowering the highlights allows the slides to be seen, instead of just a patch of bright white light from the screen.
On the other hand, you might want to lift the shadows to reveal more details in the photo or make it look less contrasty. For example, if you’re doing a large group photo but don’t have a large source of light, it’s hard to light it evenly. Bumping up the shadows can help to brighten up the people who were not lit so well.
Sharpening and Noise Reduction
Sharpening and noise reduction are usually applied as a final step, before we export the photos. We generally add a bit of sharpening to make the photos look more crisp. After all, many clients (and photographers too) equate sharpness with quality. Sharpening tends to be subtle, and if you need something more heavy handed, you can increase clarity instead—which increases contrast in the midtones. Be careful not to do it too much, because you can easily stumble into bad HDR territory.
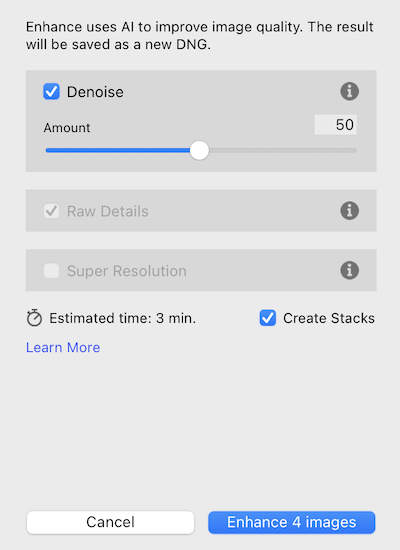
In our opinion, AI denoise in Lightroom Classic is a game changer, and it has given us much more confidence in shooting without flash in low light conditions. There are times when we simply can’t shoot with flash—for example, if a videographer is shooting the same scene, they certainly wouldn’t appreciate it if you’re triggering the flash every few seconds.
AI denoise has allowed us to recover photos that we would have rejected otherwise. Just be careful not to go overboard with it, because adding too much denoise can result in a photo that looks AI generated, and we prefer our photos to look real and natural.
There’s also a misconception that high ISO means high noise and vice versa. That’s incorrect because noise depends on the amount of light in the scene, not the ISO. If it’s a well lit scene, you don’t get a noisy image even if you shoot at high ISO. Hence, you can’t simply filter photos based on their ISO settings to identify those with high noise.
Our process is to add a colour label to photos that we notice have high noise while we’re in the process of editing. Then, we can easily find the photos with the colour label and apply AI denoise.
AI Photo Editors
Since editing event photos is all about efficiency, it makes sense to consider AI photo editors. Tools like Imagen, Aftershoot, and Narrative offer both AI culling and editing.
Personally, I’m a big fan of AI photo editors because they save a huge amount of time—both in culling and editing. With events, we often shoot in bursts to ensure we don’t miss key moments. The problem is that it leaves us with dozens of nearly identical images to sort through. AI photo editors make this easier by grouping duplicates and identifying the best shot, filtering out ones that are out of focus or have subjects with closed eyes. It certainly makes the process a lot less tedious.
On the editing side, AI profiles function like smart presets. Unlike traditional presets that apply the same adjustments across the board, AI profiles adapt to each photo, analyzing it and making tailored edits—much like a human editor would. Based on my personal experience, the biggest benefit is in colour correction, which is often the most tedious part of editing event photos. AI photo editors get us pretty close to the final edit, and we just need to make minor adjustments in colour temperature.
If you’re interested in exploring AI photo editors, read our article about the 10 best AI photo editors for photographers.
Delivering Your Event Photos
We believe that the best way to deliver your event photos is with Honcho, because it lets anyone easily find their own photos with face recognition—just by uploading a selfie. That makes the distribution of photos effortless, providing a better experience for your clients and guests.
Honcho offers best in class face recognition accuracy, and it’s able to handle large groups of people, different lighting conditions, and even faces that are partially obscured or facing away from the camera. The processing time is quick, and it can identify the correct photos in just a couple of seconds—so that anyone can retrieve their photos immediately.
More than that, Honcho also allows you to share your photos in real-time, while you shoot. That’s done by tethering your camera to the mobile app, and uploading your photos from camera to cloud. People are the most excited to receive their photos during the event itself, not days or months after it’s over. By sharing instantly, you create the most impact with a delightful photography experience.
With Honcho, you get to make an impression and promote yourself to everyone at the event. If any of them need a photographer themselves, you’ll be the first to come to mind.
Conclusion
Editing event photos like a pro isn’t about spending hours obsessing over every detail. It’s about working efficiently while still delivering high-quality and consistent results. By streamlining your workflow, you can significantly reduce your turnaround time without compromising on quality.
Using Lightroom Classic with a combination of presets and batch edits can speed up your process. And if you’re looking to take it a step further, AI photo editors offer even more ways to save time.
At the end of the day, the goal is to tell the story of the event in the most compelling and coherent way possible, while keeping your editing process productive and scalable. The more efficient your workflow, the more time you’ll have to focus on other parts of your photography business, or to just enjoy some well-earned rest after a big event.