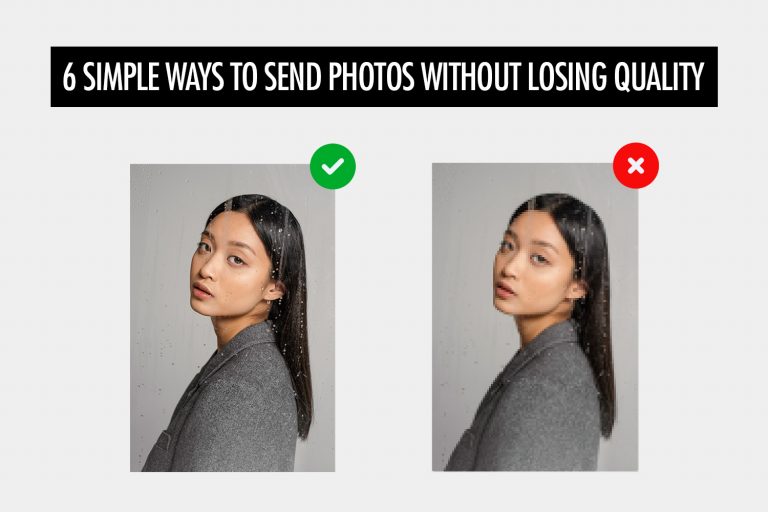
As photographers, we need a professional way to share photos with our clients after the shoot is done. We might also want to share photos with people other than our clients. For example, guests at a wedding or event, or participants for high volume photography (such as at a marathon or school event).
The best way to do this is by creating a link to share your photos. You can easily distribute the link or generate a QR code to display around the event venue, so that guests can scan the QR code to access the photos.
In this article, we’ll first walk through how to create a link to share photos with some of the most popular cloud storage services, like Google Photos, Dropbox and iCloud. We’ll also cover client gallery platforms like Pixieset and Pic-Time. Then, we’ll explain the limitations of the various approaches, and suggest a better alternative for photographers.
Quick Summary of Different Methods
If you just want a quick way to share photos, here are the most common options, depending on what you’re trying to do:
- Use cloud storage (Google Photos, Dropbox, iCloud)
Best for sharing finished albums with a simple link. Easy to set up, but not designed for live updates or events. - Use file transfer tools (WeTransfer)
Useful for one-off sharing of large files. Links usually expire and don’t offer a gallery-style viewing experience. - Use gallery platforms (Pixieset, Pic-Time)
Ideal for photographers delivering polished galleries to clients. Better presentation and controls, but typically used after the shoot. - Use live photo sharing platforms (Honcho)
Designed for situations where photos need to be shared as they’re taken, such as weddings or events, with a live gallery guests can access instantly.
The table below gives a quick side-by-side comparison of these photo sharing methods, so you can see how they differ before diving into the step-by-step guides.
| Method | Best for | Real-time sharing | Gallery view | Privacy controls | Multiple download sizes |
| Cloud storage | Sharing finished albums | ✕ | ✓ | Limited | ✕ |
| File transfer tools | One-off file delivery | ✕ | ✕ | ✕ | ✕ |
| Gallery platforms | Client delivery | ✕ | ✓ | Limited | ✓ |
| Live photo sharing platforms | Events & weddings | ✓ | ✓ | ✓ | ✓ |
Cloud Storage
Google Photos
Start by creating an album in Google Photos.
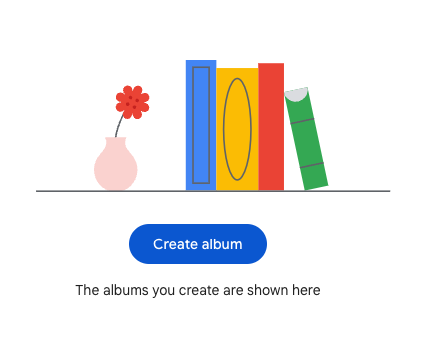
Next, add a title to the album, and add your photos if they are ready.

In some cases, you would want to create your album before the event, so that you can share the link or QR code during the event. Just make sure to upload your photos to the correct album after the event.
Next, click on the share icon.

Finally, click on “Create link” and copy the link that is created.
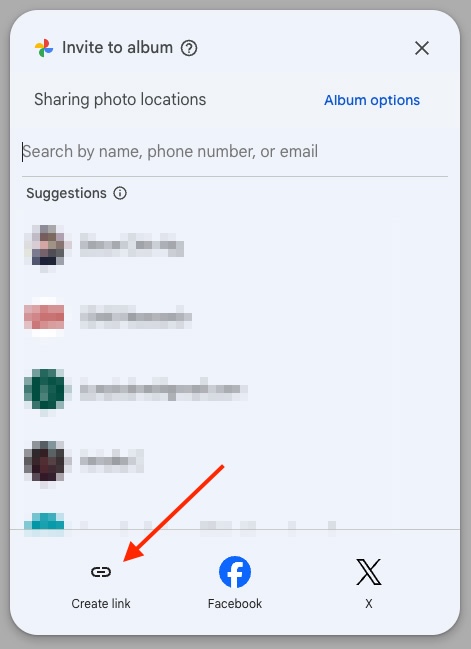
That’s it, you can now share your photos with a link on Google Photos!
Limitations of Sharing Your Photos With Google Photos
While Google Photos is good for the basics, it has its limitations.
- There is no easy way to instantly upload your photos while you shoot. Hence, you can only upload your photos after the event, which is too slow. People are the most excited to receive their photos while the event or wedding is happening, not days or weeks after it’s over. By delivering your photos slowly, you miss the window of opportunity to generate excitement and interest in your business.
- It’s too much work for guests to find their own photos, because they have to scroll through the whole album to pick them out. It’s also too much work for photographers or clients to send only the right photos to each guest.
- Anyone with access to the album can see all of the photos, which can be a privacy concern. For many events, it’s not appropriate to publicly share all of the photos, and better privacy controls are needed.
- Google Photos lacks the option to control download sizes, and it doesn’t offer an automatic way to generate versions of your photos at different sizes. This feature adds convenience for your clients and guests, allowing them to download smaller versions suitable for sharing on messaging apps or social media.
Dropbox
Start by creating a new folder in Dropbox, and name the folder.

Upload the photos you want to share into the folder.
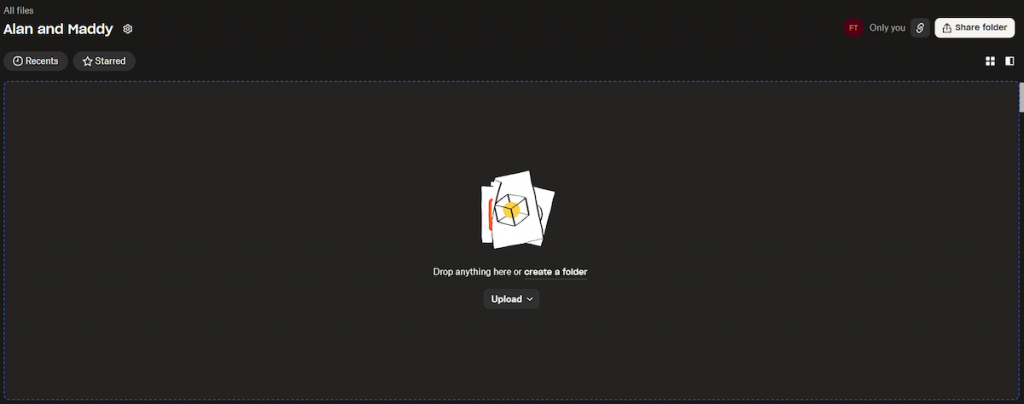
Open the folder and click the Share Folder button. You can invite people manually, generate a shareable link, or create a QR code.
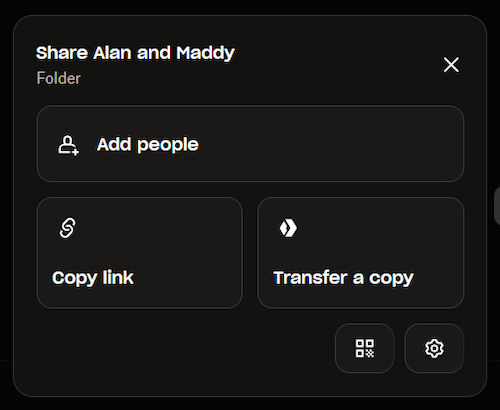
Select the option to create a link or QR code.
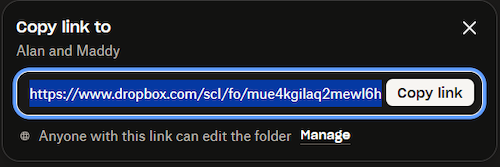
Share the link or QR code, for recipients to access the photos via Dropbox.
Limitations of Sharing Your Photos With Dropbox
There are a few things to keep in mind while using Dropbox to share your photos.
- Dropbox doesn’t offer a dedicated photo gallery or visual browsing experience, which is important for presenting your photos in a professional manner.
- Finding individual photos in a shared folder is too much effort for guests, since they have to scroll through the entire collection to locate their own pictures. It’s equally time-consuming for photographers or clients to manually select and send specific photos to each guest.
- Anyone with access to the folder can view all the photos, which raises privacy concerns. For many events, it’s not appropriate to make every photo publicly visible, highlighting the need for stronger privacy controls.
- Dropbox doesn’t allow you to customize download sizes or automatically create resized versions of your photos. This feature provides convenience for clients and guests who may want smaller, more shareable files for messaging apps or social media platforms.
Dropbox is effective for simple file sharing but may fall short if you’re seeking a more visual or feature-rich photo-sharing solution.
iCloud
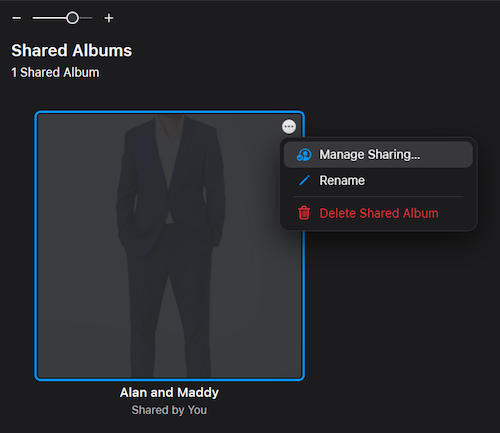
Open the Photos app on your iPhone or iPad, or visit iCloud.com/photos on your computer. Create a new shared album.
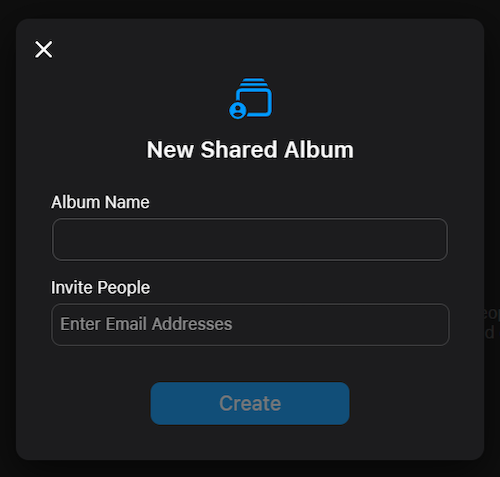
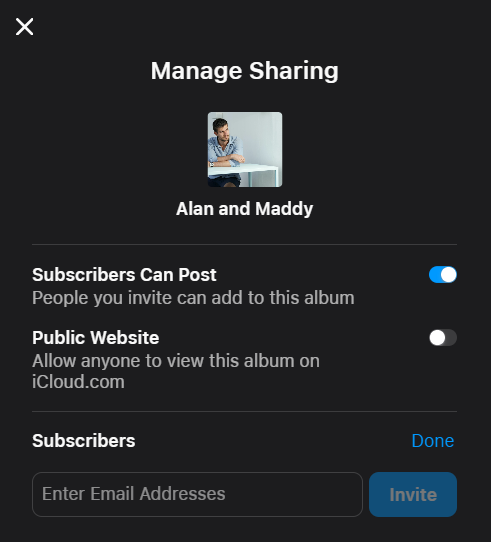
Click the Manage Sharing button at the top right corner of the album cover.
To generate a public shareable link, you have to enable the Public Website option.
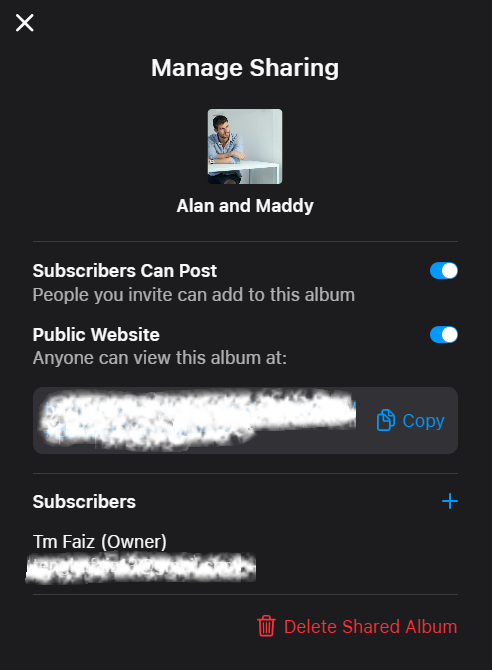
If you want others to contribute photos, you’ll need to invite them manually by entering their Apple ID and they’ll then be added as subscribers to the album.
Limitation of Sharing Your Photos With iCloud
- Shared links automatically expire after 30 days, making iCloud less ideal for long-term photo sharing.
- As expected with Apple services, the feature works best within Apple’s ecosystem. Non-Apple users may encounter a less seamless experience.
- There are no options for setting passwords or customizing access permissions for shared albums.
- iCloud lacks advanced organization tools such as tagging or recipient-specific sorting. Photographers may need to create separate albums and links to send specific photos to different people—adding extra steps.
- iCloud is best suited for temporary sharing, particularly among Apple users, but it lacks the advanced sharing features and flexibility found in other platforms.
File Transfer Tools
WeTransfer
Click “Add Files” to upload photos, or select “Add Folder” if you prefer to organize them within a folder.
Customize your transfer by setting options such as expiration date, password protection, and appearance.
Click “Transfer” to begin the upload. WeTransfer will automatically generate a shareable link once the upload is complete.
Once the upload is complete, you can copy and send the link to your guests or clients for easy access.
Limitation of Sharing Your Photos With WeTransfer
- Anyone with the link can download your files. Advanced security features like password protection are only available with a paid plan.
- Photos are shared as downloadable files. We Transfer has no built-in gallery or preview option for easy viewing of the photos, and beautiful presentation of photos is important for photographers.
- WeTransfer doesn’t offer tools to streamline the distribution of photos, such as face recognition for guests to easily find their own photos.
- WeTransfer doesn’t provide the option for setting multiple download sizes. In fact, it doesn’t even allow single photo downloads—you’re required to download the entire set at once.
Gallery Platforms
Pixieset
Create a new collection in Pixieset.

A collection is made up of sets. A set is automatically created for you with a new collection, and you can upload your photos to the set.
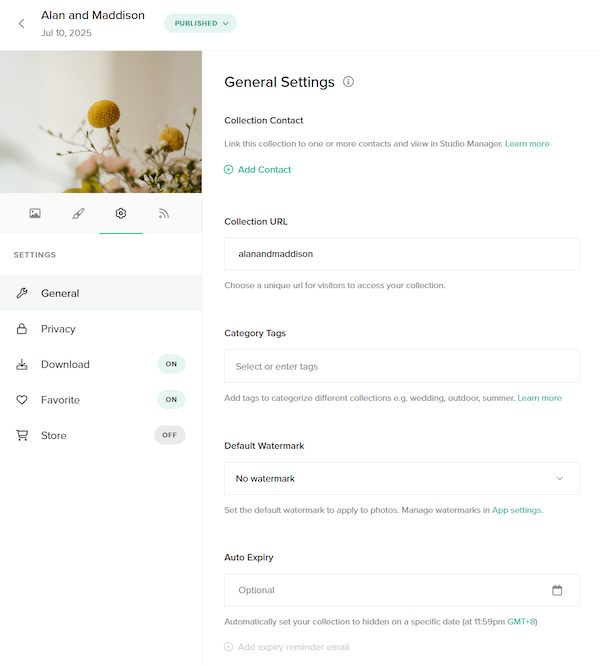
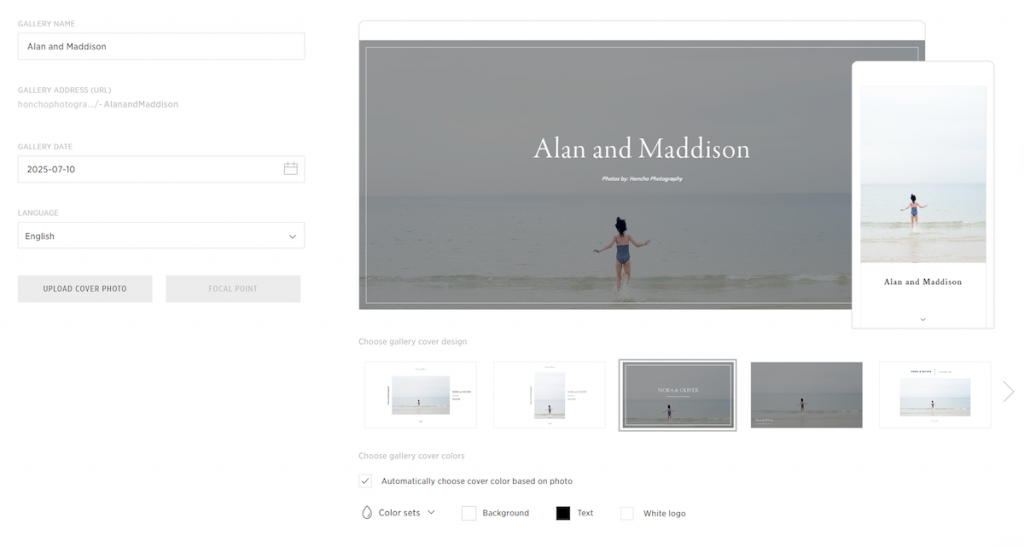
Adjust the collection settings, such as choosing a cover photo, setting a password, and configuring download sizes.
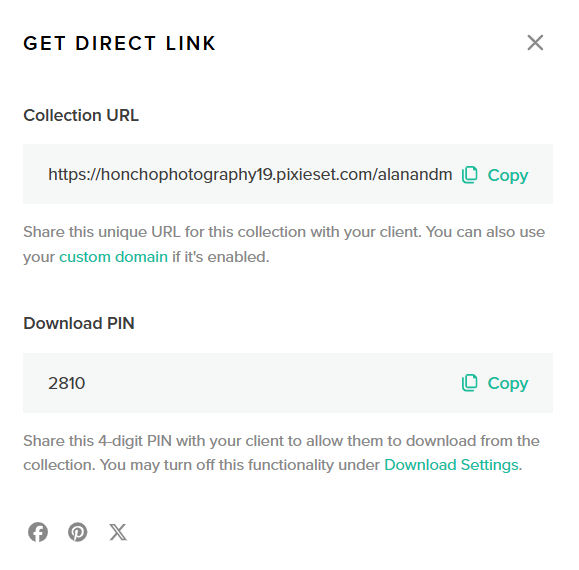
Once your gallery is ready, click “Share” and select “Get direct link” to generate a unique link.
Limitation of Sharing Your Photos With Pixieset
- There’s no simple way to upload photos in real time while shooting, which means you’re limited to uploading them only after the event ends, which is often too late. The best moment to share photos is during the event itself, when excitement is at its peak. Delayed delivery misses this critical window, reducing the chance to create buzz and draw attention to your work.
- For guests, finding their own photos is tedious, since they have to scroll through the entire gallery to locate them. And for photographers or clients, manually selecting and sending the right photos to each person is equally time-consuming.
- Anyone with access to the gallery can view all the photos, raising privacy concerns. In many cases, it’s not appropriate for every image to be publicly visible, underscoring the need for stronger privacy controls.
- Pixieset doesn’t offer on-site features like wireless printing or live slideshows, which limits its potential to elevate the atmosphere and engagement during events.
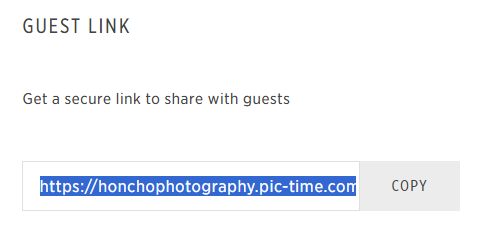
Pic-Time
Create a new gallery in Pic-Time. Customize the gallery settings, including your preferred layout, download permissions, and client information.
Upload your photos to the gallery and organize them by folders or collections if needed.
Once your gallery is ready, click “Share” to generate a unique link. You can create separate links for photographers and guests, each with different access permissions.
Limitation of Sharing Your Photos With Pic-Time
- There’s no easy way to upload photos in real time while shooting, so you’re restricted to sharing them only after the event has ended, which is often too late. The ideal time to deliver photos is during the event itself, when excitement is highest. Delayed sharing means missing a key opportunity to create buzz and drive interest in your work.
- Open access to the gallery poses privacy issues, since anyone with the link can view all the images. For many events, not all photos should be publicly visible, making strong privacy controls essential.
- Pic-Time lacks on-site engagement tools like wireless printing and live slideshows, limiting its ability to enhance the atmosphere and create memorable, interactive experiences during the event.
- Setting up galleries, customizing layouts, and configuring store or download options can be time-consuming, especially for photographers who simply want a fast and effortless way to share photos.
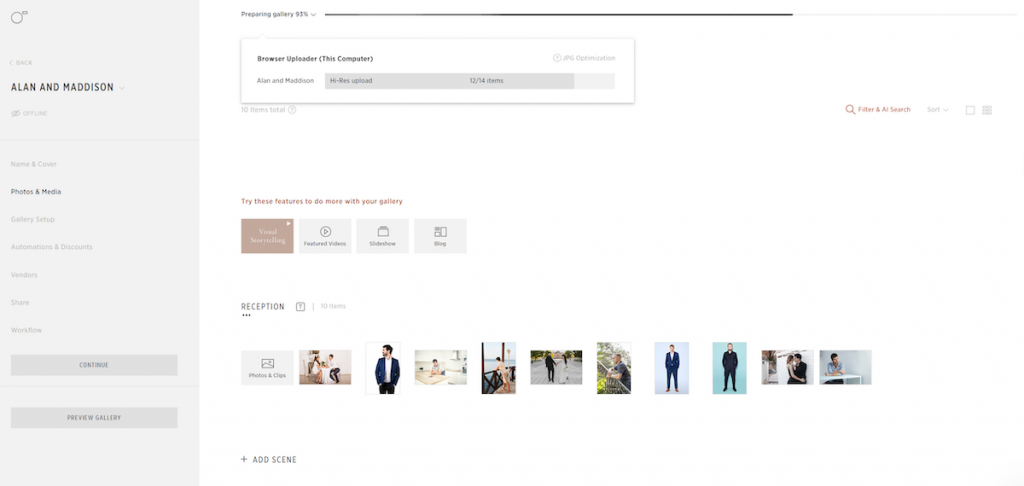
An Alternative Approach for Live Photo Sharing
The methods above focus on creating a link to share photos after the event has ended. A different approach is to share photos as they’re being taken, using a platform designed for live photo delivery.
With Honcho, photographers create a link or QR code to share photos during an event. Photos are uploaded from camera to cloud while the photographer is shooting, allowing images to appear in an online gallery within seconds rather than after the event.
This approach addresses several common limitations of other photo sharing methods:
- Instant sharing during the event
Photos are uploaded in real time, so guests can view images while the event is still happening. - Personalised photo access
Guests can browse the gallery or find their own photos using AI-powered face recognition by uploading a selfie, which automatically shows only the images they appear in. - Privacy controls for wider sharing
Galleries can be password protected, and photos can be blurred by default so guests only see their own images. - Multiple download sizes
Photos are available in high and lower resolutions for different uses, such as sharing on social media. - Live slideshows at the venue
Photos can be displayed on screens in real time, allowing guests to see moments from the event as they unfold.
Face recognition is used to help guests find their own photos quickly, without scrolling through the entire gallery. We’ve shared a short video showing how the face recognition works and how accurate it is in practice.
Conclusion
If you’re looking for a simple way to create a link to share photos, tools like Google Photos are often sufficient. They’re easy to use and work well for sharing finished albums after a shoot.
However, many photographers are now rethinking this traditional workflow. Sharing photos days or weeks after a wedding, event, or high-volume shoot can mean missing the moment when excitement and engagement are at their highest. Real-time or near-real-time sharing changes how people experience photography, turning it into something participants can enjoy while the event is still unfolding.
Platforms designed for live photo delivery make this possible by enabling instant sharing, personalised access through features like face recognition, and experiences such as live slideshows. Rather than focusing only on file delivery, this approach treats photo sharing as part of the overall experience.
As photography continues to evolve, the way photos are delivered can be just as important as how they’re captured. Exploring different sharing methods can help photographers and clients choose an approach that best fits the type of event, audience, and experience they want to create.