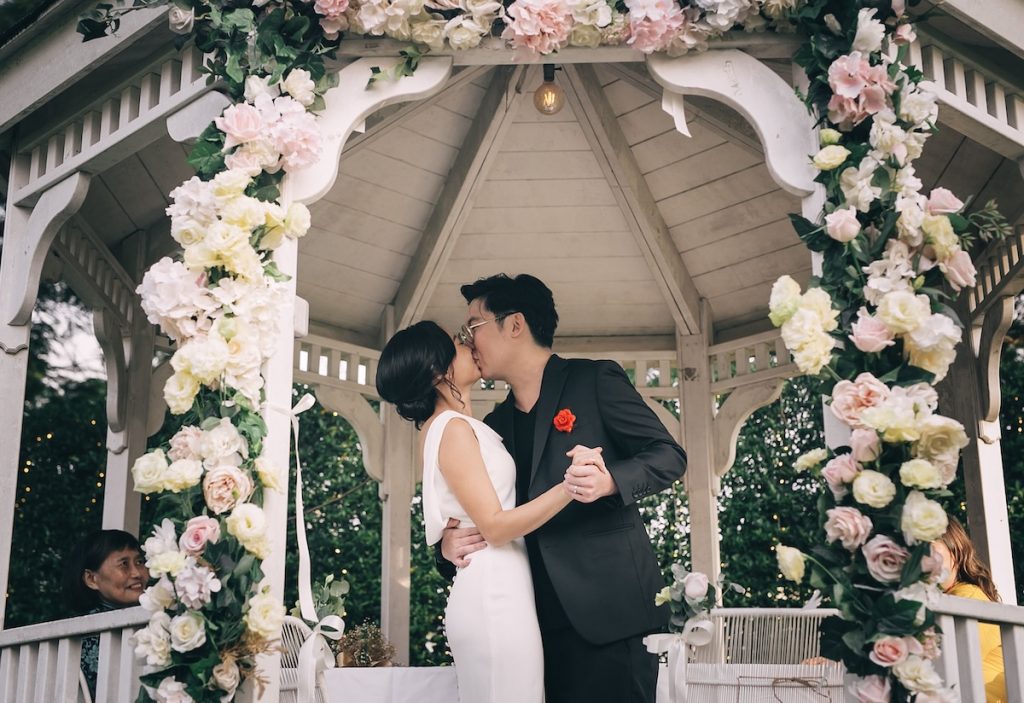
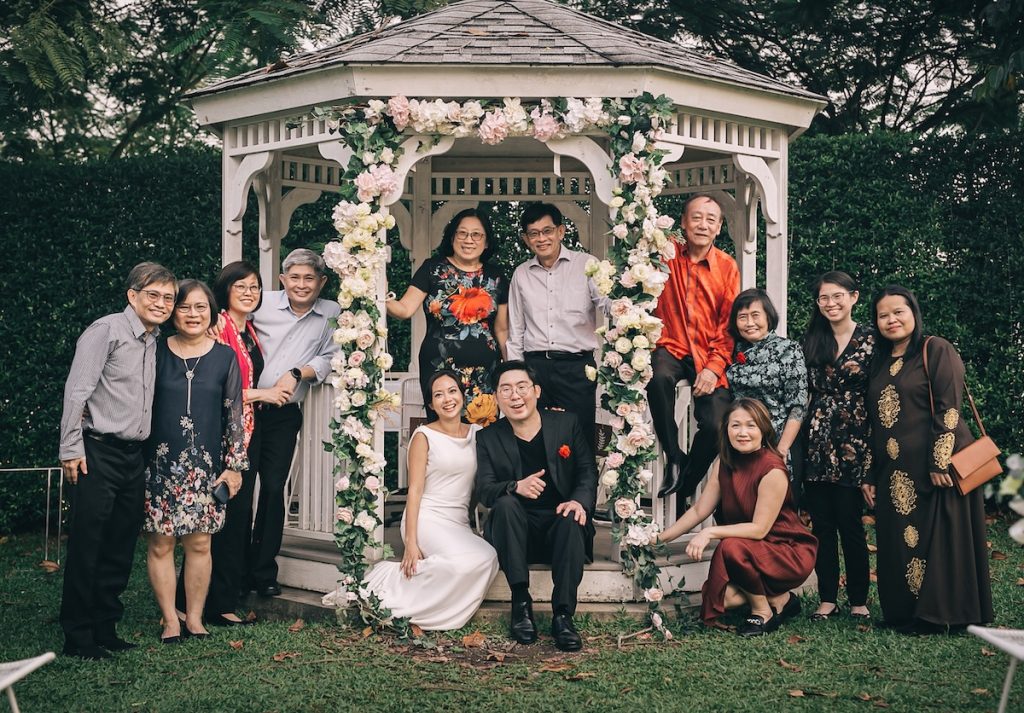
As wedding photographers, we have a huge responsibility to our clients to deliver photos that properly capture and convey the emotions of the once-in-a-lifetime event. Taking the photos is only half of the process—the other half is editing the photos, and this can take as long, or even longer, than the wedding shoot.
It’s common for wedding photographers to come home with thousands of photos, which we have to cull and edit in a way that tells a compelling story and reflects our unique style. It’s no surprise that many of us find editing to be the most daunting part of our work.
At the same time, it’s also important not to spend too much time editing each wedding. As much as we want to deliver the best possible results for our clients, there comes a point where we get diminishing returns for our efforts. Spending more time obsessing over every pixel isn’t going to make a real difference to your clients.
After all, there are many aspects that go into running a wedding photography business. It’s not just shooting and editing weddings—you need to think about delivering sneak peeks, marketing your business, closing sales and communicating with your clients, among others.
Hence, you want to find the right balance between speed and quality. As wedding photographers ourselves, we’ve covered hundreds of weddings and have come up with a simple rule of thumb. We aim to spend no more than twice the amount of time editing as we spend shooting the wedding. For example, if we covered a wedding for 10 hours, we would want to cull and edit it in 20 hours or less. That usually works out to 2 to 3 days of editing, which is a fair turnaround time.
Many wedding photographers don’t understand this, but it’s actually important to deliver your photos on time. We’ve heard so many stories about wedding couples waiting for months without seeing even a single photo. That just shows a lack of understanding of how to manage clients.
If your clients are waiting anxiously for months, their expectations are just getting higher and higher. But if you deliver your final edits in a week or two (and maybe throw in a couple of sneak peeks earlier), it’s so much easier to make them happy.
In this article, we’ll walk you through how to edit wedding photos like a pro, so that you deliver high-quality results on time—with an efficient workflow.
Backing Up Your Wedding Photos
Before we get into editing your wedding photos, we want to briefly cover a couple of important topics. The first is backing up your photos, which you want to do as early as possible. If you lose your photos, there’s nothing in the world that can save you.
Backing up doesn’t just start during post-processing—it starts in the camera. Many wedding photographers insist on only using cameras with dual SD card slots for this very reason. These cameras record the photos into both SD cards, so that in the unlikely event that one of them fails, you still have a backup.
Once you’re back from the wedding shoot, you can execute your full backup strategy, which we recommend as the first thing you do. We follow the 3-2-1 rule, that recommends having three copies of your data, stored on two different types of media, with one copy kept off-site.
What does that mean in practice?
First, we copy the wedding photos from the SD card to our main computer, which is either a desktop or laptop. Then, we make a copy for our external hard drive—many photographers use a Network Attached Storage (NAS) for that. Finally, we upload a copy that we store in the cloud—you can read our article about the best cloud storage for photographers.
Organizing Your Wedding Photos
Make sure to have a logical system for organizing your wedding photos, especially since you’re backing up to multiple places—your future self will thank you for that. Everyone will have their own preferences on how to do it, and that’s fine as long as you’re able to easily locate your photos when you need them.
We use a simple system that works well enough, that trying to optimize it further doesn’t provide much of a benefit. First, we create a folder for the year—for example, a folder named “2025”. All of the weddings in that year will go into the folder, which makes it easy for us to locate past weddings. We just need to recall the year in which we shot the wedding.
Every wedding will have its own folder, and we name the folder with the client names and wedding date. For example, it could be “Adam & Eve_22052025”. If the wedding takes place over several days, or if we’re shooting the pre-wedding and wedding day, we create separate folders for each day and place them into a single folder for the whole wedding. For instance, “Adam & Eve_22052025 – 26052025” would have folders for day 1, day 2, and so on.
Regardless of how you organize your photos, make sure you stay consistent and stick to your system.
Photo Editing Software
Most wedding photographers use Adobe Lightroom to organize their library, and cull and edit their photos. There are alternatives to Lightroom, such as Capture One and ON1 Photo RAW, that have similar feature sets to Lightroom. There are also more specialized tools that professional photographers use—for example, Photo Mechanic for fast culling of photos and AI photo editors to speed up the editing process.
In this article, we’ll mainly focus on Lightroom Classic, which is the most widely used photo editing software for wedding photographers, and come with a wide range of plugins to extend the functionality.
Culling Your Wedding Photos
Culling always comes before editing, for the simple reason that you don’t want to waste time editing wedding photos that won’t make the cut in the end.
When it comes to culling wedding photos, we usually go through the process in two rounds. The first pass is quick and straightforward—it’s all about clearing out the obvious no’s: shots that are out of focus, poorly composed, or have awkward expressions. This step typically trims down about 20–30% of the images right off the bat, which makes the second pass a lot more focused.
The second round is where the real decision-making happens. At this stage, we’re not just cutting the clearly unusable images—we’re curating. We’re looking for the moments that best represent the emotion, rhythm, and narrative of the day. It’s slower, more intentional work, and it’s where creative judgment really matters. The goal isn’t just to choose good photos—it’s to build a story that feels authentic and cohesive. Thoughtful sequencing is key here, and it’s often what elevates a gallery from simply pretty to truly meaningful.
Every photographer has their own opinion on how many images to deliver, but we don’t believe in flooding our clients with quantity just for the sake of it. Our approach is about clarity and purpose—telling the story without filler. As a general rule, we deliver around 40 to 60 images per hour of coverage, but that number changes depending on the pace and energy of the day. If the wedding is packed with moments, we’ll naturally include more.
One simple way to approach culling is to ask, “What is the purpose of this photo?” Is it helping to set the scene? Does it capture genuine emotion or a meaningful interaction? If the answer isn’t clear, it might not belong in the final set.
For our workflow, we use the star rating system in Lightroom Classic. It’s flexible, but consistency is key. You can define your own criteria—for example, we might use 5 stars for highlight images, 3 stars for final selects, and leave everything else at the default 0 stars. It’s a simple structure that keeps us organized and efficient, especially when working with large volumes.

Editing Your Wedding Photos
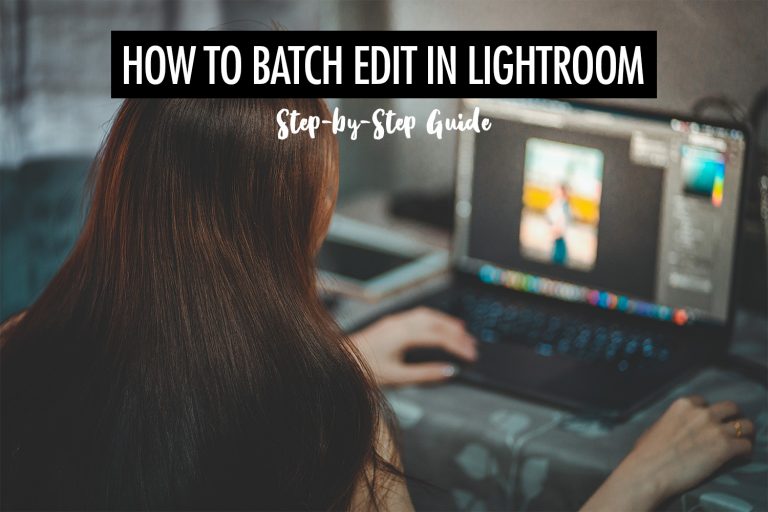
Once the culling is wrapped up, it’s time to move on to editing the wedding photos. Because we’re often working with a large number of images, efficiency is key—and that’s where presets and batch editing come in.
Our editing process begins by applying a preset, which can be done right at the import stage in Lightroom Classic. Using presets helps us maintain a consistent visual style across the entire set, which is crucial when you’re aiming to tell a cohesive story. It’s important that the look and feel of your images stay consistent throughout—unless you’re making an intentional artistic choice, like converting a few images to black and white to highlight a particular moment or emotion.
You’ve got a few options when it comes to presets: you can create your own, use Lightroom’s built-in options, or purchase ones from other photographers. We personally prefer to keep our wedding photography editing on the lighter side, so our custom presets mainly adjust basic settings—like highlights, shadows, whites, and blacks—without diving too deep into colour grading. Apart from tweaking white balance with temperature and tint, we like to keep the colours true to the day. That said, you can get a distinct look with colour grading in the midtones, shadows and highlights.
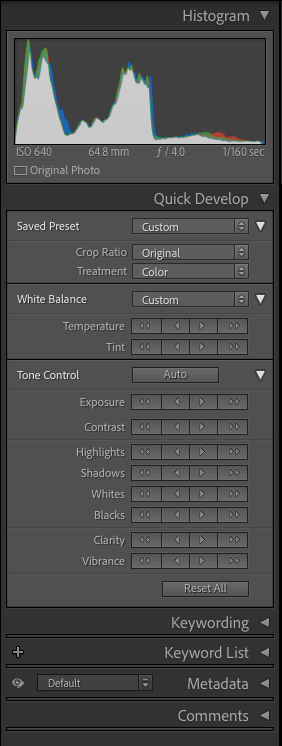
Presets are a great jumping-off point, but they only get you part of the way there. After applying them, we do a quick batch edit using the Quick Develop panel in Library mode. This lets us fine-tune exposure and other settings across groups of images while keeping an eye on overall consistency.
Finally, we go through the gallery one image at a time to make final tweaks. This last step is where we polish the details and make sure each photo feels just right.
Let’s walk through exactly what kinds of edits we typically make to our wedding photos.
Colour Correction
Colour correction is usually the first step in our wedding photography editing process, and for good reason—it directly affects how we perceive brightness. Two images might technically have the same exposure settings, but if one has a cooler white balance, it can appear noticeably brighter than a warmer-toned one. We’ve run into this many times while editing wedding photos—cooling down an image can suddenly make it brighter than the others, which then throws off the consistency and requires more tweaking down the line.
To avoid that kind of backtracking, it’s best to start with temperature and tint adjustments. Dial in the white balance early and get it as close as possible to your final look before moving on to things like exposure, contrast, and tone.
When correcting colour, it helps to think in segments. For example, a wedding day is usually broken up into different segments, like the ceremony, reception and after-party. Each of those segments might have very different lighting conditions since they take place across the day in different venues, but the goal is to keep the white balance consistent within each of these segments. All the wedding ceremony photos should feel like they belong together, as should the reception photos, and so on.
It’s definitely a pet peeve of ours when we see noticeable shifts in white balance across photos that are meant to flow together. It breaks the visual rhythm and can make the photos feel disjointed, almost like it was edited by multiple people with different styles. Your edits should support the story, not distract from it—and part of that is making sure the colour feels cohesive from one photo to the next.
Exposure
Once colour correction is done, we move on to adjusting exposure. Even with the best efforts to shoot consistently, lighting can shift throughout a wedding. Different parts of a venue can have wildly different environmental lighting, and sometimes a flash might hit a little too hard—especially in group shots.
How bright you make your photos really comes down to your editing style. If you lean toward a light and airy look, for example, your exposure might be intentionally pushed a bit higher than a “technically accurate” setting. The key here is consistency—your edits should reflect the style shown in your portfolio unless your client has asked for something specific.
Just like with colour correction, exposure should feel consistent within each segment of the wedding. If you’re shooting the wedding couple making their vows in an outdoor setting, those images should all feel like they belong together in terms of brightness. It can be pretty distracting when exposure bounces from photo to photo—it breaks the flow and can take the viewer out of the moment. Keeping exposure steady helps create a smoother, more coherent visual story.
Cropping and Straightening
Some photographers prefer to begin their wedding photography editing with cropping and straightening, while we tend to do it alongside colour correction and exposure adjustments—it’s more of a back-and-forth process for us, depending on what each photo needs.
For wedding coverage, it’s pretty common to shoot a bit wider as a precaution. It gives you more flexibility later on—it’s easy to crop in during editing, but you can’t recover what’s not in the frame. Cropping can really elevate an image: it helps eliminate distractions, draw more attention to the subject, and refine the composition to better fit the story you’re telling.
Straightening is often necessary too, especially during fast-paced moments when there’s not always time to line things up perfectly in-camera. A slightly tilted horizon or off-kilter frame is easy to miss in the moment, but stands out during editing. When straightening, look for visual cues—like door frames, pillars, or walls—that should be perfectly vertical or horizontal, and use those as your reference points.
Highlights, Shadows, Whites and Blacks
We don’t typically adjust highlights, shadows, whites, and blacks on a photo-by-photo basis. Instead, we build those adjustments into our preset. These settings contribute a lot to the overall look and feel of our images, so setting them consistently from the start helps maintain a cohesive style throughout the wedding photos.
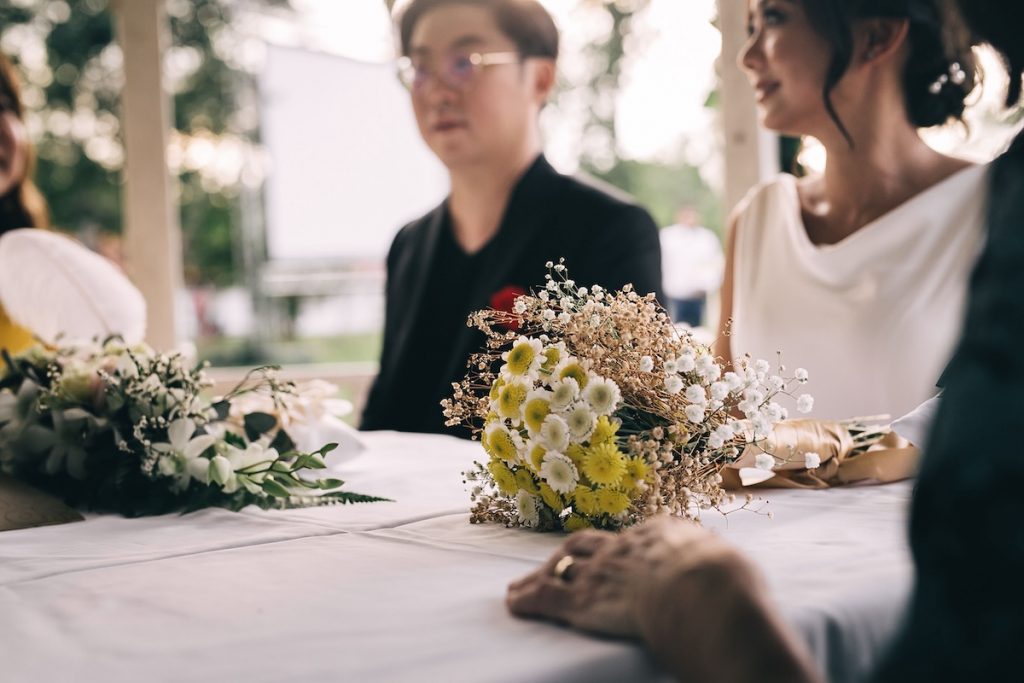
That said, we do make targeted tweaks when certain images need a bit of extra attention. For instance, in group shots taken with flash, we’ll often bring down the highlights to soften any harsh reflections and even out the brightness across people’s faces. Similarly, if there’s a bright screen in the background—like the wedding couple doing their cake cutting on stage in front of a screen—we’ll lower the highlights so the content on the screen is still visible, rather than just blowing out into a white patch.
On the flip side, lifting the shadows can be really helpful when you want to recover detail or reduce contrast. Say you’ve got a big group photo but the lighting wasn’t perfectly even—maybe some people ended up in the shadows. Raising the shadows can help brighten those areas and make sure everyone is clearly visible.
Retouching
Often, we’ll need to do more extensive retouching for a select few photos, especially for pre-wedding shoots. This is usually done for the more close-up shots, where we would smoothen the skin and remove blemishes. As a rule, we don’t remove any permanent facial features—for example, we’ll remove red spots like acne, but we won’t remove moles. We like to keep our wedding photography edits looking natural, so nothing that looks too airbrushed.
Retouching has become much easier with AI photo editors, which do a good job in smoothing skin, reducing shine, blemishes and eye bags, whitening teeth, and removing glare from glasses. They are huge time savers and have significantly cut down our time spent on retouching wedding photos.
We might also remove distracting elements in the background, such as people or bright objects that call too much attention to themselves. Generative AI has made this a lot easier for us, which you can use with the Remove tool in Lightroom.
Sharpening and Noise Reduction
Sharpening and noise reduction are usually the final steps we take before exporting the photos. We typically apply a light amount of sharpening to give the images a bit more crispness—after all, sharpness is often associated with image quality, both by clients and photographers. That said, sharpening is something we like to keep subtle. If an image needs a bit more punch, increasing the clarity slider can help by adding contrast to the midtones—but use it sparingly. Push it too far, and it can start to look overly processed, with that telltale overdone HDR effect.
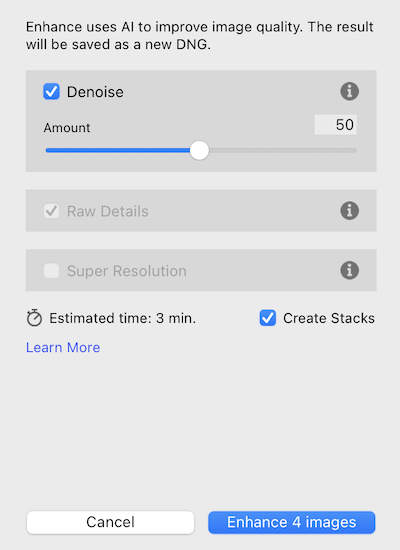
One tool that’s really changed our workflow is Lightroom Classic’s AI Denoise. It’s been a game-changer, especially for low-light situations where using flash just isn’t an option. For example, if a videographer is filming the same moment, they certainly won’t appreciate it if you’re triggering the flash every few seconds. With AI Denoise, we’re much more comfortable shooting without flash in these scenarios, knowing we can clean up the image in post.
It’s even helped us salvage images we might have previously written off due to noise. That said, it’s easy to overdo it. Too much denoising can give photos that overly smooth, AI generated feel. We still want our wedding photos to look natural and grounded in reality.
There’s also a common myth that high ISO automatically means high noise, but that’s not always the case. Noise is more closely related to the amount of light hitting the sensor—not just the ISO setting. In a well-lit scene, you can shoot at a high ISO and still get a clean image. So filtering photos by ISO alone isn’t a reliable way to find noisy images.
Our approach is pretty straightforward: as we edit, we tag any photos with noticeable noise using a color label. That way, we can easily find them later and apply AI Denoise where needed without breaking our editing flow.
AI Photo Editors
Since editing wedding photos is all about working efficiently, it’s worth looking into AI photo editors. Tools like Imagen, Aftershoot, and Narrative now offer both AI culling and editing features, which can seriously speed up your workflow.
Personally, I’m a big fan of these tools because they save a ton of time—especially when dealing with the huge volume of images that comes with wedding photography. We often shoot in bursts to make sure we don’t miss a key moment, but that also means we’re left with a lot of near-duplicate shots to sort through. AI tools help by grouping similar images, picking out the best ones, and flagging the ones that are soft or have subjects blinking. It definitely makes culling feel less like a chore.
When it comes to editing wedding photos, AI profiles act like smarter, more responsive presets. Unlike traditional presets that apply the same settings across every photo, AI profiles adapt to each individual image, analyzing its content and applying tailored adjustments—kind of like how a human editor would. In my experience, the biggest time-saver is in colour correction, which is usually one of the more tedious parts of editing wedding photos. AI editors get us most of the way there, and we just need to fine-tune the white balance or tweak a few sliders.
If you’re curious to try them out, check out our article on the 10 best AI photo editors for photographers—we break down the options and what each one does best.
Delivering Your Wedding Photos
We believe that the best way to deliver your wedding photos is with Honcho, because it lets anyone easily find their own photos with face recognition—just by uploading a selfie. That makes the distribution of photos effortless, providing a better experience for your clients and guests.
Honcho offers best in class face recognition accuracy, and it’s able to handle large groups of people, different lighting conditions, and even faces that are partially obscured or facing away from the camera. The processing time is quick, and it can identify the correct photos in just a couple of seconds—so that anyone can retrieve their photos immediately.
More than that, Honcho also allows you to share your photos in real-time, while you shoot. That’s done by tethering your camera to the mobile app, and uploading your photos from camera to cloud. People are the most excited to receive their photos during the wedding itself, not days or months after it’s over. By sharing instantly, you create the most impact with a delightful photography experience.
With Honcho, you get to make an impression and promote yourself to everyone at the wedding. If any of them need a photographer themselves, you’ll be the first to come to mind.
Conclusion
Editing wedding photos like a pro isn’t about obsessing over every single detail—it’s about finding that balance between efficiency and quality. The key is to create a streamlined workflow that lets you deliver consistent, polished results without spending endless hours behind the screen.
Lightroom Classic, paired with a solid preset and smart batch editing, can do a lot to speed things up. And if you want to go even further, AI photo editors can help cut down your editing time even more—especially when working with large sets of images.
At the end of the day, your goal is to tell a beautiful, cohesive story of the wedding while keeping your editing process manageable and scalable. The more efficient your workflow, the more time you’ll have to focus on growing your business—or just taking a breather after a long day of shooting.