Part of our Creativity guides
Explore more ideas, inspiration, and visual techniques in our Creativity section.
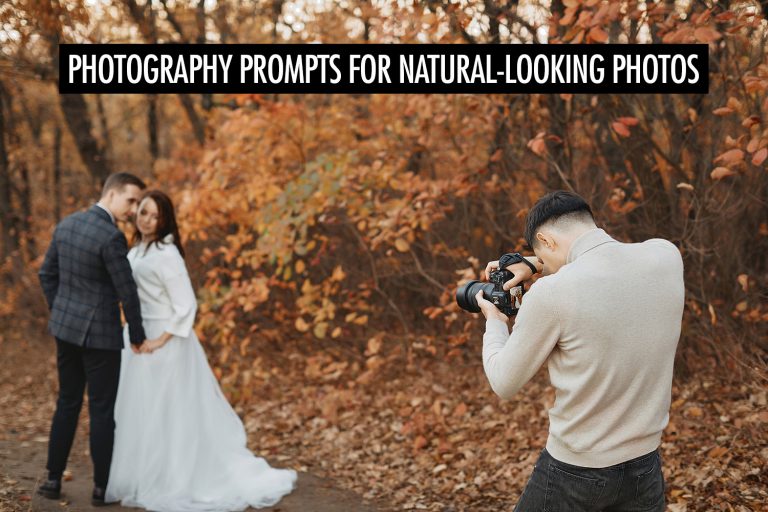
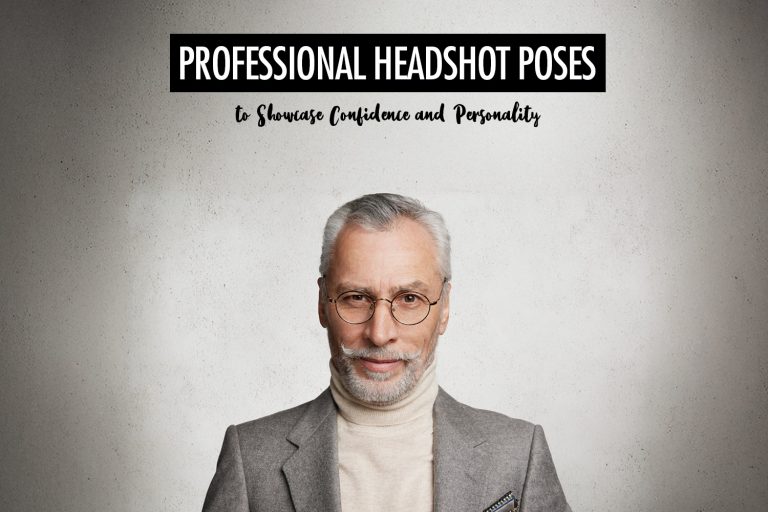
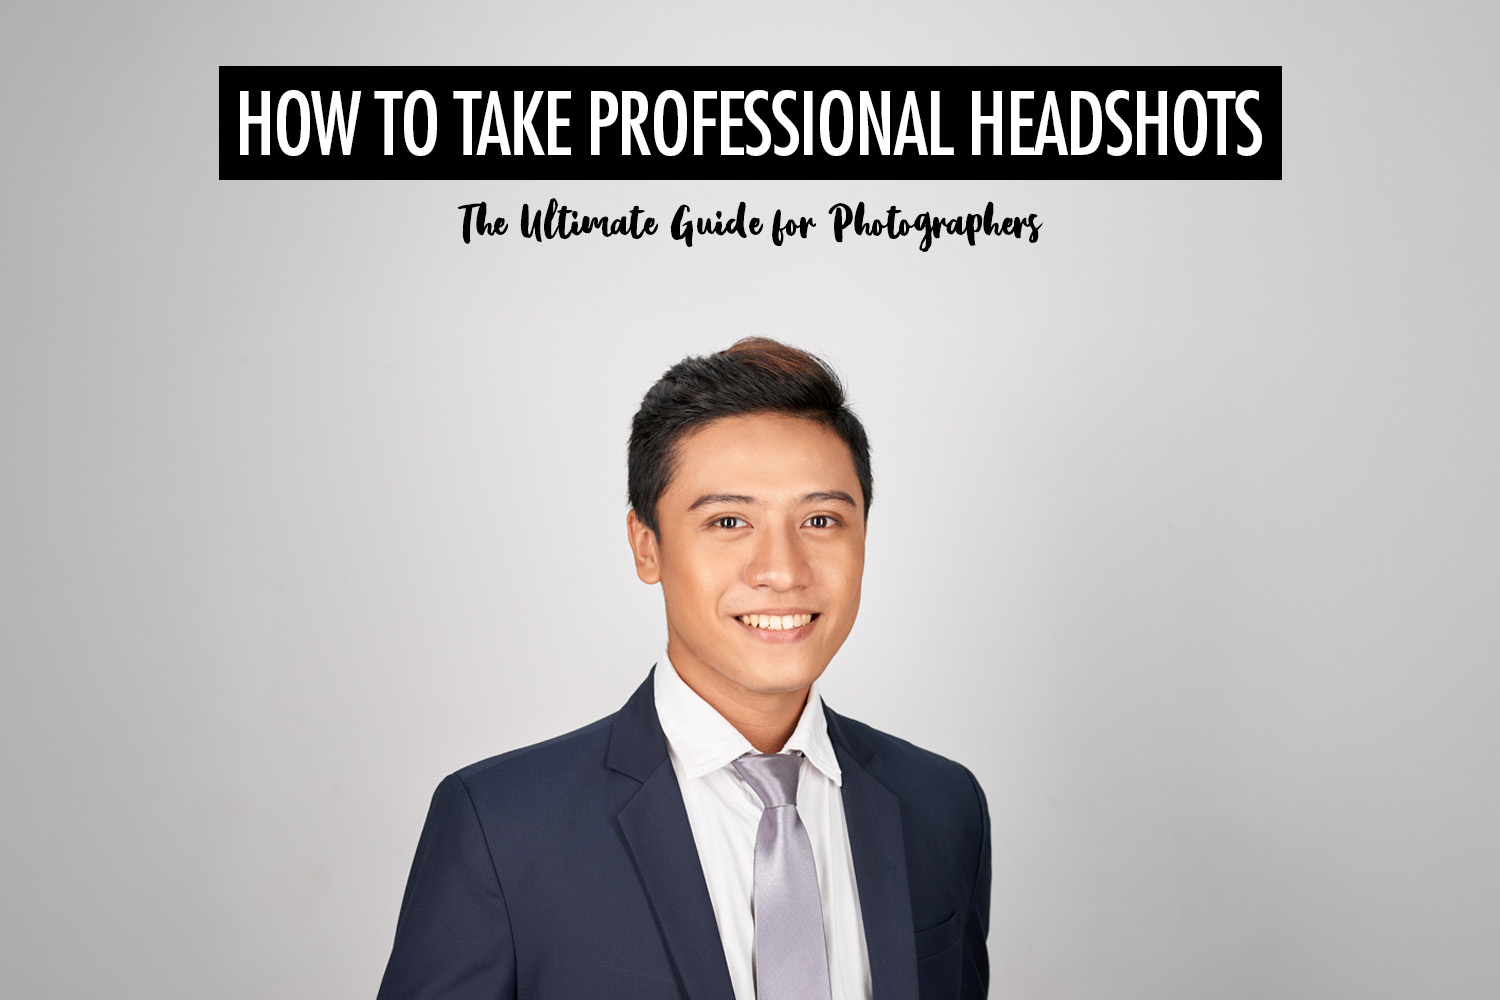
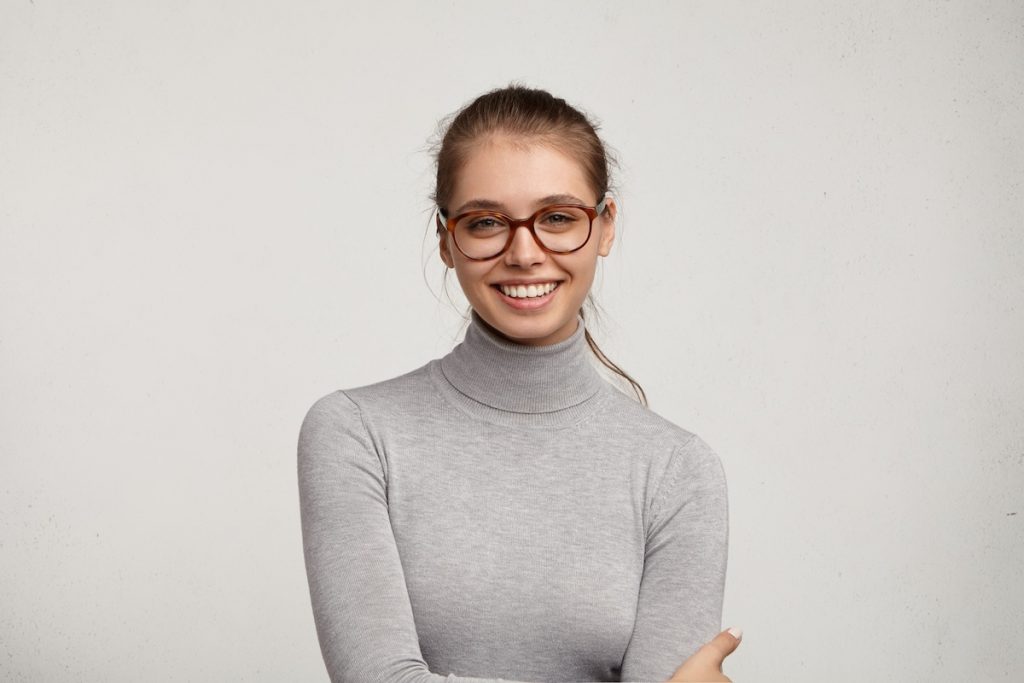
A headshot is a simple photograph with a specific purpose. It shows a person clearly, usually from the shoulders up, and is used for work profiles, business branding, casting, and professional introductions. Because it often forms a first impression, a good headshot needs to look polished, natural, and confident.
This guide explains the essentials you need to create strong headshots. It covers the gear that works best, the lighting setups that give consistent results, and practical tips that improve your workflow, including the benefits of shooting tethered.
Essential Gear for Headshot Photography
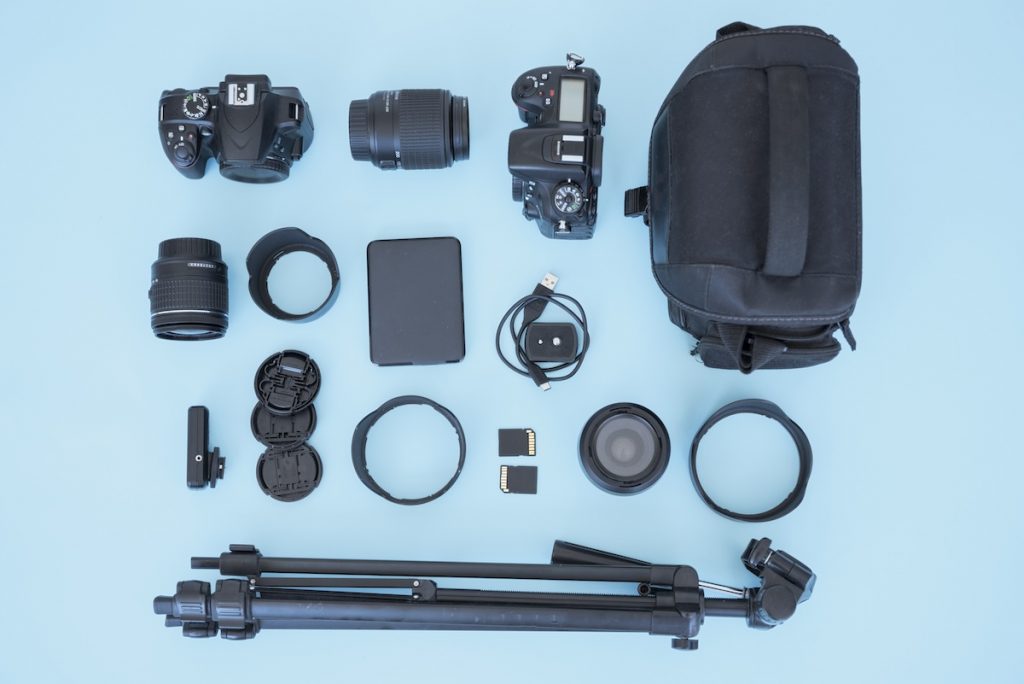
Good gear does not guarantee a great professional headshot, but it does make the process smoother and more predictable. The goal is to choose equipment that gives you control over sharpness, lighting, and consistency. You do not need a complicated or expensive kit. You only need tools that help you capture clean, flattering images without fighting your setup during the headshot session. The following gear form the backbone of a reliable headshot workflow
Camera Body
A reliable camera body is the foundation of a good headshot setup. You do not need the newest model, but you do need a camera that delivers sharp images, accurate colors, and dependable autofocus. Most modern mirrorless and DSLR cameras handle headshots well, so choose one you are comfortable with and can operate quickly during a session.
Full-frame cameras offer better low-light performance (if you’re shooting with natural light indoors) and produce a shallower depth of field, which helps create a smooth background. Crop sensor cameras still work well for headshots and can be an advantage in tighter spaces because lenses appear more “zoomed in,” giving you a flattering focal length without standing too far back. Both systems produce professional results, so the best choice depends on your space and workflow rather than the camera format alone.
Lenses
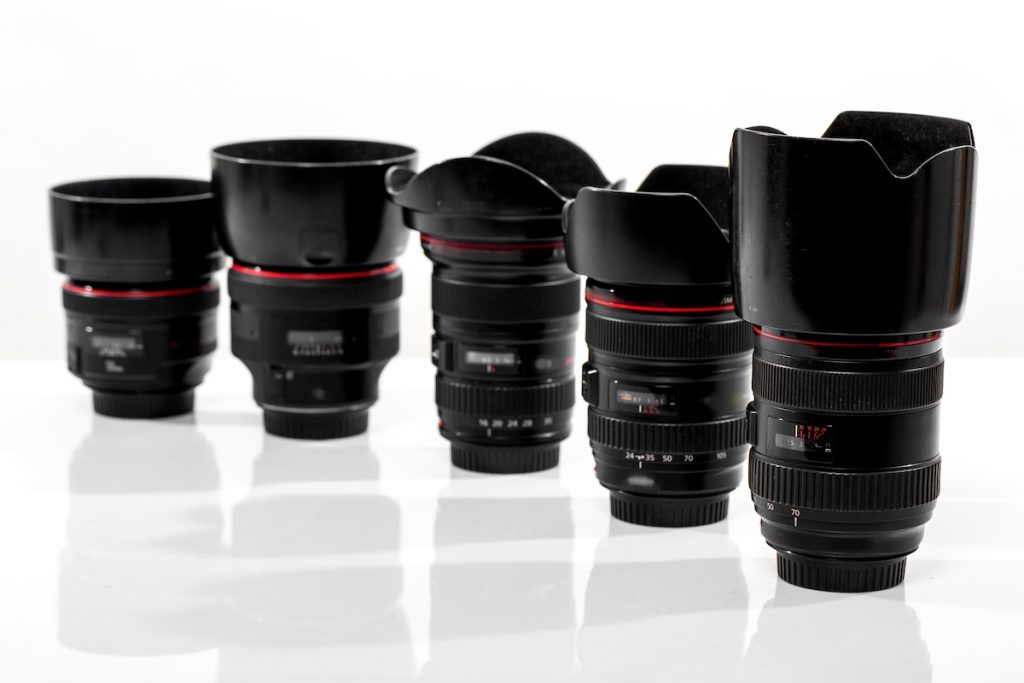
Your lens choice affects the shape of the subject’s face and the overall feel of the professional headshot. A focal length between 50mm and 135mm gives natural-looking proportions without distortion. Shorter distances like 50mm are helpful in small rooms. Longer lenses like 85mm or 105mm create more compression and separation from the background. Choose based on your available space and how much working distance you have during the session.
Beyond focal length, consider the aperture of the lens. A lens with a wide aperture such as f1.8 or f2.8 helps create soft background blur, which is useful for environmental headshots taken outdoors or inside meeting rooms and offices. These locations often have distracting elements behind the subject, so a wider aperture keeps attention on the face.
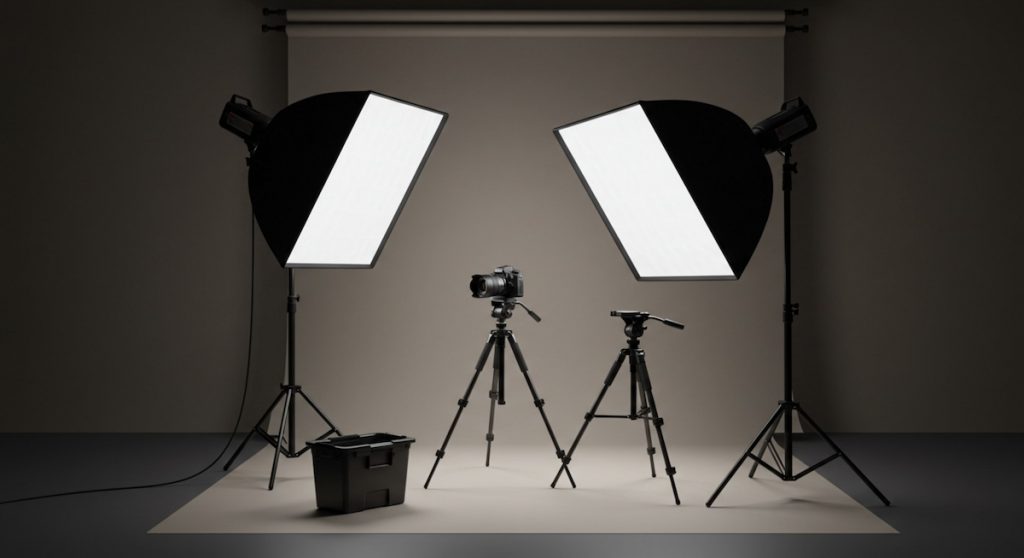
Lighting
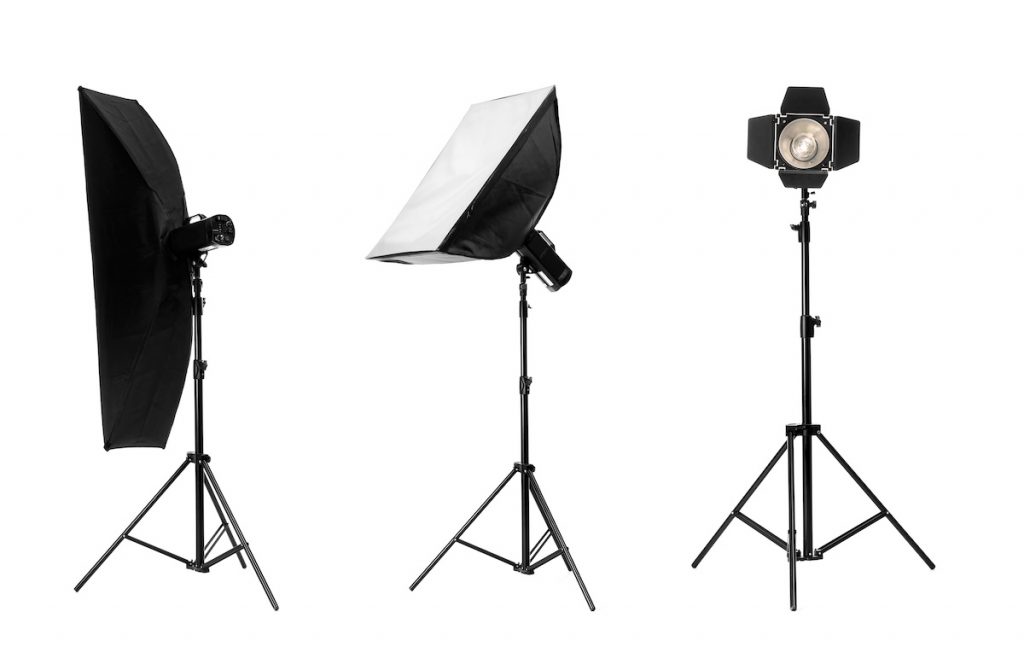
Consistent lighting is one of the most important parts of professional headshot photography. You can use natural light, but strobes and speedlights give you more control. A single strobe paired with a light modifier already produces a clean and flattering result. Add a reflector to soften shadows and shape the face without needing extra light. Light stands, softboxes, umbrellas, and diffusers help you manage the quality and direction of the light. Keep your setup simple so you can adjust quickly during the shoot.
Learning how light behaves will benefit your headshot sessions more than any specific piece of gear. Adjusting the distance, angle, and height of your light source can change the mood of the headshot dramatically. Even with one light, you can create bright and friendly headshots or more dramatic and sculpted looks. Consistency is key, so spend time practicing your setups until you can recreate them quickly in any venue.
Backdrops
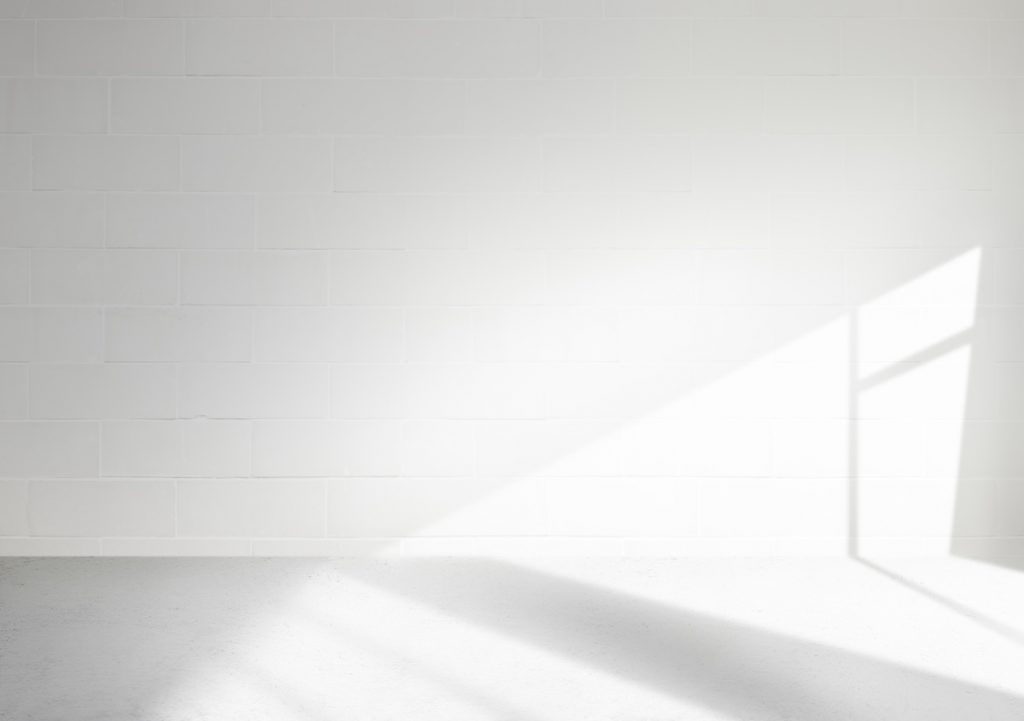
Backdrops keep the image clean and distraction-free. Popular options include seamless paper, collapsible backgrounds, and textured cloth. Choose a color that matches the subject’s needs, the brand style, or the final usage. Neutral tones like white, grey, and black cover most professional situations.
The backdrop material also affects how the final image looks. Seamless paper gives a smooth and uniform finish, which is ideal for corporate headshots. Collapsible backgrounds are portable and convenient for on-location shoots. Textured backdrops work well for creative or lifestyle headshots where you want more depth. Whatever you choose, place the subject far enough from the backdrop to avoid harsh shadows and to maintain a clean falloff.
Accessories
A few small tools make your workflow smoother.
- A tethering cable with a phone or laptop allows you to preview images in real time and check details more accurately.
- A posing stool keeps the subject steady and relaxed.
- A tripod for your camera helps maintain consistent framing.
- A lint roller, mirror, and color checker help with appearance and color accuracy before and during the shoot.
These accessories may seem minor, but they help produce clean, consistent professional headshots with less retouching needed later.
Lighting Techniques for Professional Headshots
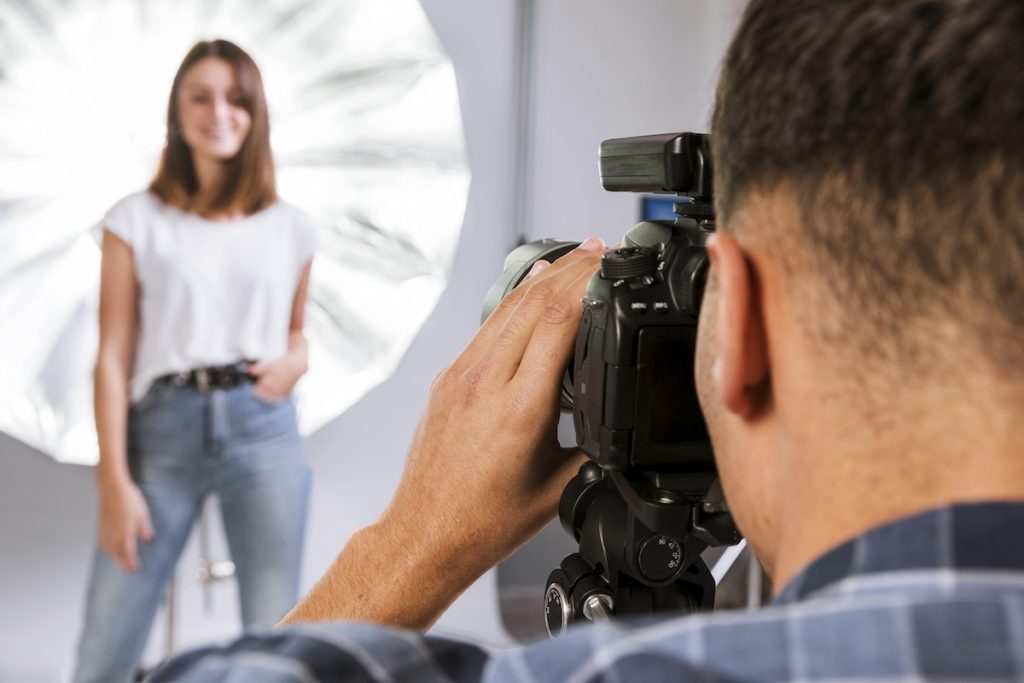
Good lighting is the foundation of a strong professional headshot. The way you shape the light determines how the subject’s face appears and how clean the final image looks. Whether you are using natural light or studio lighting, your goal is to create soft, flattering illumination that highlights the eyes, smooths shadows, and keeps the background under control.
Natural Light
Natural light is easy to access and can look very flattering when used correctly. Windows provide soft, diffused illumination, especially when sunlight is indirect. Position the subject at an angle to the window so the light falls gently across the face, which adds dimension without creating harsh shadows.
When the sunlight is strong or direct, use sheer curtains, blinds, or a large diffuser to soften the light. If you are shooting outdoors, look for open shade or areas where light bounces off neutral surfaces. You can also position the subject with the sun behind them and use a reflector to brighten the face. The goal is to avoid patches of uneven light while keeping the skin tone clean and consistent.
Studio Lighting
Studio lighting gives you complete control over the look of your professional headshots. A balanced setup usually starts with a key light placed slightly above eye level and angled toward the face. A fill light or reflector helps soften shadows and maintain detail. This combination creates an even, professional look that works for most corporate and commercial headshots.
Softening the light is critical. Use softboxes, umbrellas, or diffusers to create gentle transitions between highlights and shadows. Adjust the height and distance of your lights to avoid harsh falloff or under-chin shadows. Small changes in placement can make a big difference in how the face appears, so take time to experiment and lock in a consistent setup you can reproduce for every headshot session.
Managing Background and Separation
Background control is essential for clean headshots. When working indoors, place the subject far enough from the backdrop to reduce shadows and create smooth separation. This also helps the background fall slightly out of focus, which keeps attention on the face.
For environmental headshots taken outdoors or inside offices, use distance and aperture to control depth of field. Increasing the distance between the subject and background reduces clutter and creates natural separation. A wider aperture such as f1.8 or f2.8 helps blur distracting elements while maintaining focus on the eyes. This approach is especially useful in locations that have signage, furniture, or movement behind the subject.
Small adjustments in lighting, positioning, and background distance give you cleaner, sharper, and more intentional professional headshots in any environment.
Practical Tips for Professional Headshots
Pre-Session Preparation
Start with a short consultation to learn how the images will be used, whether for LinkedIn, corporate directories, personal branding, or acting profiles. This helps you plan the mood, framing, and lighting style.
Go over wardrobe options so subjects know what works well on camera, such as solid colors, simple patterns, and clean necklines. Mention grooming basics like managing flyaway hair, shaving or trimming facial hair, cleaning glasses to avoid reflections, and reducing skin shine with blotting paper or translucent powder. A quick rundown of expectations makes the session smoother and saves time later.
Posing and Expression
Direct the subject into a relaxed, balanced pose by adjusting their shoulders, chin, and spine. Small shifts make a big difference such as turning the body slightly away from the camera, dropping one shoulder, or raising the chin to open up the eyes.
Pay attention to eye engagement because it communicates confidence and approachability. Encourage a range of expressions instead of repeating the same smile. Light smiles, serious looks, and friendly confidence—all these variations give clients more options and help you build a strong, versatile portfolio.
Technical Settings
Use manual mode once your lighting is dialed in so every shot stays consistent across the headshot session. This avoids flickering exposures and keeps your background uniform. Choose an aperture that suits your style and environment, and keep ISO as low as possible for clean files.
Shoot in RAW to retain color information and dynamic range, which is especially important for subtle skin tones and precise color correction. Consistency in-camera reduces editing time and leads to a cleaner final set.
Tethered Shooting
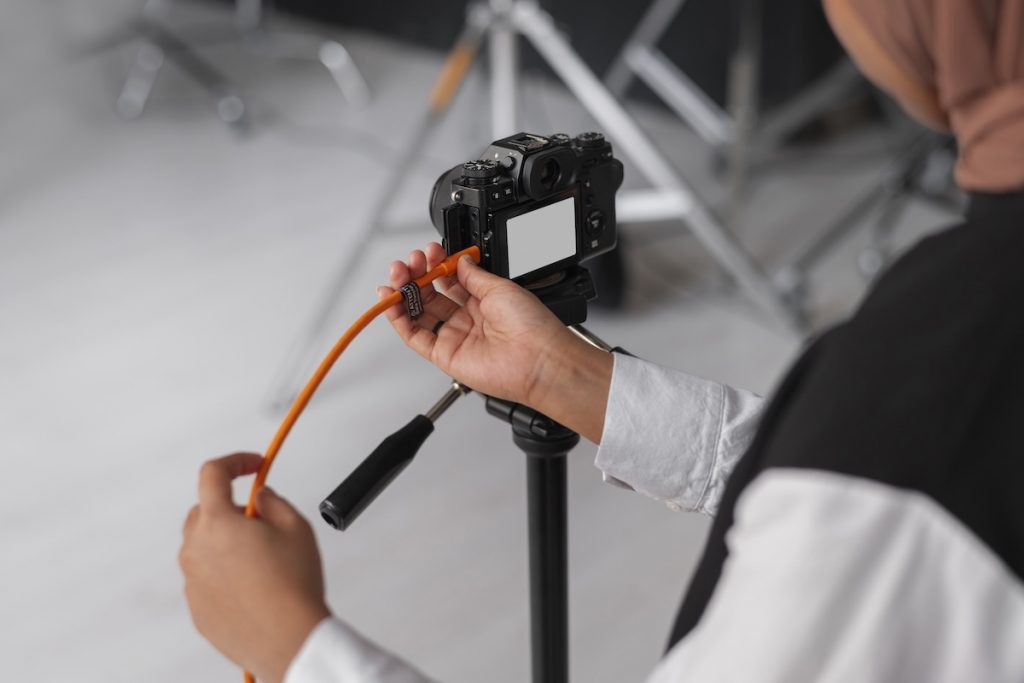
Tethered shooting gives both you and your subject real-time feedback. Seeing the images appear immediately on a larger screen helps subjects adjust their posture, refine their expressions, and understand what works well. It boosts their confidence and makes them feel part of the process. This also prevents surprises later because they’ve already seen and approved the direction of the shoot.
During events such as conferences, job fairs, or team headshot days, tethering paired with Honcho streamlines the workflow. You can shoot, review, and instantly share images on the spot, which keeps lines moving smoothly and improves the overall experience.
Creating a Comfortable Atmosphere
A comfortable subject looks better on camera, so your interaction matters as much as your lighting. Start with simple conversation to loosen them up and help them settle into the headshot session. Give clear but gentle direction and avoid long silent pauses that can create tension.
Comment on what is working well to build momentum. Encourage micro changes in expression such as soft smiles, brighter smiles, and relaxed jaws to keep the session dynamic. The more supported and at ease the subject feels, the more natural and confident their headshots will look.
Post-Processing
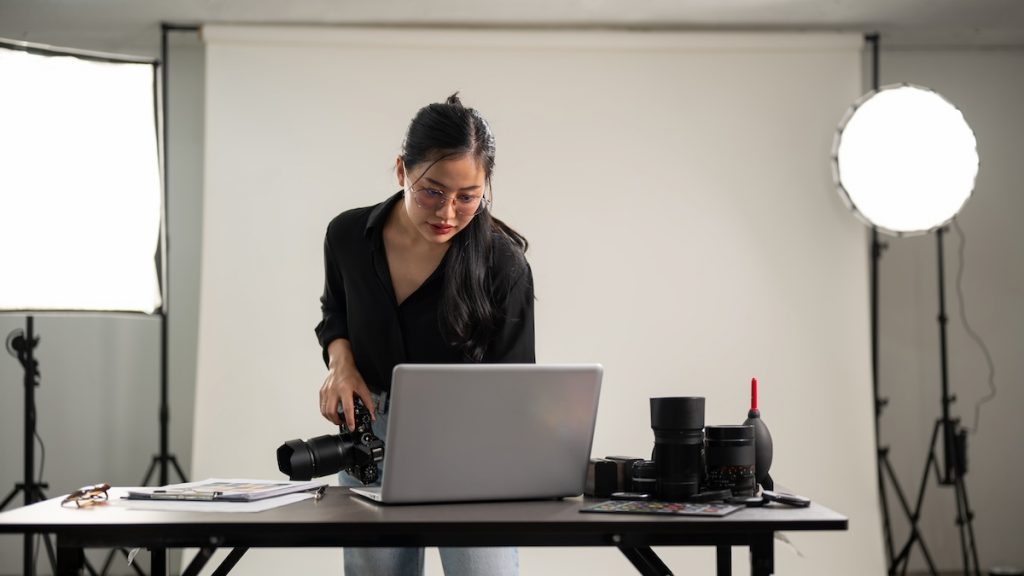
Post-processing gives your headshots a polished, professional look. The goal is to refine the image without over-editing, keeping the subject looking natural and confident.
Basic Editing
Start by adjusting white balance, exposure, and contrast to achieve a clean foundation. Correct any color casts, balance highlights and shadows, and make sure the skin tone looks accurate. These adjustments set the overall mood of the image and set the stage for retouching.
Retouching
Retouch with intention. Focus on improving the image while maintaining the subject’s natural appearance. Remove temporary distractions such as flyaway hairs, blemishes, or lint. Keep permanent features intact so the subject still looks like themselves. Tools like Lightroom (or alternatives like Capture One) and Photoshop provide flexible control, and AI retouching software can speed up skin cleanup while preserving texture.
Exporting and File Settings
Export files according to how they will be used. For web and social media, a smaller resolution with sRGB color space is usually preferred. For print or high-quality corporate usage, export at full resolution with a higher quality setting to maintain sharp detail. Delivering the correct format prevents compression issues and ensures the image looks professional everywhere it appears.
Client Review
Before final delivery, give your client a chance to review the edited shots. This helps confirm that the expression, retouching level, and overall style match their expectations. A quick review avoids revisions later and strengthens trust in your workflow.
Conclusion
Headshot photography is all about clarity, confidence, and connection. With the right gear, thoughtful lighting, and an efficient workflow, you can create images that feel polished and authentic. Keep your setup simple, guide your subjects with patience, and pay attention to the small details that shape the final result.
Whether you are shooting in a studio, outdoors, or on location, the goal is the same: capture a professional headshot that represents the person at their best. When you combine strong technique with a smooth, supportive experience, clients walk away with photos they are proud to use anywhere.