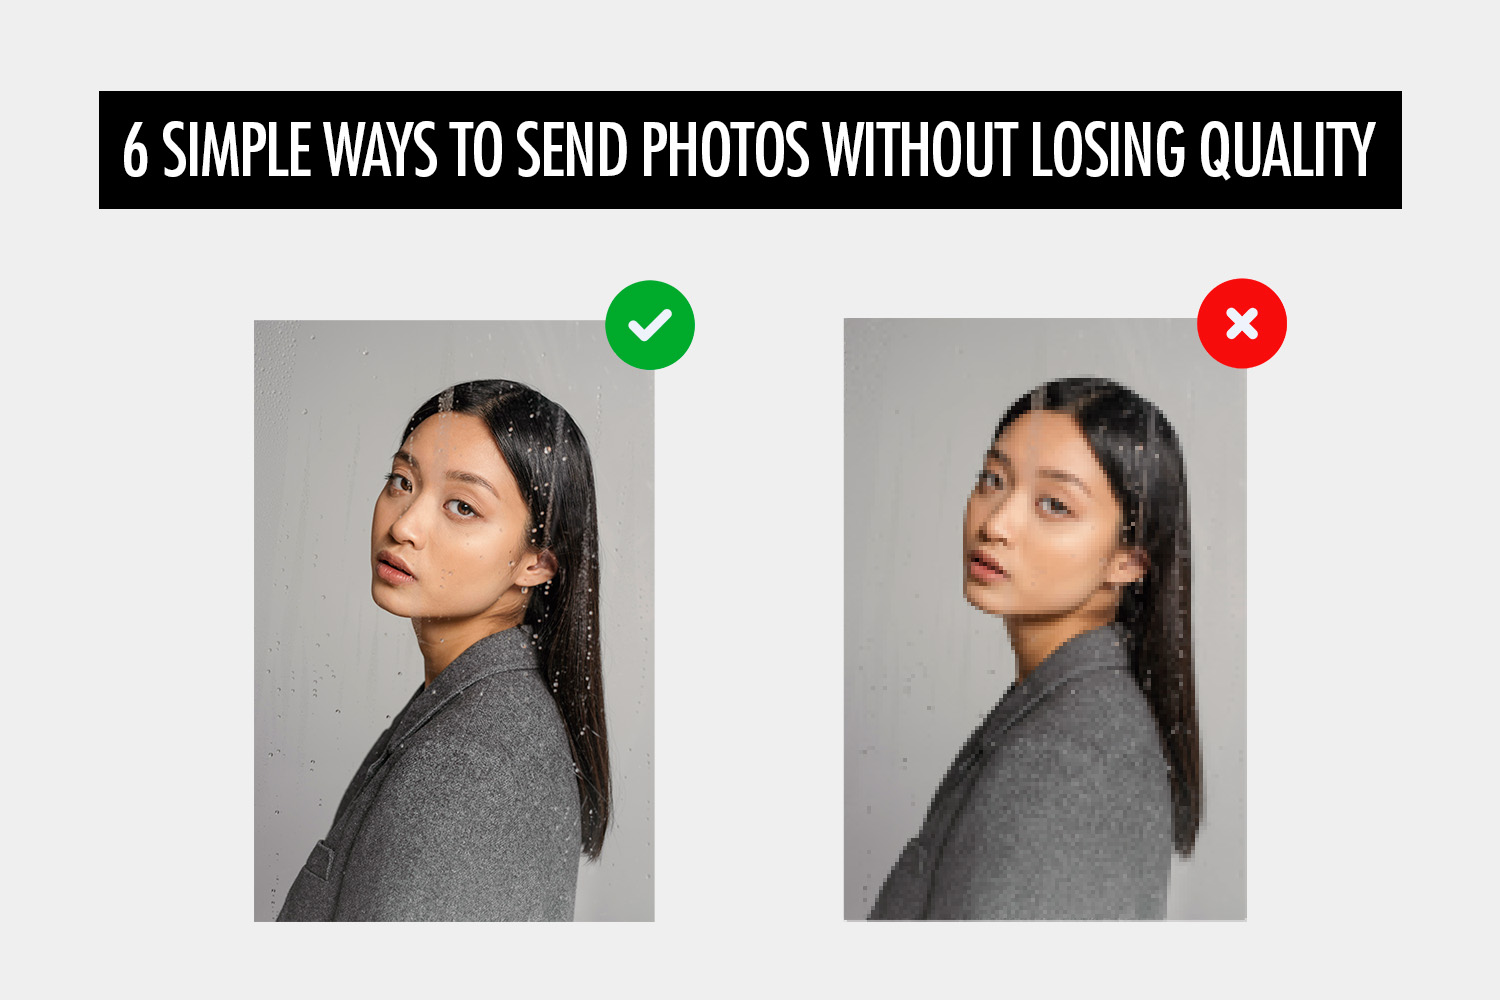
As photographers, we need to send photos to our clients without losing quality. Many of the common methods of sending photos will cause a loss in quality if we’re not careful, and this reflects poorly on the quality of our service.
For example, sending photos by WhatsApp or uploading them to Instagram can cause a significant degradation in quality—these apps are built for quick communication, not for sending full quality photos. The quality loss might not be that noticeable on a small screen, but can be quite obvious if you view the photos on a computer.
Obviously, we do not want our clients to think that our photos are not up to the mark, when really it was the sending method that caused the photos to degrade. Hence, it’s our responsibility to ensure that we find the right ways to share our photos.
In this article, we’ll walk through 6 ways that you can send your photos without losing quality.
Honcho
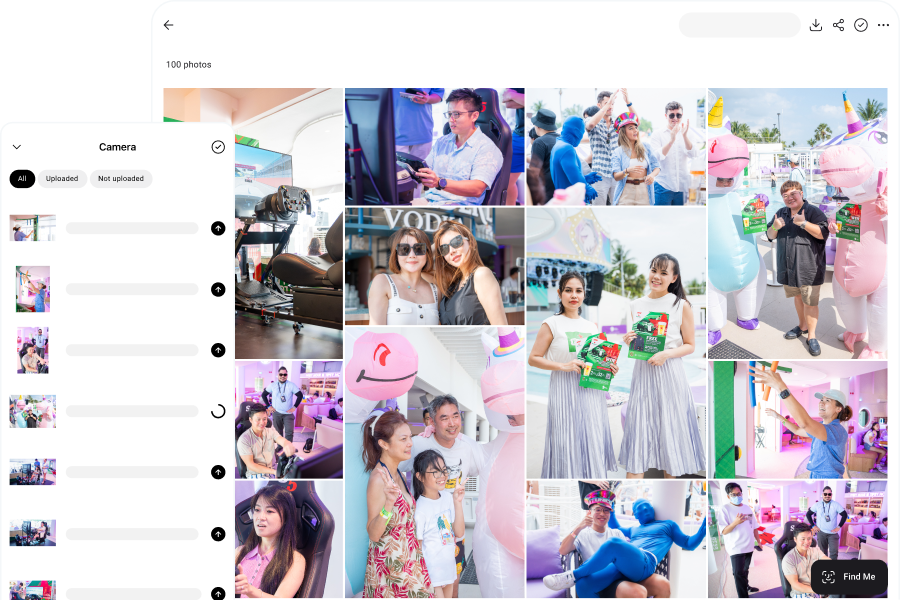
Honcho lets you share your photos without any loss in quality, via QR codes or AI-powered face recognition. For face recognition, your clients can upload a selfie, and Honcho will automatically find their photos by matching them with the selfie.
This is especially useful for events, weddings and high volume photography (such as school portraits or marathons). Since there are many attendees or participants, Honcho helps you share the right photos with the right people automatically. This is a much better way to distribute your photos, since it makes it easy for anyone to find their own photos without having to scroll through the whole gallery.
In addition, Honcho lets you upload your photos instantly—from camera to cloud—while you shoot. This is done by tethering your DSLR or mirrorless camera to your smartphone, with the Honcho app installed (available for both iOS and Android). Your photos are automatically transferred to the app and uploaded to the cloud, and they can be instantly viewed in an online gallery.
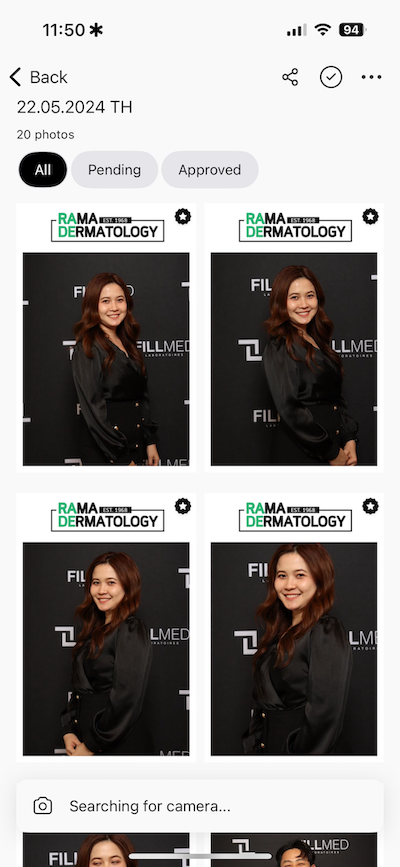
After uploading, you can instantly apply editing presets or have an assistant edit the photos with the built-in collaborative photo editor. This makes it possible to deliver polished edits in just seconds.

By sharing your photos instantly, you maximize the impact of your photos because you’re sharing them when people are the most excited to receive them—during the event, not days or weeks after it’s over.
Honcho gives you full control over privacy. It lets you password protect the online gallery, so that only selected people have access to it.
Alternatively, you can blur all of the photos in the gallery. Only photos that are found with face recognition are unblurred, which means you can only see your own photos and no one else’s. Hence, you can freely share the online gallery, while maintaining everyone’s privacy.
Finally, Honcho makes it easy for you to display a live slideshow of the photos on any screen. It’s a powerful way to add excitement to any event, because there’s just something magical about seeing photos of yourself on a large screen.
With Honcho, photography is more than just capturing moments; it’s about delivering memorable experiences through photography. This allows you to stand out from the competition, close more deals and upsell your clients.
You can sign up for a free Honcho account and discover how it can transform your photography business.
Google Photos
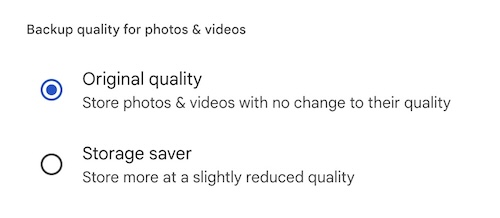
Google Photos is a popular cloud storage service for photos, and it can be used to share your photos without losing quality. Just make sure to enable the right settings—you want to choose “Original quality” which doesn’t compress your photos, rather than “Storage saver” which will.
Apart from Google Photos, there are also other cloud storage services you can use, such as Dropbox or iCloud.
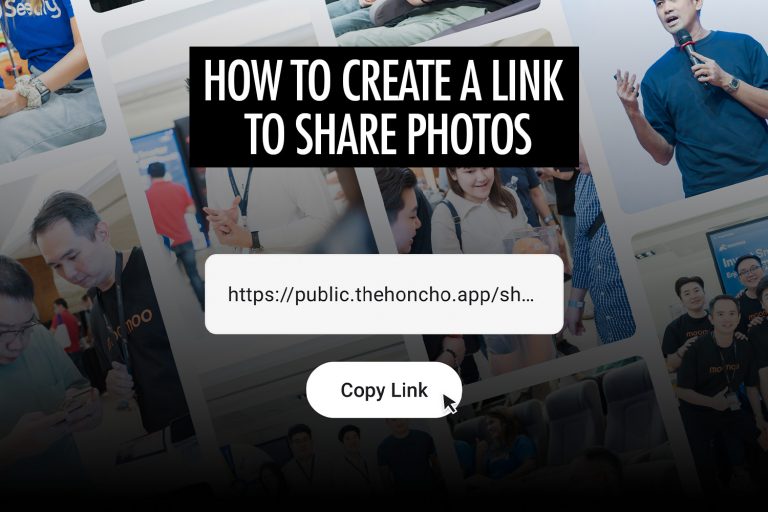
Once you’ve uploaded your photos to Google Photos, you can create a link to share them. That way, you can distribute the link or generate a QR code to display around the event venue, so that attendees can scan the QR code to access the photos.
Start by creating an album in Google Photos.
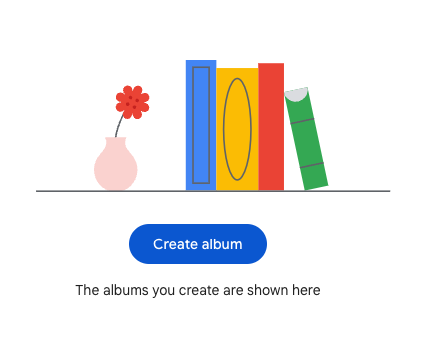
Next, add a title to the album, and add your photos if they are ready.

In some cases, you would want to create your album before the event, so that you can share the link or QR code during the event. Just make sure to upload your photos to the correct album after the event.
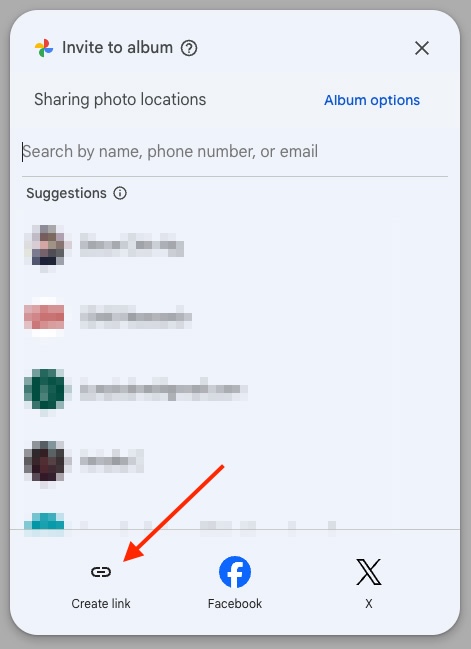
Next, click on the share icon.

Finally, click on “Create link” and share the link that is created.
AirDrop
AirDrop is useful if you’re looking to share a few photos right away without losing quality—for example, to guests at an event or wedding. As photographers ourselves, we often have guests coming to us to ask for their photos. Keep in mind that AirDrop only works for Apple devices, so you will need an alternative solution for Android users (which we cover in the next section).
To begin, you will need to transfer the photos from your camera to your iPhone, before you can share them via AirDrop. Different camera manufacturers offer their own apps to do this, such as Canon Camera Connect, SnapBridge (by Nikon) and Imaging Edge Mobile (by Sony).
If you don’t want to transfer the photos wirelessly, you can use a USB cable or card reader that connects to your phone.
Once the photos are transferred to your phone, you can view them in the Photos app. Tap on any of the photos and tap on the Share button. You can swipe left or right to select multiple photos.
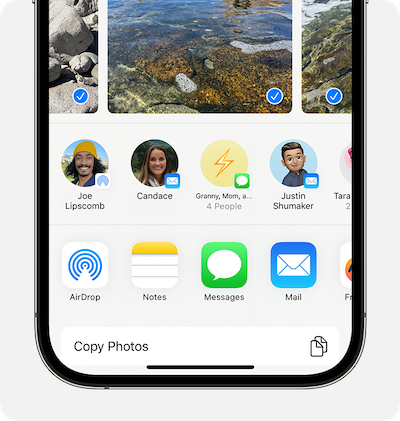
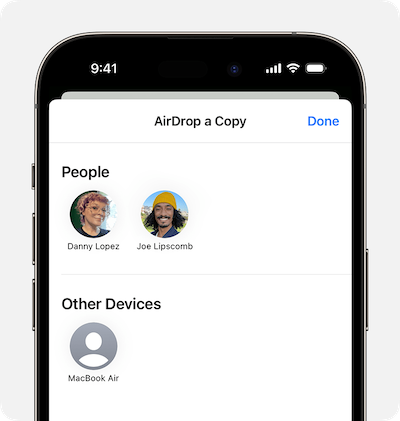
Next, tap the AirDrop button and select the user you want to send the photos to.
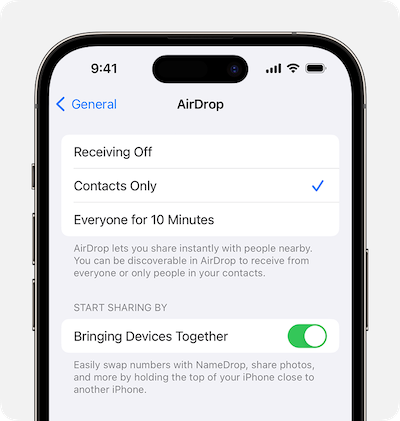
For the person receiving your photos, check if their AirDrop is set to receive from Contacts Only. If so, and you’re in their Contacts, they need to have your Apple ID’s email address or mobile number in your contact card for AirDrop to work.
If you’re not in their Contacts, have them set their AirDrop receiving setting to Everyone in order to receive the photo.
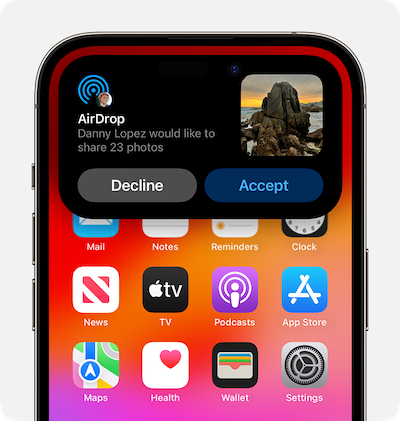
They will see an alert, which they can accept to receive your photos.
Quick Share
Android devices have an alternative to AirDrop, called Quick Share (previously called Nearby Share). Again, keep in mind that this only works for transfers between Android devices—you can’t transfer between Apple and Android devices.
Just like for AirDrop, you will first have to transfer the photos from your camera to your Android phone.
Next, launch the Gallery app and select the photos you want to share. Tap on the Share button and select Quick Share.
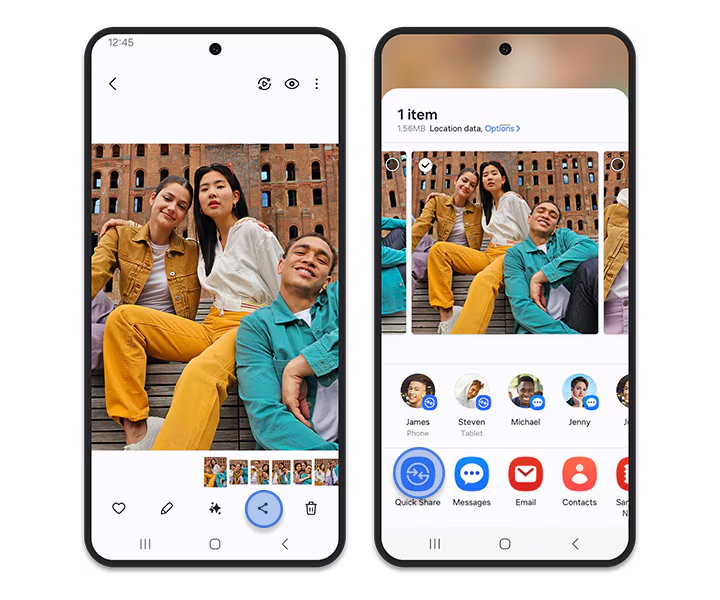
Finally, select the device you want to share with. If you can’t find the device, make sure it has set up “Who can share with you” and has the screen unlocked.
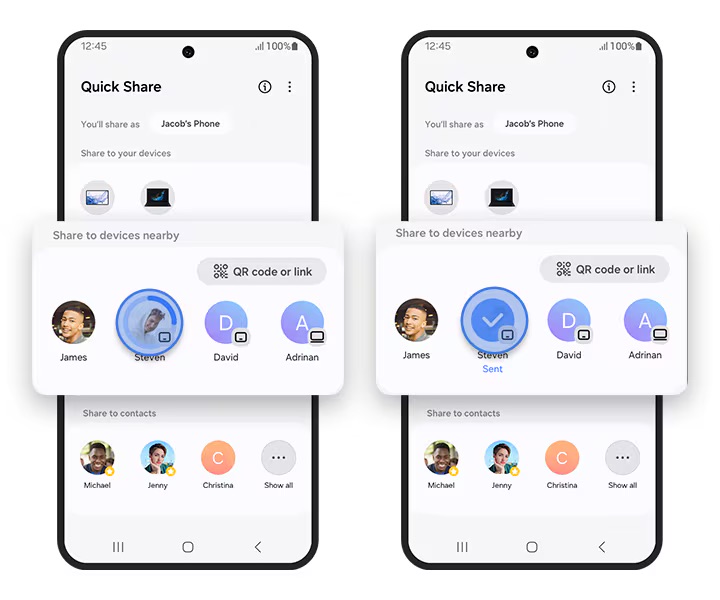
For the person receiving your photos, they can choose who can share with them. If you’re not a contact, they have to select “Everyone” so that you can find them.
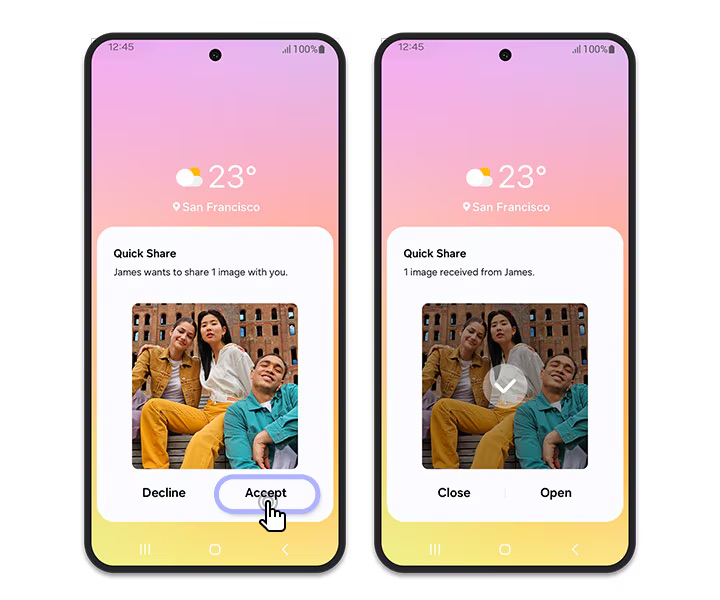
They will see a notification, which they can accept to receive your photos.
You can send photos by email without losing quality, by sharing them as attachments. The advantage of this approach is that it works between any device, unlike AirDrop or Quick Share which are restricted to their respective ecosystems (iOS or Android).
The limitation of sending photos by email is the size limit, above which the email will bounce. For most email providers, the maximum size is typically between 10 to 25 MB, which is only good for a few full quality photos. One way to reduce the file size is to create a ZIP or RAR file, which is a lossless method of compression. You can do that by placing the photos into a single folder, and zipping that folder.
While this method is fine for sharing a few photos, it’s not practical for sharing a whole gallery of photos with your clients. For that, using Honcho or Google Photos is a better alternative.
Physical Storage Devices
While this method can seem old school with all the online methods available, it’s a fool proof way to send your photos without losing quality. Most commonly, you can store your photos in a USB flash drive, and give it to your clients. Most USB flash drives come with storage of at least several gigabytes (GB), which is more than sufficient to deliver all of your photos.
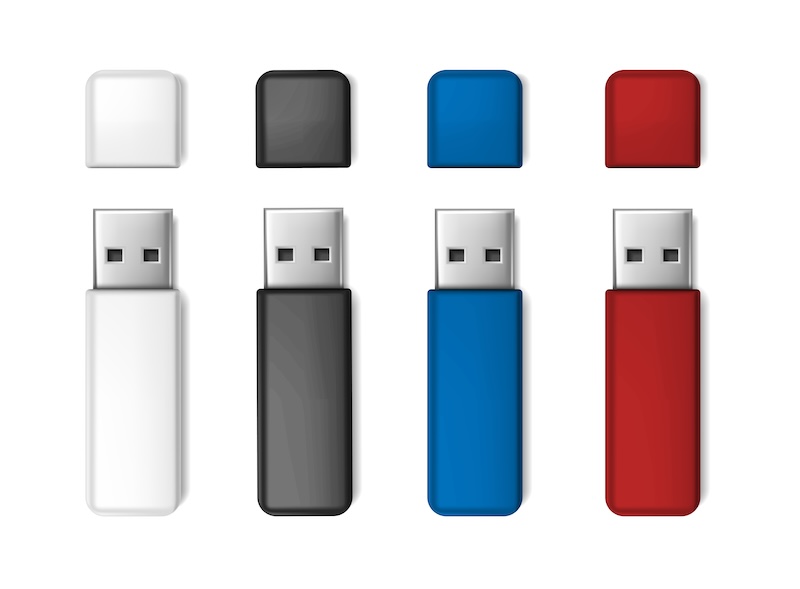
You can turn this seemingly obsolete method to your advantage by creating a personalized experience—for example, by sending the USB flash drive in a custom wooden box, to create the perception of a high-end service.
The downside of this method is its speed. Unless you can personally hand over the flash drive immediately after the shoot, you will need to mail it out, which can take several days.

