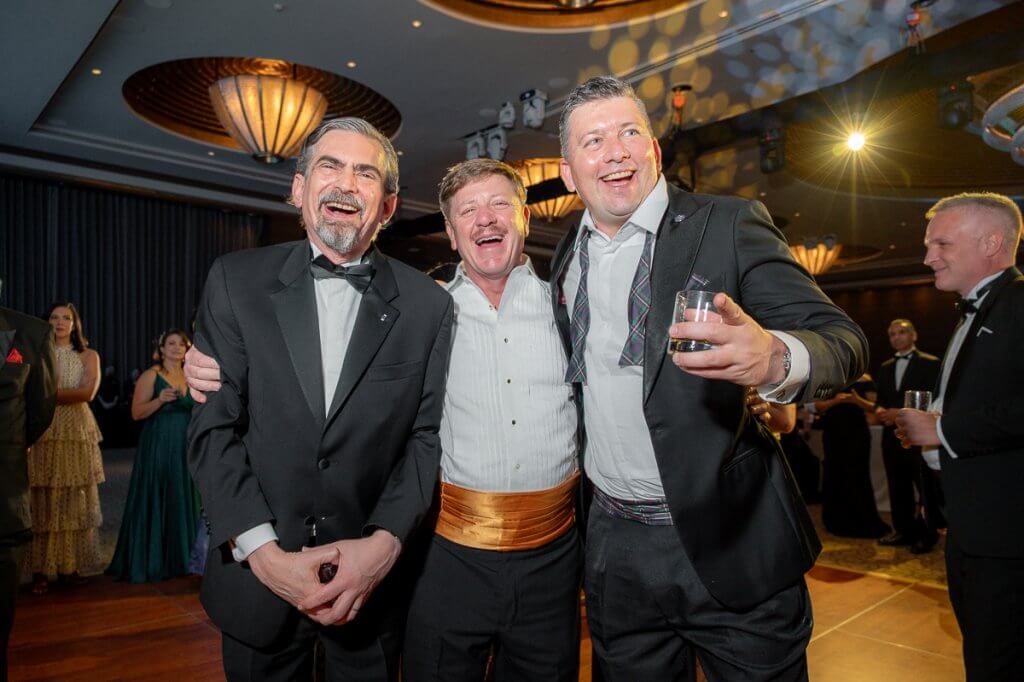
At most of the events I shoot like conferences, corporate functions, weddings, and brand activations, things move quickly. Important moments happen once, lighting can change unpredictably, and there’s no chance to redo a shot if you miss it.
That’s why your event photography equipment matters. You need a setup that lets you react quickly and work reliably under pressure.
Over the years, I’ve simplified my gear to focus only on what’s necessary. In this guide, I’ll walk through what I actually use and what really matters on the job. If you’re looking for how to approach event coverage, I’ve broken that down separately in my guide on event photography tips.
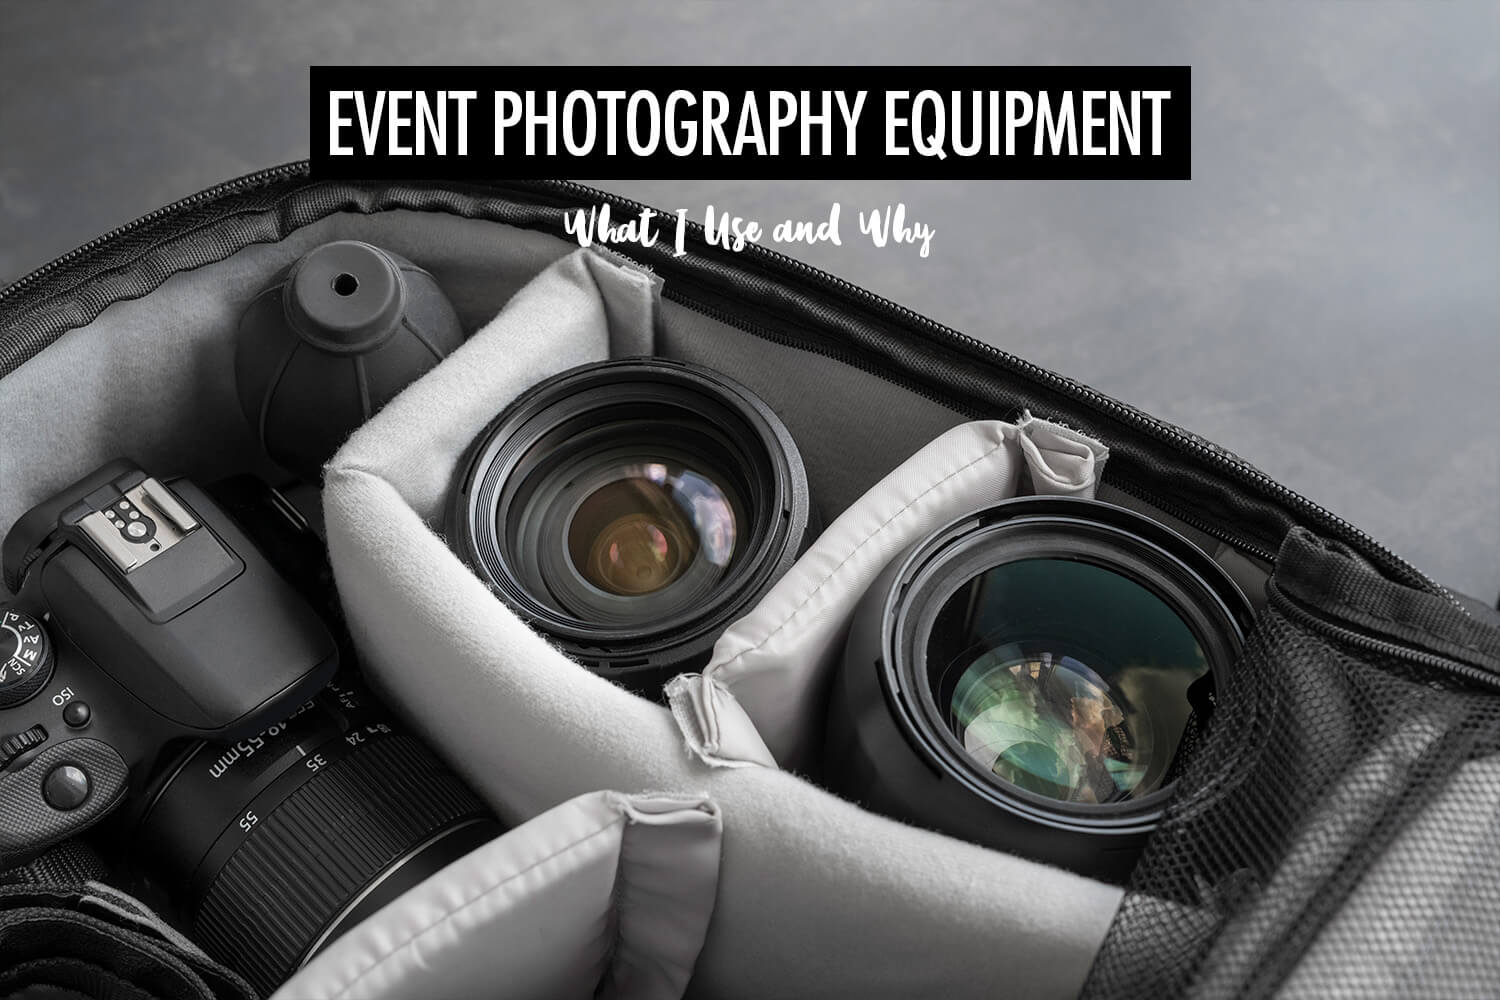
Camera Bodies
I shoot with two camera bodies for two main reasons.
The first is speed. It lets me switch between a wide and a longer lens without having to change lenses in the middle of an event.
The second is redundancy. If one camera fails, I can continue shooting with the other. At events, there’s no option to pause or troubleshoot.
I recommend using similar camera bodies. This allows you to swap lenses between them if needed, and it makes post-processing much faster. Because the images look similar straight out of camera, you can apply the same edits and keep everything consistent.
When choosing a camera for event photography, fast and accurate autofocus is important, especially with face and eye detection. Good low-light performance helps in dim venues. Dual card slots give you a backup in case a card fails, and decent battery life means fewer interruptions during long events.
One thing to keep in mind is how quickly camera bodies depreciate. New models lose value fast, but a previous generation model is often much more affordable and still more than capable for event work. It often makes more sense to invest in good lenses, which hold their value better and have a bigger impact on your images.
Lenses for Event Photography
I use a 24–70mm on one camera and a 70–200mm on the other. Together, they cover almost everything I need at an event.
General Coverage (24–70mm)
The 24–70mm is my workhorse lens. It handles most of the event, including establishing shots, group photos, and candid moments up close.
It’s also the lens I use with a speedlight for portraits and group shots. In most cases, you only need one flash, since this is the lens you’ll be using with it.
Candid and Stage Shots (70–200mm)
The 70–200mm gives me reach and allows me to capture candid moments from a distance without stepping into the scene, which helps people stay natural. It’s also useful for stage shots, especially at conferences or larger events where you can’t get physically close.
Since I shoot this lens without flash, low-light performance is more important. An f/2.8 lens is a good starting point. You can go for faster lenses like f/1.8 or f/1.4, but that comes down to budget and preference. If your camera handles high ISO well, you can rely less on a fast lens.
Wider Shots (16–35mm)
A 16–35mm lens is useful for wider establishing shots, large group photos, and situations where the venue is tight and you physically can’t step back.
I keep one in my camera bag, but it doesn’t come out often. It’s more of a situational lens that I’ll use when the event calls for it.
Lighting Equipment
A single speedlight is usually all I bring. It’s enough for most lighting situations, especially for portraits and group photos. I’ll either bounce the flash off a wall or ceiling, or use a small modifier like a bounce card or diffuser to soften the light.
On rare occasions, I bring additional strobes on light stands. For example, I once photographed a group of around 100 people in a dark auditorium with two levels. A single speedlight wouldn’t have been enough to cover that space.
In that setup, I bounced the strobe light off the ceiling. This turned the entire ceiling into a large light source, spreading even light across the whole auditorium.
Essential Accessories
I shoot with dual card slots in each camera, set to backup mode. That means every photo is written to two cards at the same time. It’s a key part of my backup strategy, especially for paid events where losing images isn’t an option.
With two camera bodies, that’s already four cards in use. On top of that, I carry extra cards in case any of them fail or get filled up during the event.
I bring multiple spare batteries for each camera and rotate them throughout the event. It’s a simple thing, but it removes a lot of stress knowing you won’t run out of power. Events can run for hours, and the last thing you want is your camera dying in the middle.
I also use a dual camera strap to carry both cameras comfortably and switch between them quickly.
Conclusion
To build a good setup, focus on event photography equipment that’s reliable and easy to work with under pressure.
For most events, a simple setup with two camera bodies, a 24–70mm, a 70–200mm, and a single speedlight is more than enough. Everything else is situational.
As you shoot more events, you’ll start to notice what limits you. That’s when it makes sense to gradually add to your kit.