Part of our Workflow guides
Explore more articles on working faster, managing volume, and delivering efficiently in our Workflows section.
Most photography workflows are built around what happens after the shoot. You take photos, transfer them, edit, and then deliver.
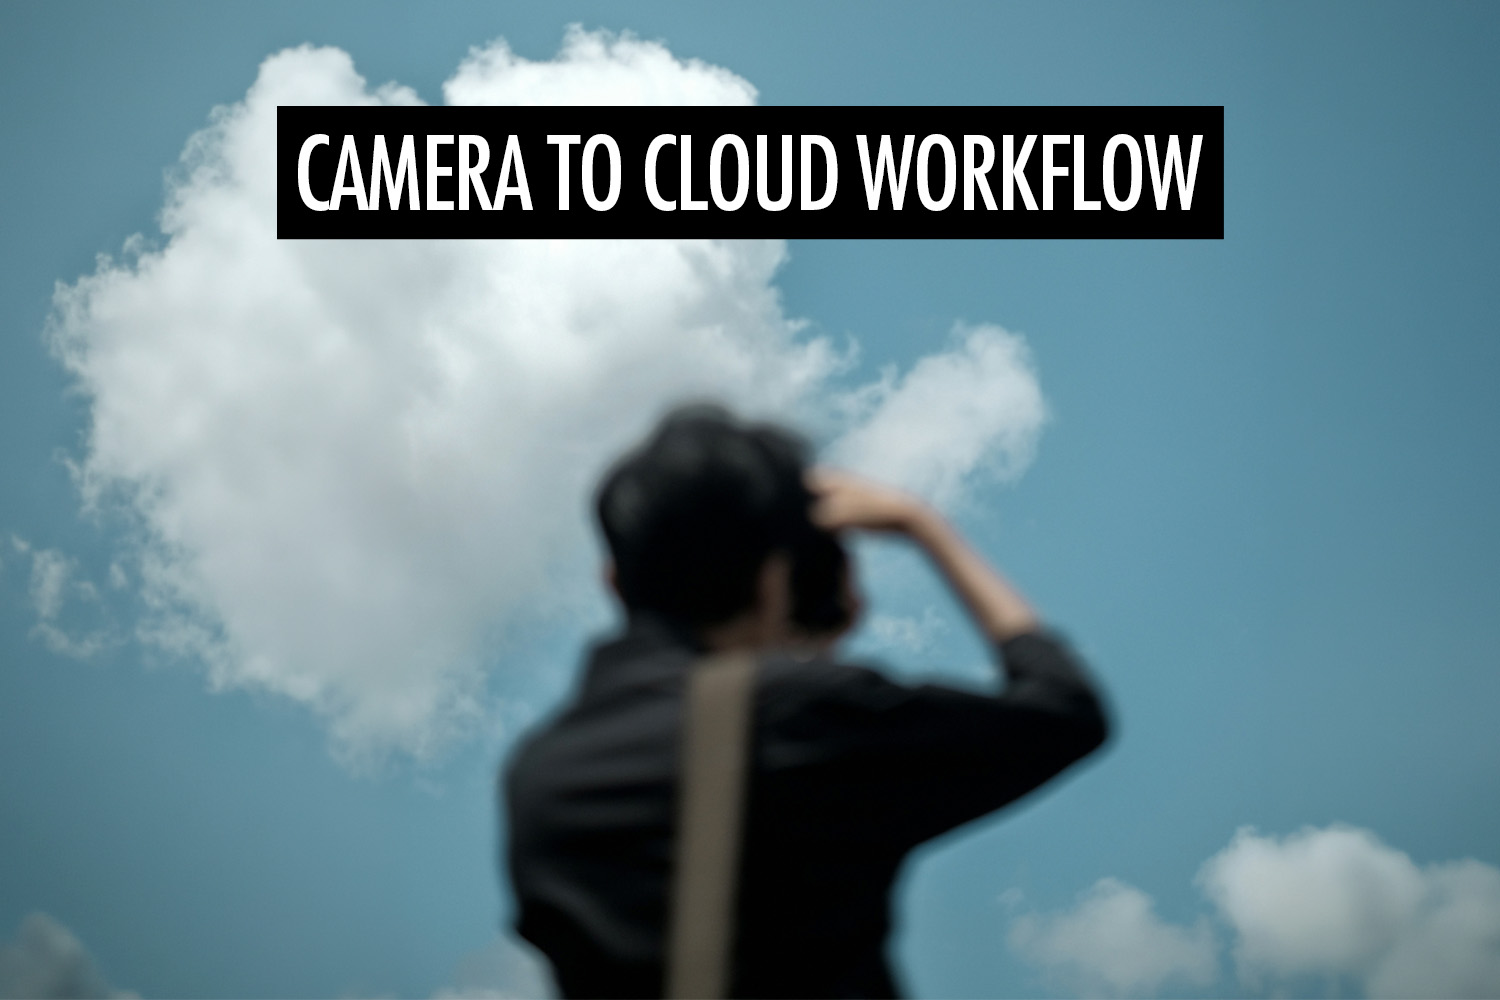
Camera to Cloud changes that.
Instead of waiting until the end, images are uploaded as you shoot and become available almost immediately. That changes how events, weddings, and headshot booths can be shot and delivered.
In this article, I’ll walk through my Camera to Cloud workflow, step by step.
When This Workflow Makes Sense
Camera to Cloud makes sense when I need to share photos instantly. Here are some examples where I’ve used this workflow:
Events and brand activations: Instead of waiting until after the event, guests can view and share images almost immediately. Engagement is higher, and if branding is involved, it spreads through sharing.
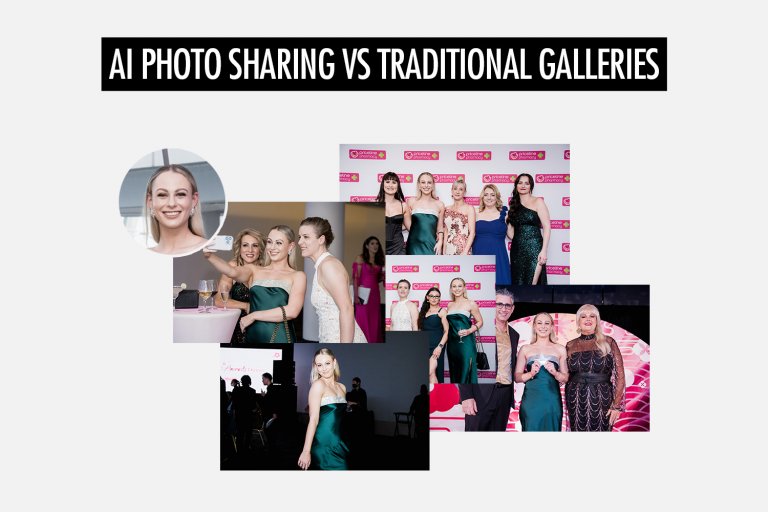
Headshot booths: Instead of manually sorting and sending images, photos can be delivered automatically. In some cases, combining this with face recognition means people receive only their own photos, further reducing my workload.
Sports and races: Participants want to see their photos as soon as they finish, not hours or days later. Getting images online quickly increases both sharing and post-event sales.
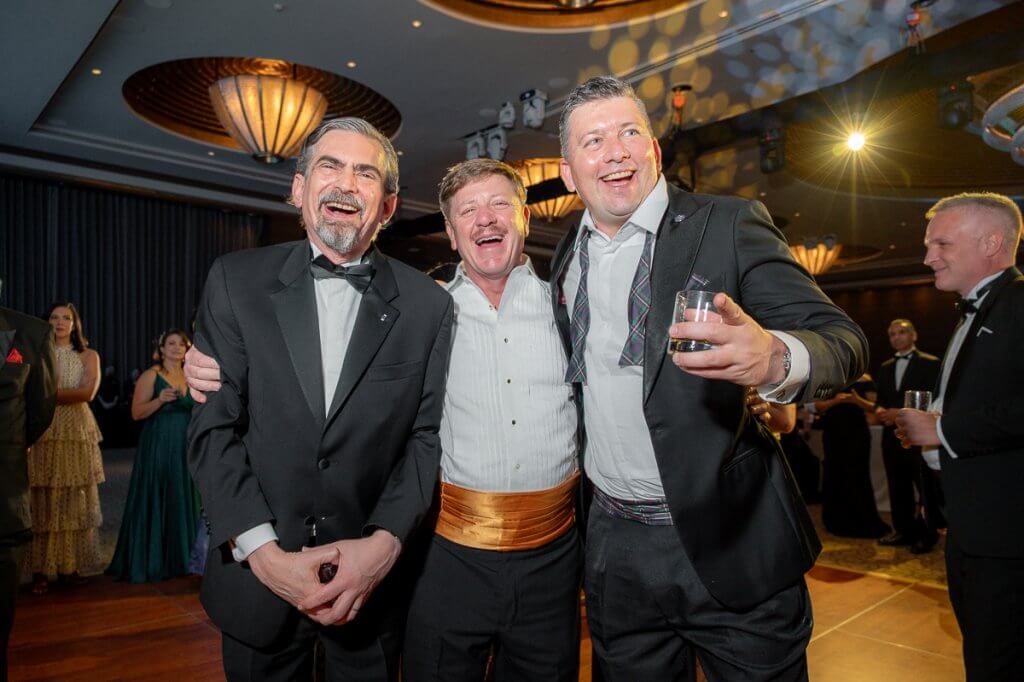
Weddings: Guests often ask for photos during the day, whether it’s group shots or candid moments. Instant sharing lets me deliver them on the spot, adding to the excitement of the wedding.
Overview: What This Workflow Looks Like
At a high level, the workflow looks like this:
Capture → Upload → Share
All of these steps happen concurrently, while you shoot.
Capture: You take photos as you normally would and there’s no change to how you shoot.
Upload: As photos are captured, they’re transferred off the camera and uploaded in the background. There’s no need to wait until the end of the shoot or manually import files.
Share: Once uploaded, the photos are immediately available in a live gallery, ready to be viewed and shared.
I’ve covered the different ways Camera to Cloud works, including FTP, tethered setups, and end-to-end platforms.
Step 1: Capture
Before the shoot, I connect my camera to my phone. This can be done with a cable or wirelessly, but I prefer a wired connection because it’s faster and more stable.
Tethering to a phone lets me move around the venue freely. I can also rely on mobile data if the venue WiFi is unreliable. I use Honcho to handle the connection and uploads in the background.
Once everything is connected, I shoot as usual. Each photo is ready to move into the next step of the workflow as soon as it’s captured.
Step 2: Upload
As I shoot, each photo is transferred from the camera to my phone using a tethered connection and uploaded in the background.
There’s no manual step. I don’t have to swap memory cards or import files. Honcho handles everything automatically, so uploads happen continuously as I shoot.
To keep things fast, I upload JPEGs instead of RAW files. They’re smaller, upload in seconds, and are immediately usable for sharing. The RAW files stay on the memory card for editing later.
If the internet connection drops, nothing is lost. Photos continue to transfer to the phone and upload once the connection resumes.
Once the photos are uploaded, they’re already available to be viewed and shared.
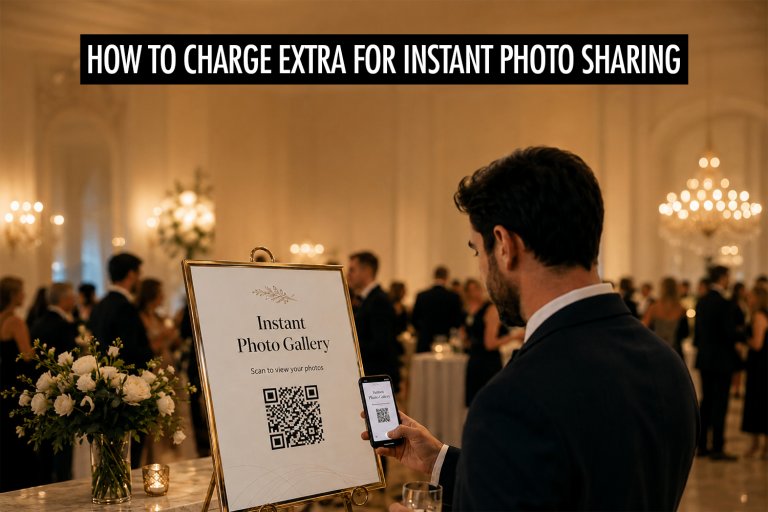
I usually share a QR code so guests can scan and access the gallery on their phones. As new photos are uploaded, they appear automatically, so the gallery keeps updating throughout the event.
With Honcho, guests can upload a selfie and use face recognition to instantly see only the photos they’re in, instead of browsing through the entire gallery. As more photos are uploaded, they can also receive updates via email or WhatsApp when new matches are found.
This means people don’t have to wait until the event is over. They can view, download, and share their photos while it’s still happening.
What Happens After the Shoot
Camera to Cloud handles real-time sharing, not final delivery.
During the shoot, I’m uploading JPEGs so photos can be viewed and shared immediately. The RAW files stay on the memory card, untouched.
After the shoot, I go through my usual editing workflow using those RAW files, where I cull and edit the images.
If needed, I’ll replace or supplement the live gallery with the edited versions. The instant photos provide the immediate experience, while the edited photos become the final deliverable.
This way, I get the best of both worlds: speed during the shoot, and quality after.
Conclusion
With Camera to Cloud, photos are uploaded and shared while you’re still shooting. That changes how people experience photography.
Instead of happening quietly in the background, photography becomes part of the event. People see their photos immediately, share them in the moment, and become more engaged.
It turns photography from documentation into something people actively experience.