
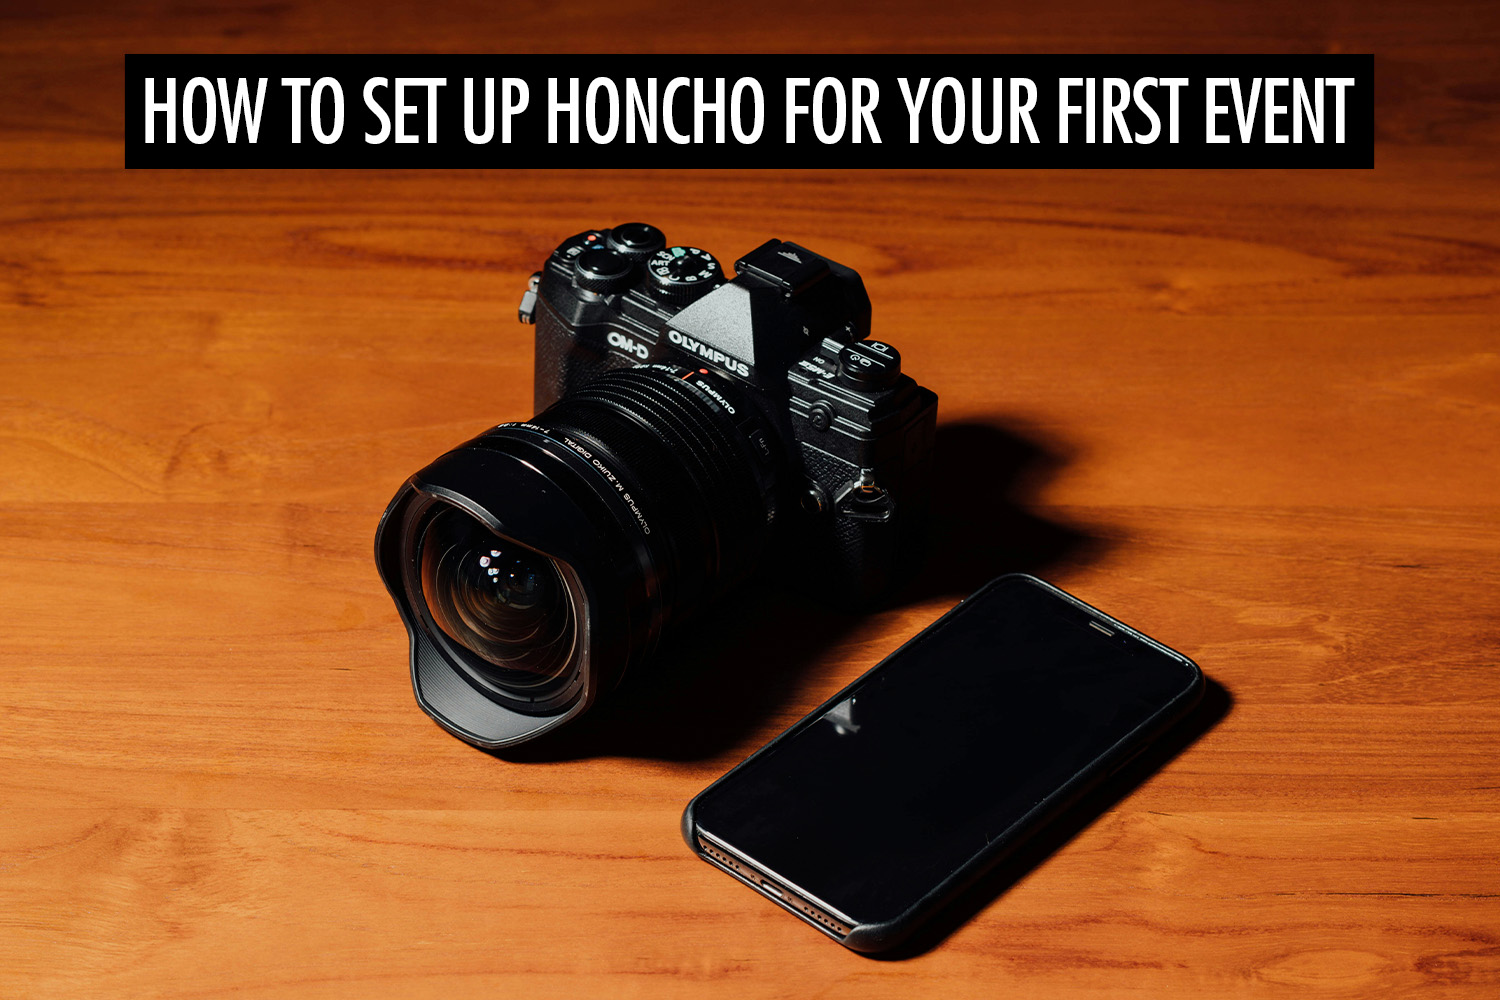
Setting up Honcho for the first time only takes a few minutes.
This guide walks you through the basic setup, from creating your album to connecting your camera and testing your first upload.
We recommend doing a full test at home or in your studio before using Honcho at a real event.
This guide focuses on setting up Honcho using the mobile app, so you can go from setup to shooting in one place.
You can also manage your albums and settings from the web dashboard.
1. Create your album
Start by creating an album for your event.
In the Honcho mobile app, tap Create album.
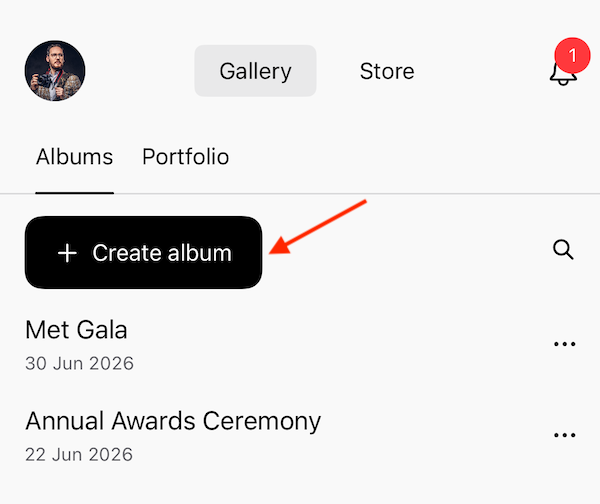
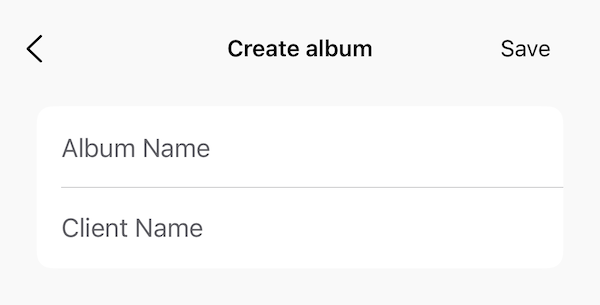
Enter the basic details for your album, such as the album name.
Then tap Save.
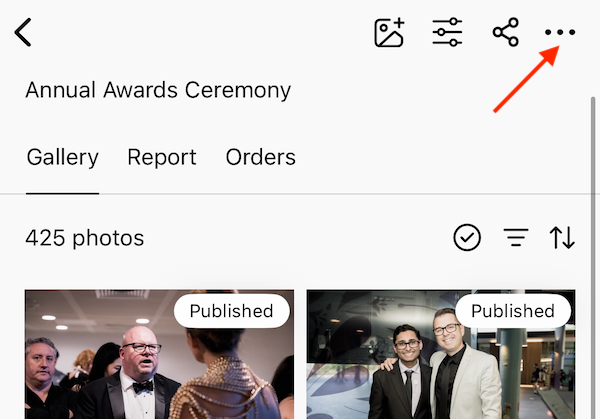
Once your album is created, you’ll be taken to the album page where you can manage your photos, privacy settings, and other options.
2. Choose your album settings
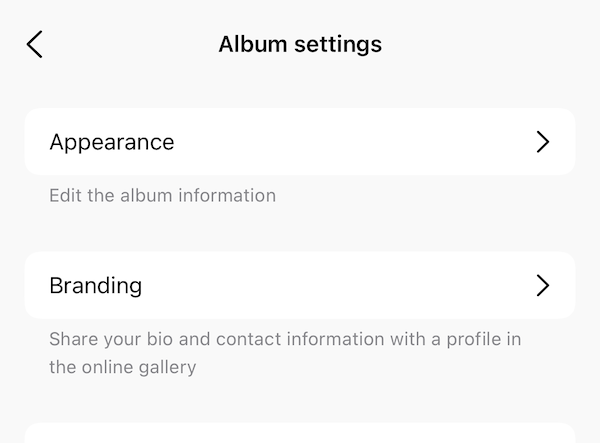
To access your album settings, tap More, then select Settings.
Depending on your event, you may want to adjust settings such as:
- Upload and download sizes
- Privacy settings
- Online store
For public events such as conferences, festivals, or marathons, you can enable photo blur in the privacy settings.
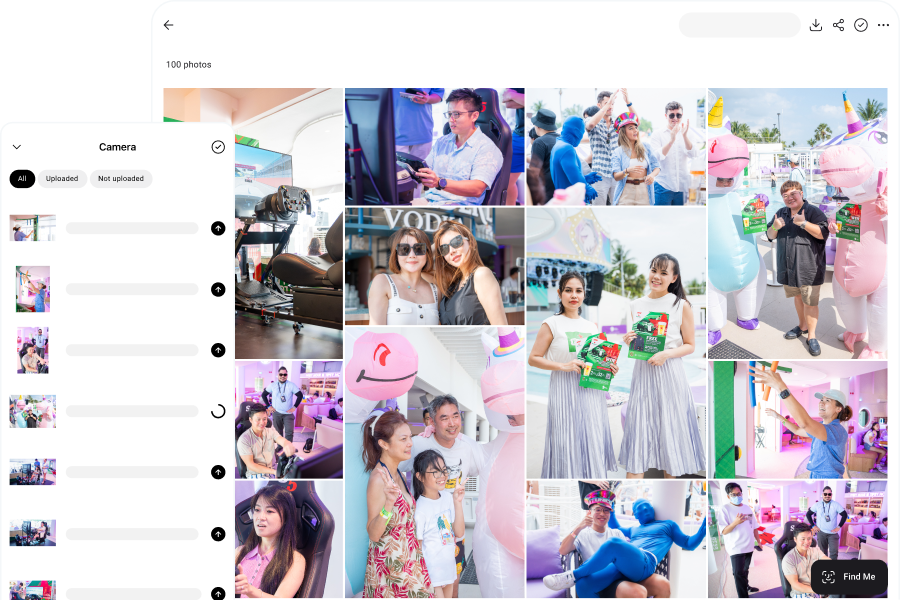
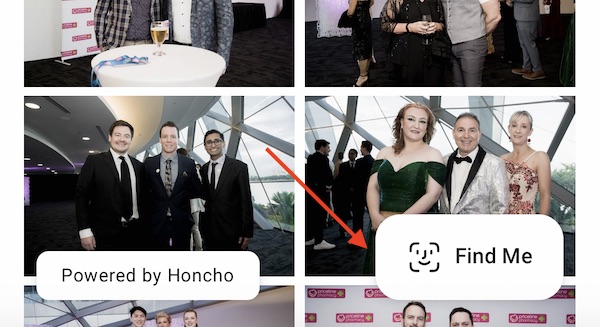
With photo blur, visitors upload a selfie and Honcho uses face recognition to find their matching photos. Visitors can see only their own photos, while all other photos remain blurred.
3. Set your camera to JPEG or RAW + JPEG
Honcho imports and uploads JPEG files.
Before your event, set your camera to shoot either JPEG only or RAW + JPEG.
We recommend RAW + JPEG if you want to keep RAW files for editing later. The JPEG files can be uploaded live through Honcho, while the RAW files remain on your camera’s memory card.
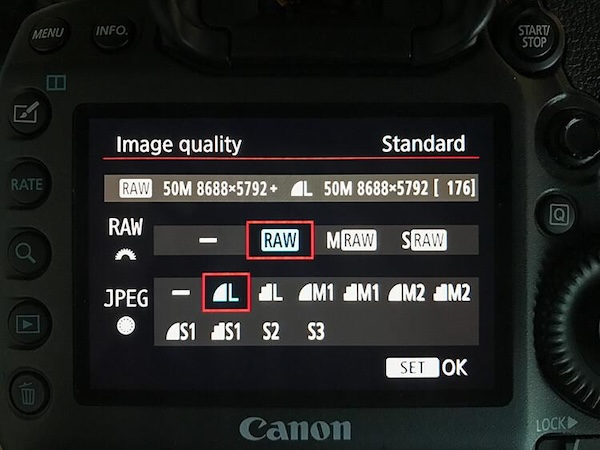
For faster uploads, choose a smaller JPEG size in your camera settings. This also helps reduce the amount of storage used on your phone.
4. Connect your camera
Connect your camera to your phone using a USB cable that supports data transfer.
Honcho will automatically detect your camera, and it will appear in the app.

If your camera does not appear, check our camera connection guides for your camera brand and phone type.
Select the album you want to upload your photos to.
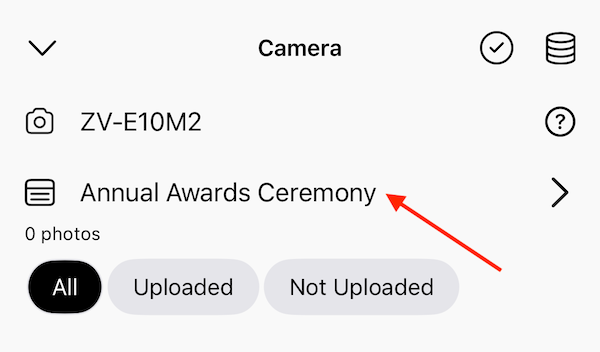
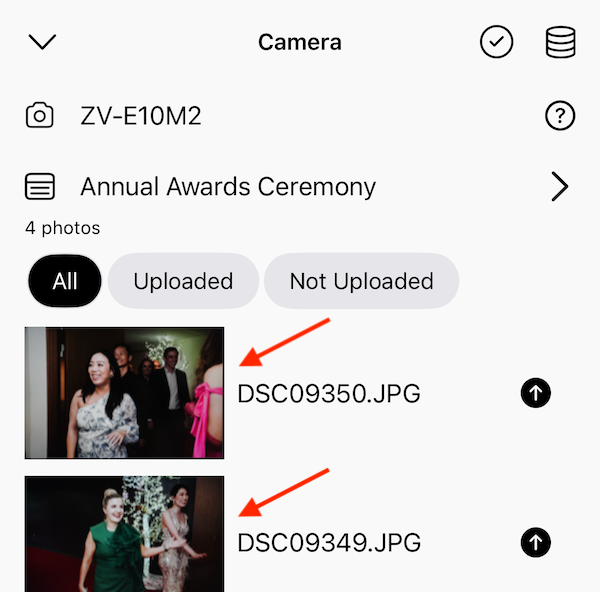
Take a test photo.
Honcho will automatically import the photo into the app and upload it to your selected album.
5. Share your album
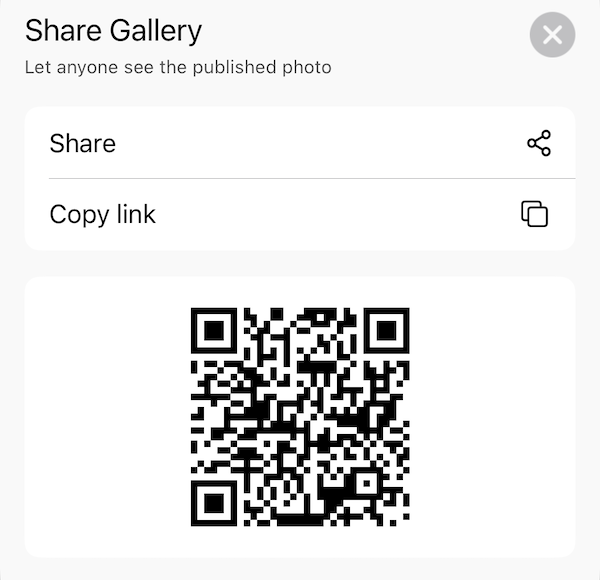
In your album, tap Share.
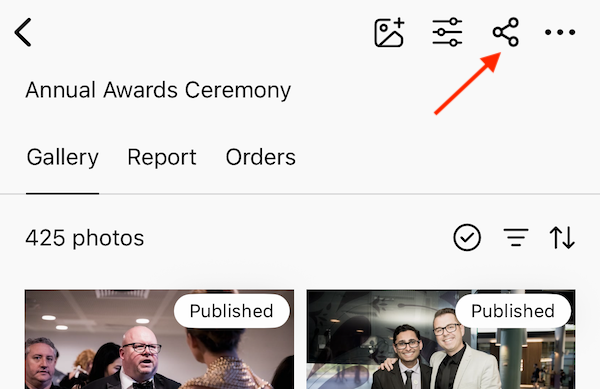
You can share your album using the QR code or album link.
Visitors can open the gallery and tap Find me to upload a selfie. Honcho will use face recognition to find their matching photos.
Display your QR code on printed signs, event screens, tablets, or anywhere guests can easily scan it.
You can also download our QR code templates and add your own QR code and logo.
What if the internet is bad?
If your internet connection is bad, Honcho will safely store the photos on your phone and upload them when the connection improves.
You can continue shooting even if the connection is not perfect.
What if the camera disconnects?
If your camera disconnects, reconnect it with the cable.
For Canon and Nikon cameras, Honcho will automatically import missing photos from the memory card after reconnecting.
Ready for your first event
That’s it!
Once you complete the steps above, you’re ready to use Honcho at your first event.