Part of our Workflow guides
Explore more articles on working faster, managing volume, and delivering efficiently in our Workflows section.
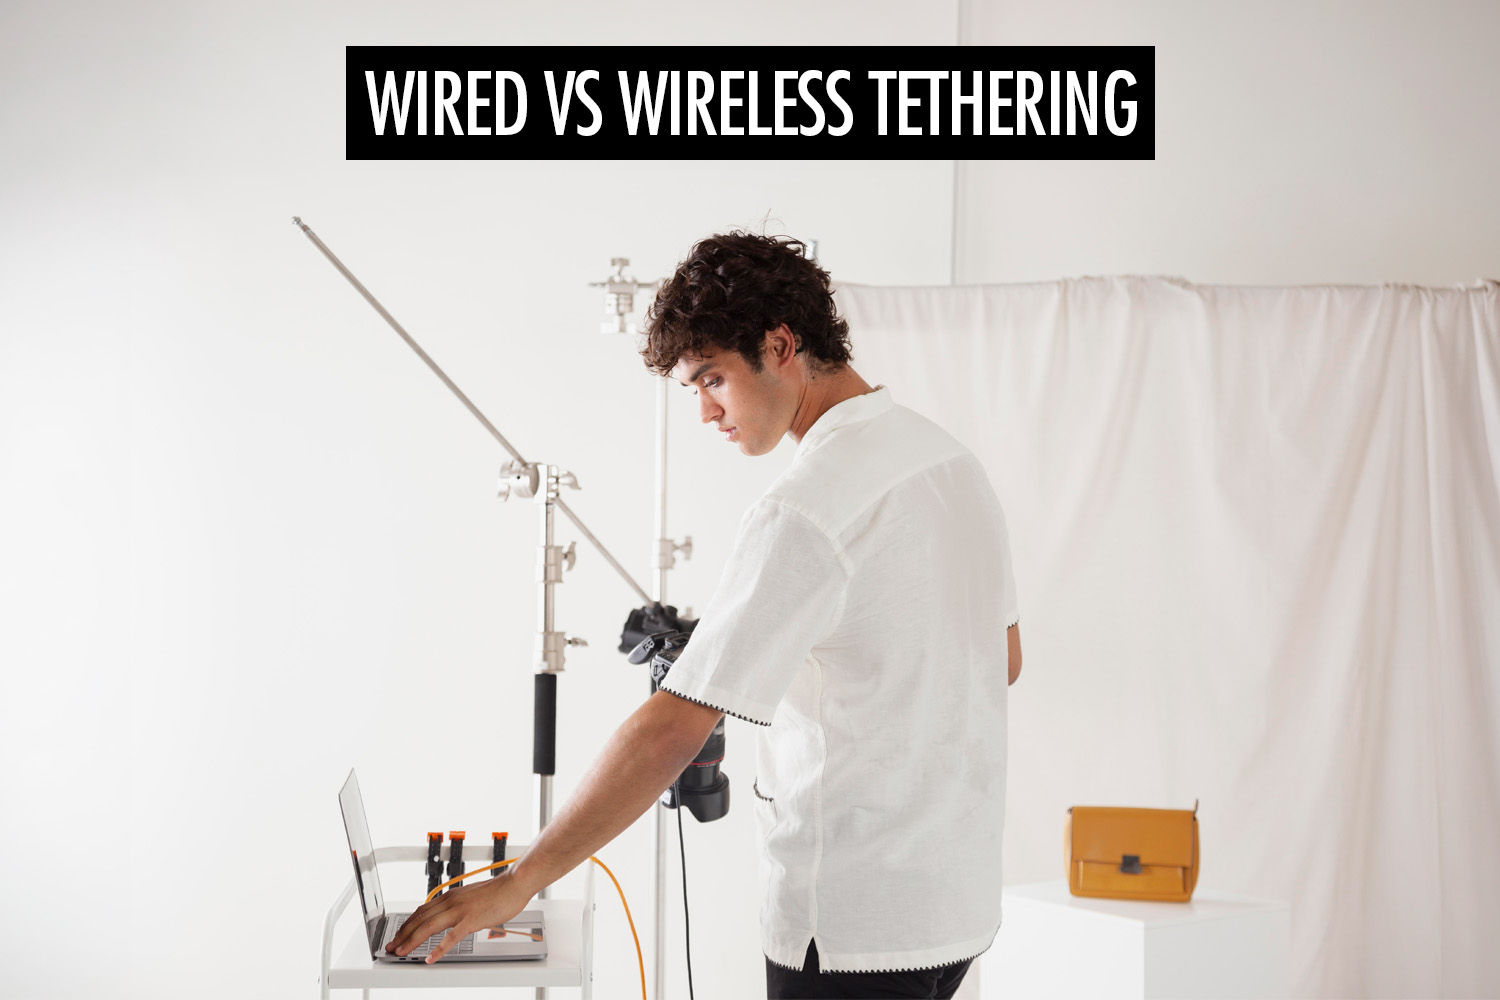
Tethered photography simply means connecting your camera to another device, usually a laptop or phone, so photos are transferred immediately as you shoot. It’s commonly used for live preview, faster image review, and increasingly, for delivering photos in real time during events.
In theory, wireless tethering sounds more convenient. However, the best option depends on how and where you shoot.
In this guide, I’ll compare wired and wireless approaches to tethering, including how each setup works and where they perform best or fall short. By the end, you’ll have a clearer sense of which option is best for your specific shooting environment and workflow.
Why I Use Tethering
I use tethering for three main things: collaboration, faster review and selection, and instant delivery, which I break down in more detail in my tethered photography workflow.
Collaboration: I use tethering when I need everyone to see what’s happening as I shoot. In commercial and studio work, that usually means clients, stylists, or creative directors are looking at the images in real time. Instead of reviewing everything later, we can react immediately, adjust styling, tweak lighting, or change direction on the spot. It keeps the whole team aligned and avoids surprises after the shoot.
Faster image review and selection: Looking at images on a larger screen makes it much easier to catch issues like focus, lighting, or small distractions that aren’t obvious on the camera. I can also go through shots and shortlist favourites during the session, rather than sorting everything out after.
Instant delivery: For events, brand activations, and headshot booths, I tether because it lets me deliver photos almost immediately. Instead of waiting until everything is edited and uploaded after the shoot, I can review, select, and share images while the excitement is still there.
Wired Tethering
Wired tethering is my preferred approach because it’s more reliable. By connecting my camera directly to another device using a cable, I get faster transfers and a more stable connection compared to wireless.
There are two main ways I use wired tethering, depending on what I’m trying to achieve.
To a Laptop
Tethering to a laptop is best suited for studio and controlled environments.
In this setup, the camera is connected to a laptop via USB, with images transferring directly into tethering software like Lightroom or Capture One. This allows you to review photos on a larger screen as you shoot, make adjustments immediately, and keep clients or collaborators aligned throughout the session.
In my own setup, I use a 4.6m tether cable, which gives me enough freedom to move without feeling restricted. The laptop sits on a rolling workstation, so I can reposition it easily. I also use a tether plate to secure the cable to the camera, so it doesn’t disconnect mid-shoot.
I shoot in RAW when tethering to a laptop. Files transfer directly into my editing software, where I can rate images and start working immediately. There’s no separate ingest step, and it effectively creates a live backup as I shoot.
Where it works best
- Studio and commercial shoots
- Product photography
- Headshot sessions with a fixed setup
Pros
- Very stable and reliable connection
- Fast transfer speeds, even with RAW files
- Integration with editing software
- Ideal for live review and collaboration
Cons
- Limited mobility due to the cable
- Requires a workstation setup
- Not ideal for fast-moving environments
To a Phone
Tethering to a phone is what I use when I’m shooting on location and need to deliver photos instantly. Instead of reviewing images on a laptop, the goal is to get photos into people’s hands as quickly as possible while the shoot is still happening.
In this setup, the camera is connected to a phone via cable, and the phone handles uploading images to the cloud. That lets me move freely around the venue while still running a live delivery workflow in the background.
I shoot in JPEG for this workflow, because file sizes are smaller and transfer much faster. These photos are meant to be shared right away, so there’s no need to deal with RAW files on-site.
In my case, I use Honcho to handle the upload and delivery. Photos are uploaded as I shoot, and guests can access them almost immediately. For larger events, features like face recognition make it much easier for people to find their own photos without scrolling through everything.
Where it works best
- Events and weddings
- Headshot booths
- Brand activations
- Sports and marathon photography
Pros
- Maintains the stability of a wired connection
- Full mobility while shooting
- Enables real-time sharing and delivery
- Works well for high-volume workflows
Cons
- Depends on internet connection for uploads
- Less suited for detailed on-site review
Wireless Tethering
With wireless tethering, there are no cables and the setup feels cleaner. The camera connects to a laptop over WiFi, either through the venue’s network or a network created by the camera itself.
When I use the venue’s WiFi, I get better range and can move further away from the laptop without losing connection. But at events, conferences, or weddings, I’m sharing that network with hundreds of attendees, and the connection is often unpredictable.
Using the camera’s own WiFi network is more stable, but the range is limited. I need to stay close to the laptop, and once I move too far or there are obstacles in the way, the connection breaks down.
I’ve also tried devices like CamRanger to extend the range. They do help, but even then, the range is still limited. In larger venues, like conferences with multiple halls, it’s not enough.
Because of this, I only use wireless tethering in controlled environments like the studio. For anything on-location, I stick to wired tethering.
Where it works best
- Controlled environments like the studio
- Situations where cables are inconvenient
Pros
- Full freedom of movement
- No cables or trip hazards
- Cleaner physical setup
Cons
- Unreliable on shared WiFi networks
- Limited range on camera-created networks
- Slower and less consistent than wired setups
Wired vs Wireless Tethering
If you break it down, each approach solves a different problem.
| Wired (Laptop) | Wired (Phone) | Wireless | |
| Best for | Studio, commercial, product | Events, headshot booths, weddings | Studio, controlled environments |
| Primary goal | Collaboration and live review | Instant sharing | Flexibility and mobility |
| Connection type | USB cable | USB cable | WiFi (camera or venue network) |
| Transfer speed | Fast (RAW supported) | Fast (JPEG optimised) | Slower |
| Range | Limited by cable length | Unlimited | Depends on WiFi network |
| Reliability | High | High | Lower (pairing, stability issues) |
Conclusion
Choosing between wired and wireless tethering comes down to what you’re trying to achieve during the shoot.
If I need collaboration and live review, I tether to a laptop. If I need instant sharing, I tether to a phone. Wireless tethering can work, but I only trust it when the environment is controlled.