
Part of our Workflow guides
Explore more articles on working faster, managing volume, and delivering efficiently in our Workflows section.
Keywording photos means adding descriptive terms that help you find images later. You can add those keywords manually, let software generate them automatically, or use both approaches together.
For large photo collections, the best workflow is usually to add the context only you know, let AI handle visible content where it can, then test whether the final search experience returns the photos people are likely to look for.
Which keywords should you add to photos?
Start with the searches you expect someone to make later. A useful keyword earns its place because it helps retrieve a photo.
Two types of information you can keyword
When tagging photos, there are two main types of information you can add.
Visible descriptions explain what can be seen in the image. They include subjects, activities, scenes, objects, clothing, settings, and other visual details. These are often good candidates for automatic keywording because software can analyze the image directly.
Known context comes from information outside the image. It might include a person’s identity, client, project, event, session, venue, campaign, or other details the image itself cannot reveal.
For example, a photo may clearly show a speaker presenting onstage, but the image alone may not tell you who the speaker is, which session they are presenting in, or which event the photo belongs to.
A simple framework for choosing keywords
When deciding what information is worth adding, think about who, what, where, when, and context:
- Who: the person, group, or role.
- What: the subject, activity, or type of moment.
- Where: the location, venue, room, or setting.
- When: the date, day, session, or stage of a shoot or event.
- Context: the client, project, event, campaign, or other information that gives the photo meaning.
It also helps to use consistent terms. If you use “group photo” on one shoot and “group shot” on another, decide whether both terms are useful or whether one should be your standard label.
How many keywords should you add? As a practical starting point, aim for around 5–10 useful manual keywords per photo or batch. That is usually enough to cover the main who, what, where, when, and context without over-describing the image. If fewer keywords cover everything you are likely to search for, stop there.
How do you add keywords to photos manually?
The most efficient approach is to keyword photos in batches.
Start by selecting images that share the same context and apply those keywords together. For example, you might add the event name to the entire shoot, then add a session name only to the photos from that session, and “awards presentation” only to the award ceremony.
This lets you add shared information once instead of keywording every photo individually.
Most photo-management software supports this kind of batch keywording. In Lightroom Classic, for example, you can select multiple photos in Grid view and add keywords through the Keywording panel.
After applying the shared keywords, add more specific terms only where they are useful. The goal is to move from broad context to more specific descriptions without repeating the same work across hundreds of images.
How does automatic keywording work?
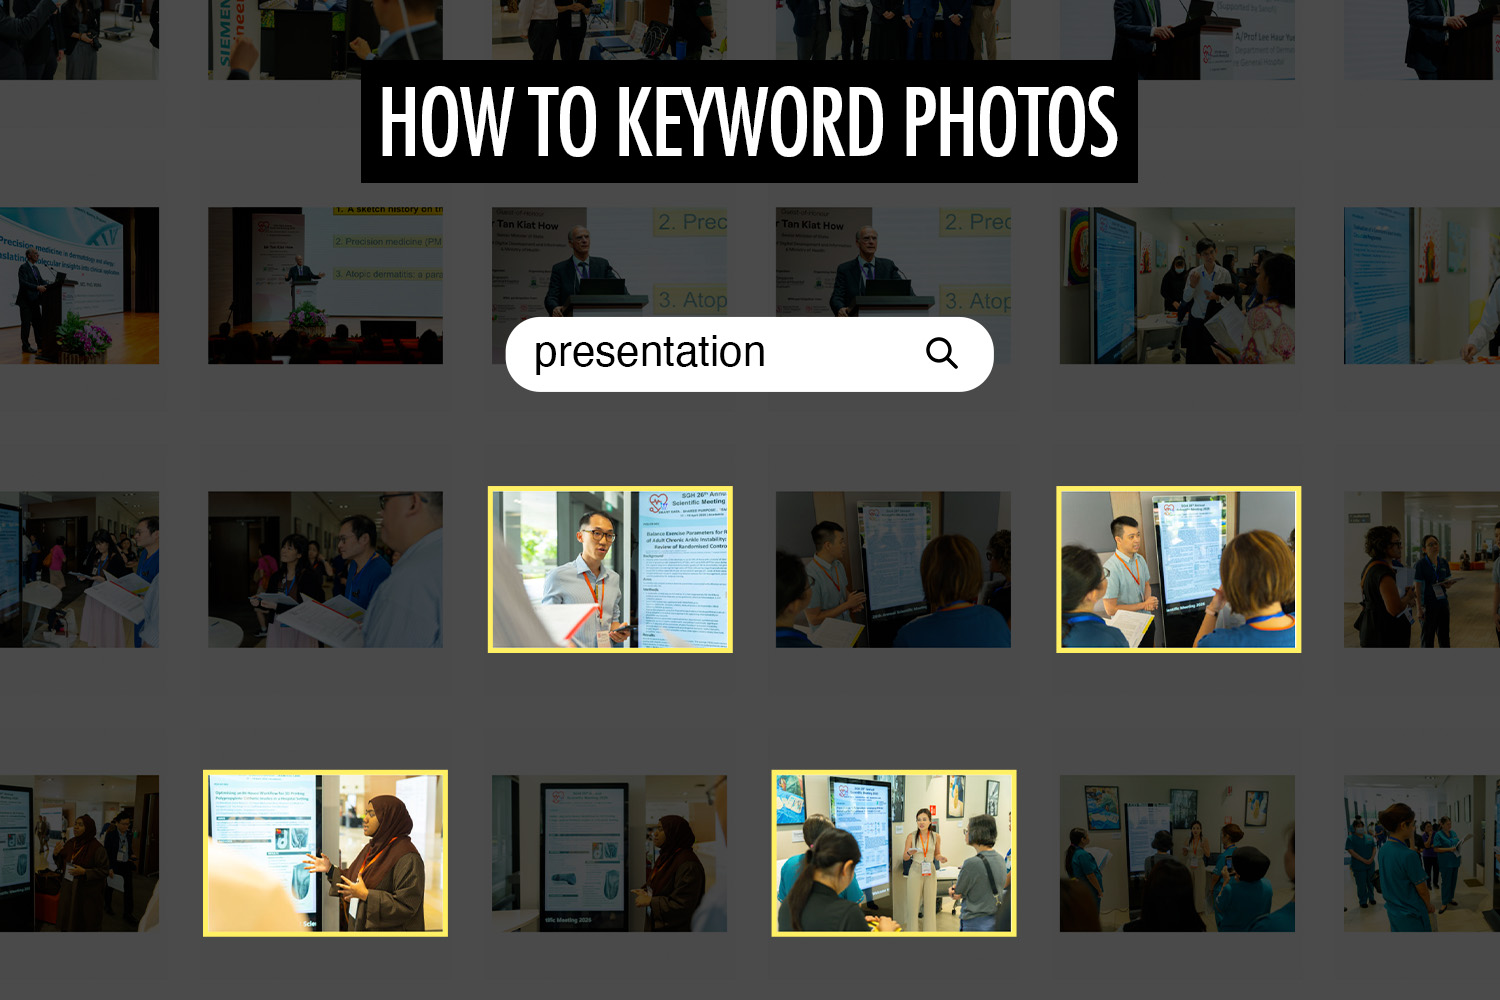
Automatic keywording uses AI to analyze what appears in a photo and assign descriptive labels such as “speaker”, “stage”, or “presentation”. This can save photographers from manually adding the same kinds of visual descriptions across hundreds or thousands of images.
Image management software such as Excire can automatically add keywords to a photographer’s image library.
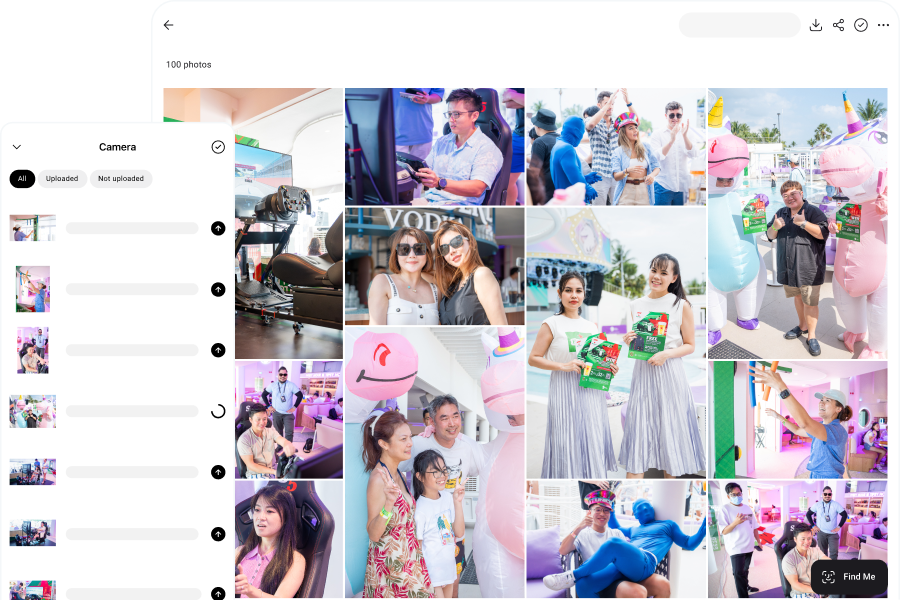
Online galleries can use automatic keywording too. In Honcho, photos are analyzed after they are added to a gallery, allowing visitors to search for visual content such as “flowers”, “presentation”, or “group photo” instead of scrolling through the full gallery.
A real-world example of photo keywording
In a two-day conference gallery, keywording could help with requests such as:
“Find the registration photos from Day 1.”


Automatic keywording can identify the registration scene, while “Day 1” is context that may need to be added manually.
“Find people asking questions from the audience.”


This is largely based on visible content, such as someone speaking or holding a microphone in the audience, so it can be a good fit for automatic keywording.
“Show me the gift presentations at the end of Day 2.”


Automatic keywording can identify the gift presentation, while “Day 2” would need to come from event context.
These examples show the basic split: automatic keywording handles what can be seen, while manual keywords add the context the image does not contain.
Do your keywords still work after you upload the photos?
Not always. Adding keywords in Lightroom or another photo-management app does not necessarily mean clients will be able to search those keywords after you upload the photos.
Some galleries, including SmugMug and PhotoShelter, can read keyword metadata from uploaded photos. Others may use imported keywords only for photographer-side organization, or rely on their own search system instead.
Keep keywording focused on retrieval
Good keywording starts with one question: what will someone need to find later?
Manual keywords are most useful for context the image cannot provide, while automatic keywording can handle much of what is visibly present.
If your goal is to make a client gallery easier to search, Honcho automatically analyzes photos so visitors can find what they’re looking for without the photographer manually keywording every image.