
Part of our Workflow guides
Explore more articles on working faster, managing volume, and delivering efficiently in our Workflows section.
Photo culling is the process of reviewing a shoot and choosing which images move on to editing and delivery. A good cull removes obvious misses and repetition, but it also protects the moments, people, and variety that make the final gallery useful to the client. The simplest way to do that is in three passes: remove clear rejects, compare similar frames, then review the selection as a complete set.
What is photo culling, and when should you do it?
In a typical photography workflow, photo culling happens after you’ve imported the shoot and before editing. You decide which photos to take forward, so you only spend editing time on images you may actually deliver.
Culling doesn’t have to mean deleting. A photo can be excluded from the client gallery without being erased from your drive, so it’s usually safer to flag or rate rejects first and make any permanent deletion decisions separately.
The goal is to reduce the shoot to a collection that is usable, varied enough to feel complete, and appropriate for what the client hired you to photograph.
How do you cull photos in three passes?
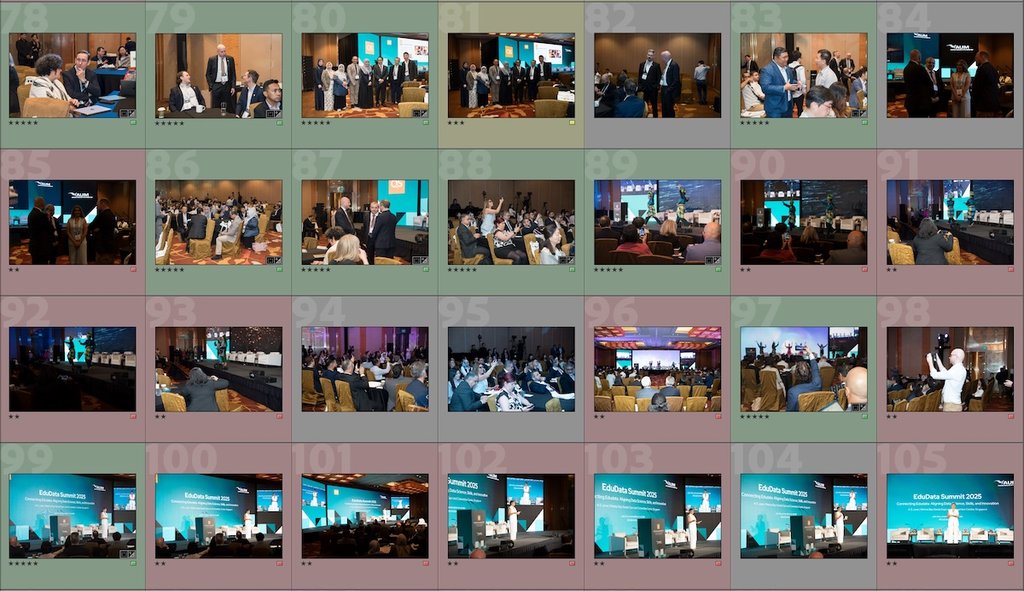
Trying to judge technical quality, compare similar frames, and think about the whole gallery at the same time can slow culling down. A three-pass workflow separates those decisions.
Pass 1: Remove the obvious rejects
Start by removing photos that clearly won’t be delivered, such as accidental frames, missed focus, unusable blur, or severe exposure problems.
Keep this pass fast. If a photo is borderline, leave it for later rather than stopping to make a difficult decision. A technically imperfect image may still be worth keeping if it captures an important moment you don’t have elsewhere.
Pass 2: Compare similar photos
Next, compare bursts, repeated poses, group portraits, and other similar frames.
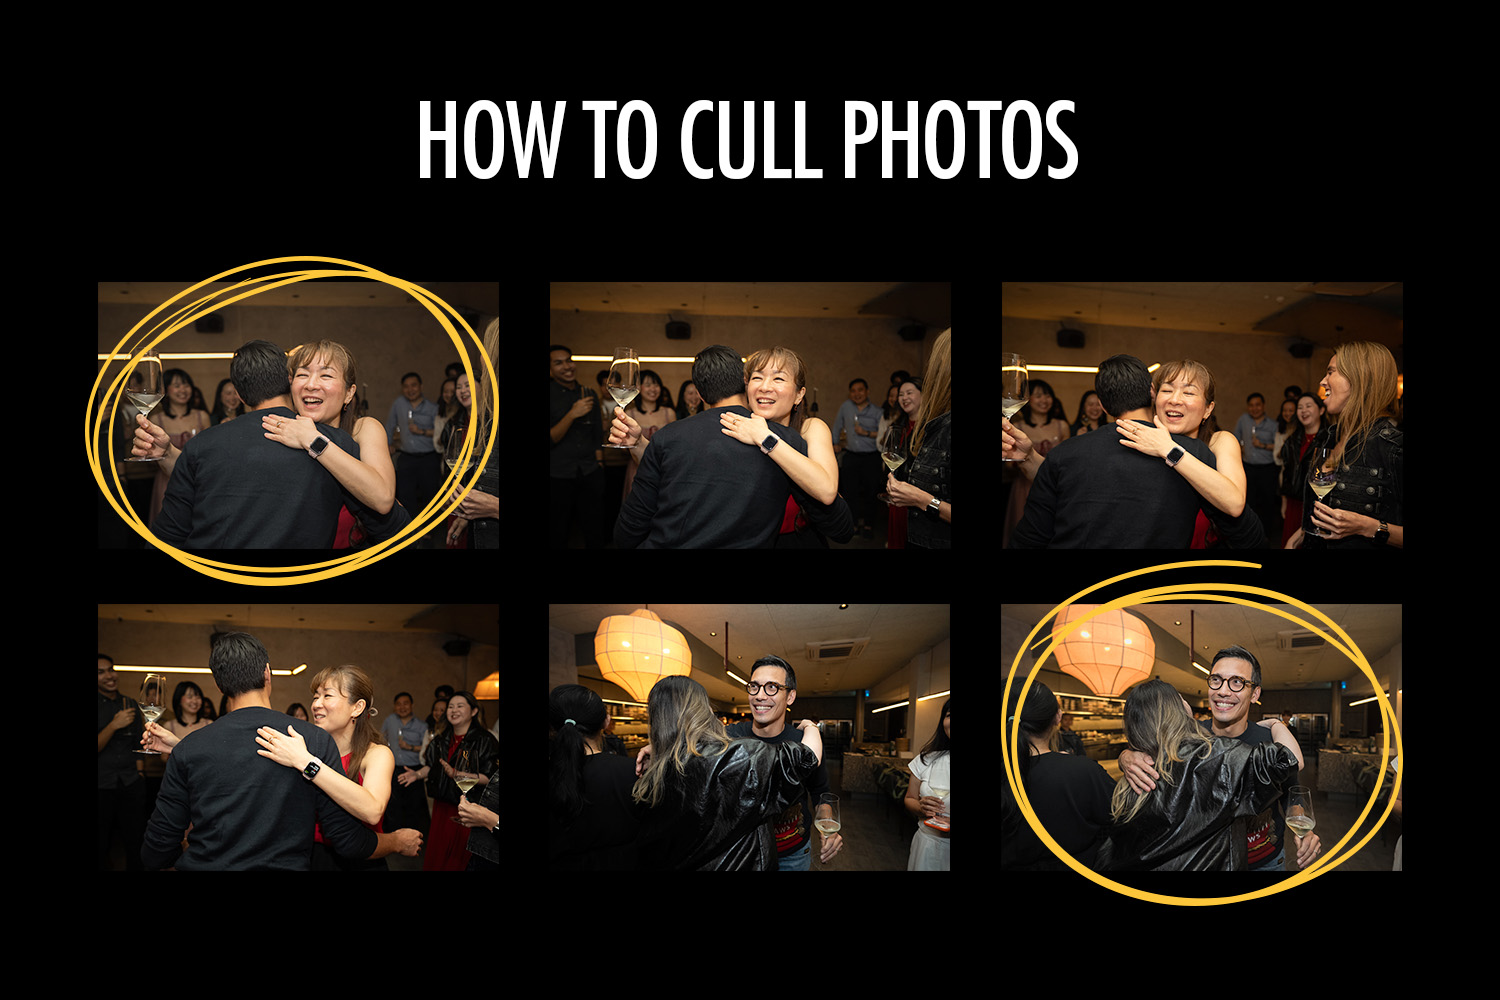
Choose the photos with the strongest expression, timing, focus, and composition, and remove versions that don’t add anything different.
You don’t always need to choose just one. If several frames capture meaningfully different moments or expressions, they can all earn a place in the gallery.
Pass 3: Review the selection as a complete set
Finally, stop judging photos individually and look at the selection as a whole.
Check that you’ve covered the important people, moments, and client requirements, while avoiding unnecessary repetition. The final gallery should feel complete rather than simply being a collection of your strongest individual photos.
This last pass is important because a set of good photos can still be a weak delivery if something the client expected is missing.
Which photos should you keep when the choice is difficult?
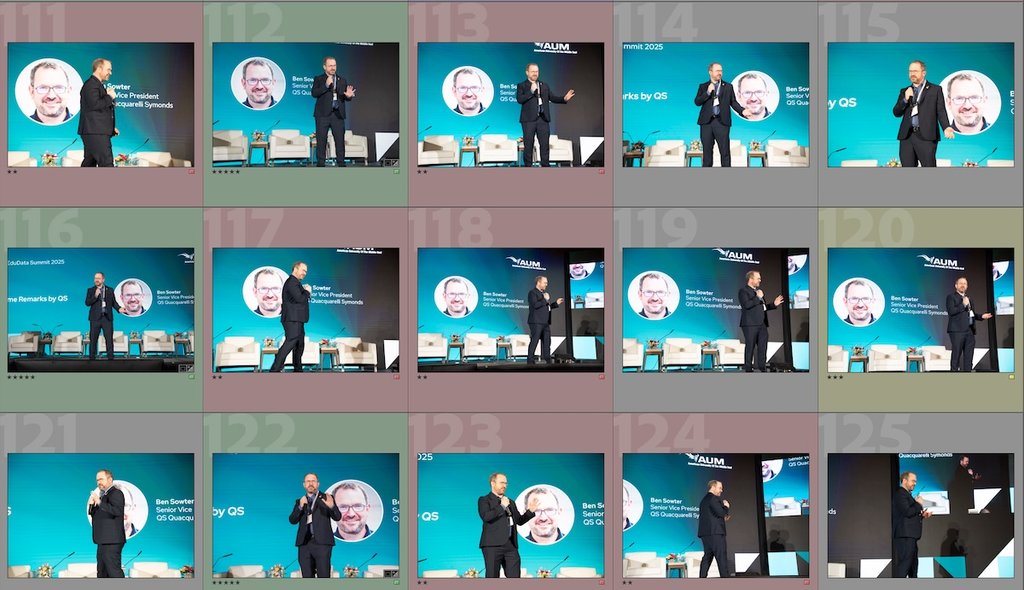
When the choice is difficult, judge the photo by what it contributes to the final gallery, not by technical quality alone.
Use the final gallery as the tie-breaker. Ask what the image adds, whether you’ve got a stronger alternative, and what the client loses if you remove it.
| Situation | How to decide |
|---|---|
| The only photo of an important moment is slightly soft | Keep it if the moment is important and there’s no stronger alternative. Technical quality isn’t the only reason a photo earns a place in the gallery. |
| One person is blinking in the best group photo | Compare the alternatives. If the other frames are worse for several people or someone important, the imperfect frame may still be the best choice. |
| Several burst frames show different parts of the action | Keep more than one if each frame captures a meaningfully different moment. Remove only the frames that add nothing new. |
| A technically weaker photo includes someone or something the client expects | Weigh the technical flaw against the cost of leaving that person, product, sponsor, or required shot out of the gallery. |
| Two photos are equally strong but very similar | Ask whether the second gives the client a genuinely different expression, composition, or moment. If not, keep one. |
A portfolio might contain only your strongest images. A client gallery has a different job: it needs to represent the assignment and give the client useful choices. That means some photos can earn their place through coverage even if they wouldn’t make your portfolio.
Which photo culling software fits your workflow?
You don’t need dedicated photo culling software. The main difference between tools is how much of the selection they do for you.
| Tool | How it culls | Approach |
|---|---|---|
| Lightroom / Lightroom Classic | Manual culling with AI-assisted filters | Cull and edit in the same app, with Assisted Culling for focus, open eyes, exposure problems, and misfires |
| Photo Mechanic | Manual culling | Fast previews, side-by-side comparison, tags, and ratings for photographers who want a dedicated review tool |
| Narrative Select | AI ranks and assesses photos, but you make the selections | Groups similar photos into scenes and ranks them, with explanations for factors such as focus, expression, and composition |
| Imagen | AI creates a proposed selection | Cull to a set number or percentage of photos, with the option to see previews edited in your style |
| Aftershoot | Choose between AI-assisted and automated culling | Automated culling can adapt to your preferences based on how you change previous selections |
Whatever tool you use, review the final selection yourself. AI can reduce repetitive decisions, but it doesn’t know every moment, person, or requirement the client expects in the finished gallery.
What should you check after AI culling?
Treat an AI cull as a first pass rather than the final selection. Before moving on, review rejects where a wrong decision could leave something important out of the gallery:
- Unique moments with no stronger alternative
- Key people, required shots, or other client expectations
- Photos that break normal technical rules intentionally, such as creative blur or unusual exposure
- Similar-looking frames that actually capture different moments
You don’t need to review every rejected photo equally closely. Focus on the cases where removing the wrong image would weaken the final gallery.
How do people find photos in a large gallery?
Culling reduces the gallery to the photos worth delivering, but a large gallery can still be difficult to search.
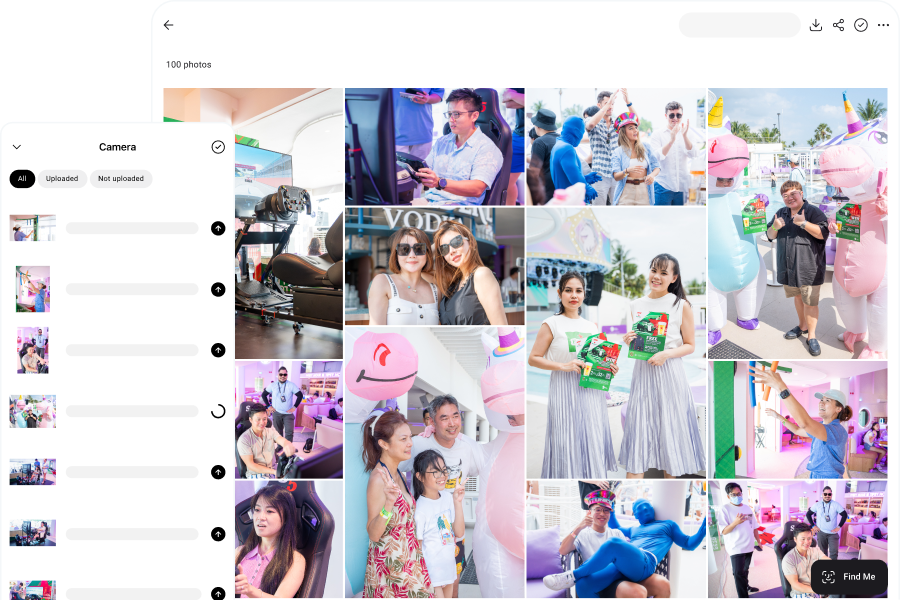
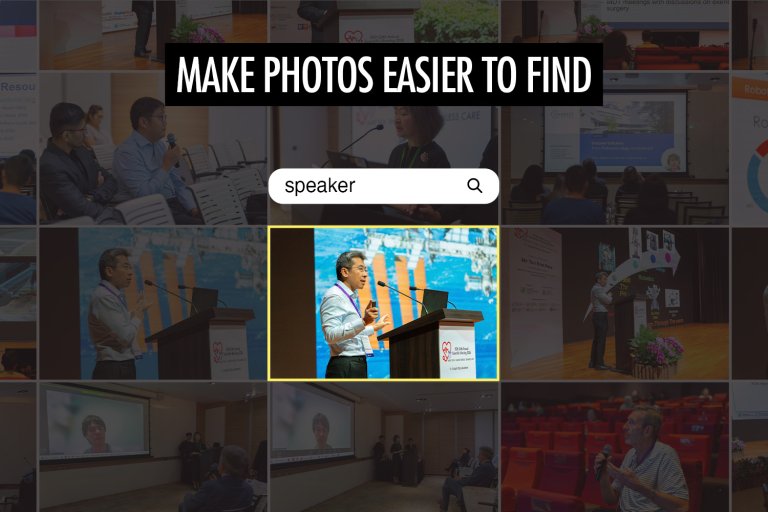
Honcho gives visitors three ways to find the photos they care about:
- Face Search: Upload a photo to find images that person appears in.
- People List: Browse the people who appear in the gallery and select anyone to see their photos.
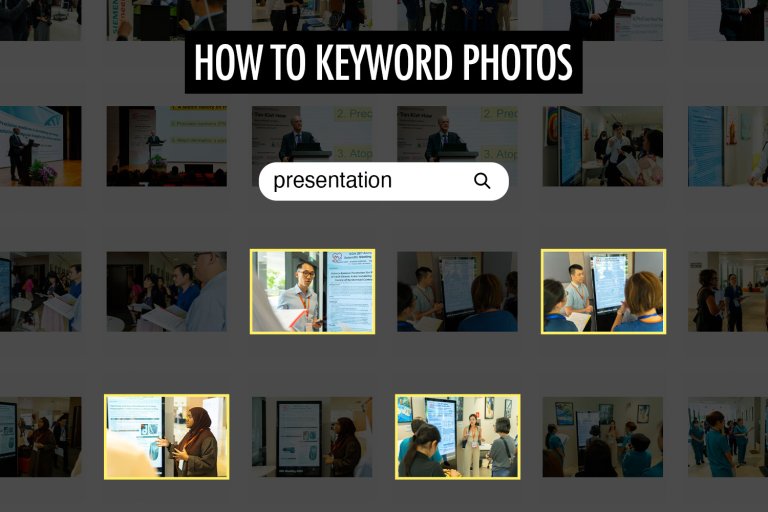
- Keyword Search: Search using descriptions such as “bride”, “flowers”, or “people dancing”.
Culling decides what gets delivered. These search tools make the final gallery easier to explore.
Frequently asked questions
There isn’t a universal keeper percentage. The right number depends on the type and length of the shoot, the client’s expectations, and how much coverage the assignment requires.
For event photography, we use around 50 edited photos per hour of coverage as a practical starting point. A four-hour event might therefore result in roughly 200 delivered photos, but the final number should still depend on how much meaningful variety you captured.
Aim for a complete set without unnecessary near-duplicates rather than trying to hit an exact number.
As a benchmark, we aim to complete the entire editing process in about half the time spent shooting. So if we photograph an event for four hours, we’d aim to finish culling and editing in roughly two hours.
Culling should only take part of that time. If it starts taking almost as long as the shoot itself, your selection process is probably too slow or too detailed.
For large shoots, it usually helps to do both. Start by culling out the obvious rejects, then switch to culling in by choosing which of the remaining photos actually deserve a place in the final gallery.
Culling out is faster for obvious mistakes. Culling in is better for reducing repetition and making the final selection more intentional.