
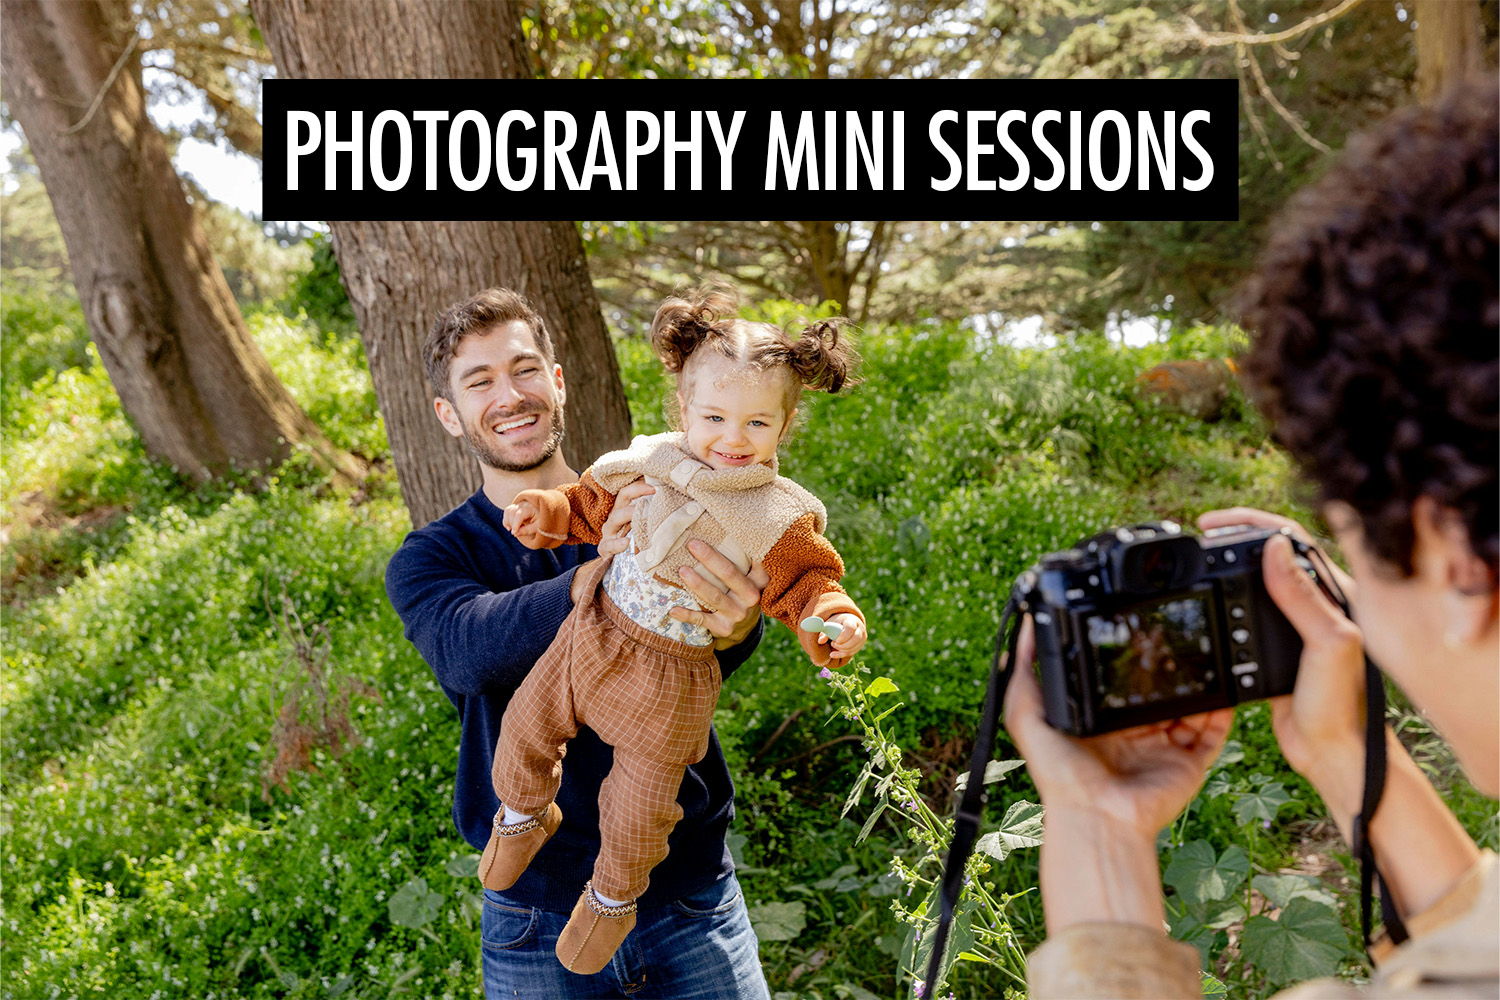
A photography mini session is a short photo shoot, usually held at the same location on a set day. Clients book individual time slots, and each session typically includes a limited number of edited photos.
They’re particularly useful for:
- Generating additional revenue: Fill quieter periods or photograph more clients in one day.
- Attracting new clients: Offer a more affordable introduction to your services, with the potential to turn them into full-session clients.
- Encouraging repeat bookings: Give existing clients a reason to return for seasonal or updated portraits.
How do you plan your mini sessions?

Start by deciding what type of photography you’ll offer. Mini sessions work well for seasonal family portraits, holiday photos, children’s portraits, couples, and professional headshots.
They’re less suitable for shoots that require multiple locations, outfit changes, large groups, or more personalized attention. These are better suited to full sessions.
Next, plan the details of your offering:
- Choose a location: Pick somewhere that’s easy to access, with suitable lighting and enough space for your setup. For outdoor shoots, have a backup plan for bad weather.
- Set the session duration: Decide how much time you need to capture a good variety of photos without rushing. For example, you might offer 15- or 20-minute sessions.
- Decide what’s included: Set the maximum number of people, how many edited photos clients will receive, and when they’ll be delivered.
- Set clear expectations: Let clients know what’s included and whether they can purchase additional photos. Decide whether you’ll select the final images or allow clients to choose their favorites.
Keep your offering simple. The fewer changes you need to make between clients, the easier it will be to run your sessions efficiently.
How should you price mini sessions?
Consider the time spent on the entire job, not just the photo shoot. This includes planning, setting up, photographing, editing, and delivering the photos.
You’ll also need to account for expenses such as travel.
Example: Calculating your mini-session price
Let’s say you offer six mini sessions in one day, but realistically expect to book five.
You estimate spending 11 hours on the entire job:
- Planning and client communication: 1 hour
- Travel, setup, and packing: 1 hour
- Shooting and time between sessions: 3 hours
- Culling and editing: 4 hours
- Creating and delivering galleries: 2 hours
Using an illustrative hourly rate of $50:
- Your time: 11 hours × $50/hour = $550
- Expenses: $100
- Total: $650
- Price per session: $650 ÷ 5 bookings = $130
This is your base price. You can mark it up for additional profit.
A common practice is to include a fixed number of edited photos in your package, with the option to purchase additional images.
How do you market and book mini sessions?
Promote your mini sessions to existing clients through email, then reach new clients through your website and social media. Include sample photos to show what clients can expect.
Here’s an example announcement:
Fall Family Mini Sessions Are Here! 🍂
I’m offering a limited number of family mini sessions this fall!
📅 Date: [Date]
📍 Location: [Location]
📸 Session: 20 minutes
💰 Price: [Price]Each session includes 8 edited digital photos, delivered through an online gallery within 10 days.
Spots are limited! Book your preferred time slot here: [Booking Link]
Use a booking platform like HoneyBook or Studio Ninja to manage bookings, payments, and confirmations.
A common practice is to collect a non-refundable booking fee to secure each time slot. Here’s an example cancellation policy:
Cancellation & Rescheduling Policy
A non-refundable booking fee is required to reserve your session.
You may reschedule with at least 48 hours’ notice, subject to availability. Cancellations and no-shows will result in the loss of your booking fee.
If we need to cancel due to bad weather, we’ll offer a new date or a full refund.
A few days before the shoot, send clients a reminder with the meeting point, parking details, and any preparation tips.
How do you schedule a mini-session day?
Leave enough time between sessions for breaks and unexpected delays.
Here’s how you could schedule six 20-minute sessions, with 10-minute buffers and a break:
| Time | Activity |
|---|---|
| 9:00–9:20 | Session 1 |
| 9:30–9:50 | Session 2 |
| 10:00–10:20 | Session 3 |
| 10:20–10:40 | Break |
| 10:40–11:00 | Session 4 |
| 11:10–11:30 | Session 5 |
| 11:40–12:00 | Session 6 |
For outdoor shoots, consider how the lighting will change throughout the day. Avoid scheduling too many sessions if conditions become less suitable.
How do you photograph mini sessions efficiently?
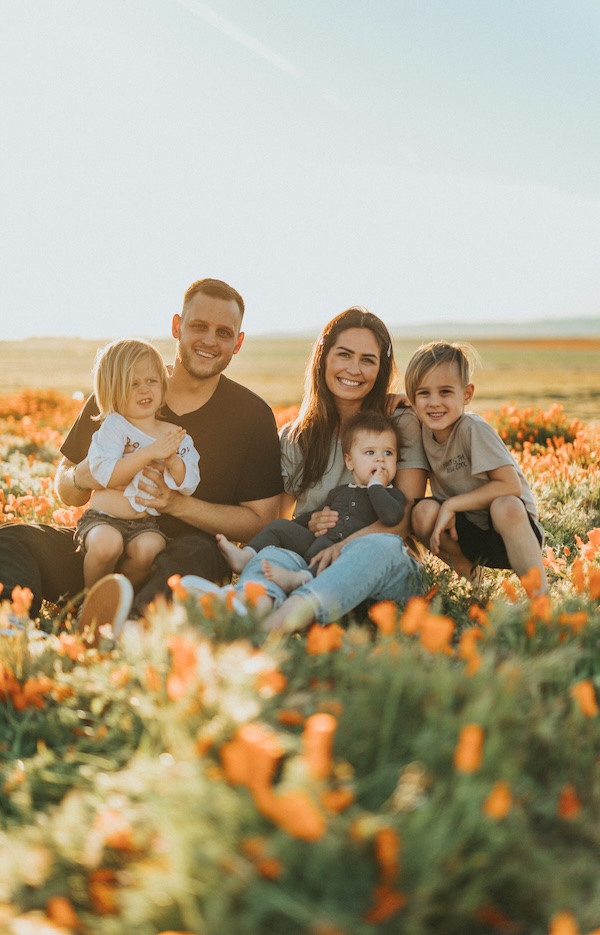
Prepare a simple shot list so you can work quickly without missing important photos.
For example, here’s a shooting sequence for a 20-minute family mini session:
- Whole family: Start with a few group portraits.
- Children: Capture siblings together and individual portraits.
- Parents: Photograph the parents together.
- Candid shots: Finish with natural interactions and playful moments.
Start with the essential shots, then experiment with different poses and compositions if time allows.
Keep your lighting and setup consistent between sessions to reduce editing work afterward. Avoid taking too many similar photos, as this creates more work when culling.
How do you edit and deliver each client’s photos?
After your mini-session day, you’ll have multiple sets of photos to edit and deliver. Here’s how to speed up the process:
- Organize your photos: Separate each client’s photos into folders. Use your booking schedule and photo timestamps to identify each session.
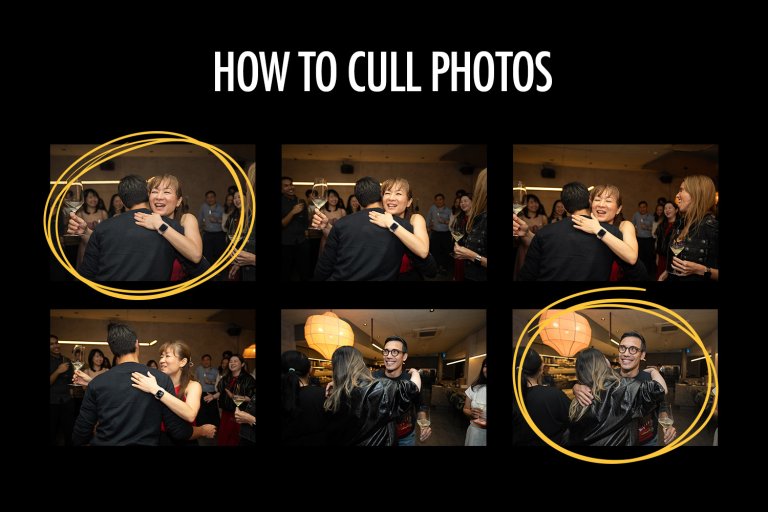
- Cull your photos: Select the best shots for each client, keeping the number of edited photos included in their package in mind. See our photo culling guide for more tips.
- Edit in batches: For photos taken under similar lighting, edit one photo and sync the adjustments across the others. Then fine-tune individual images where needed.
- Export and deliver: Export the finished photos as JPEGs, keeping each client’s files separate. Use an online gallery platform like Honcho to create individual galleries and share them with clients.